
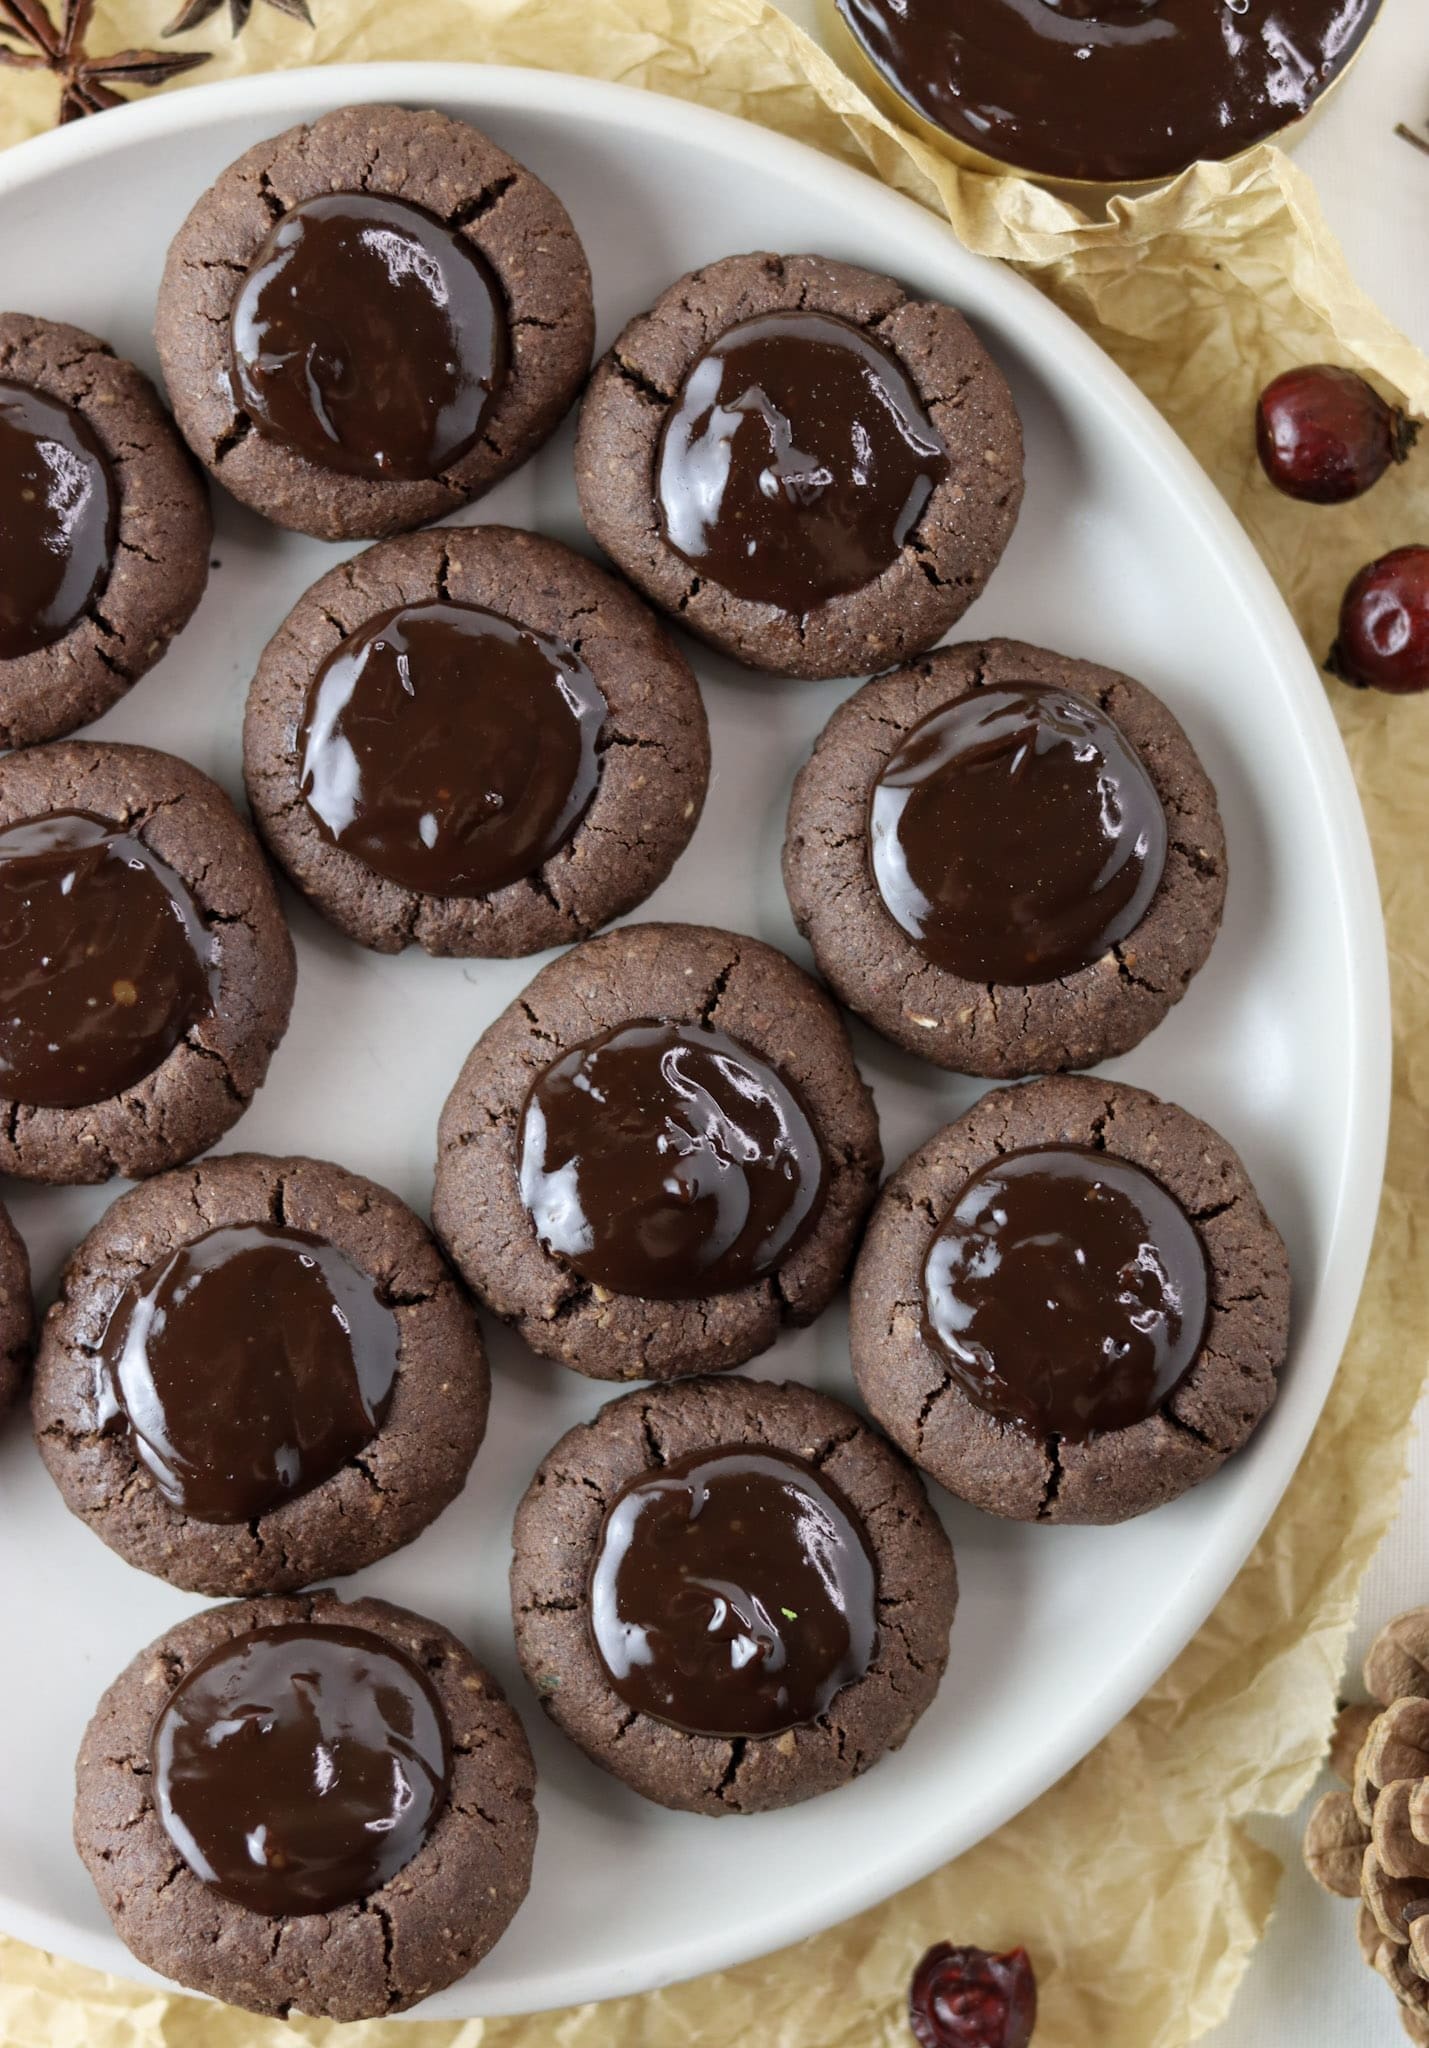
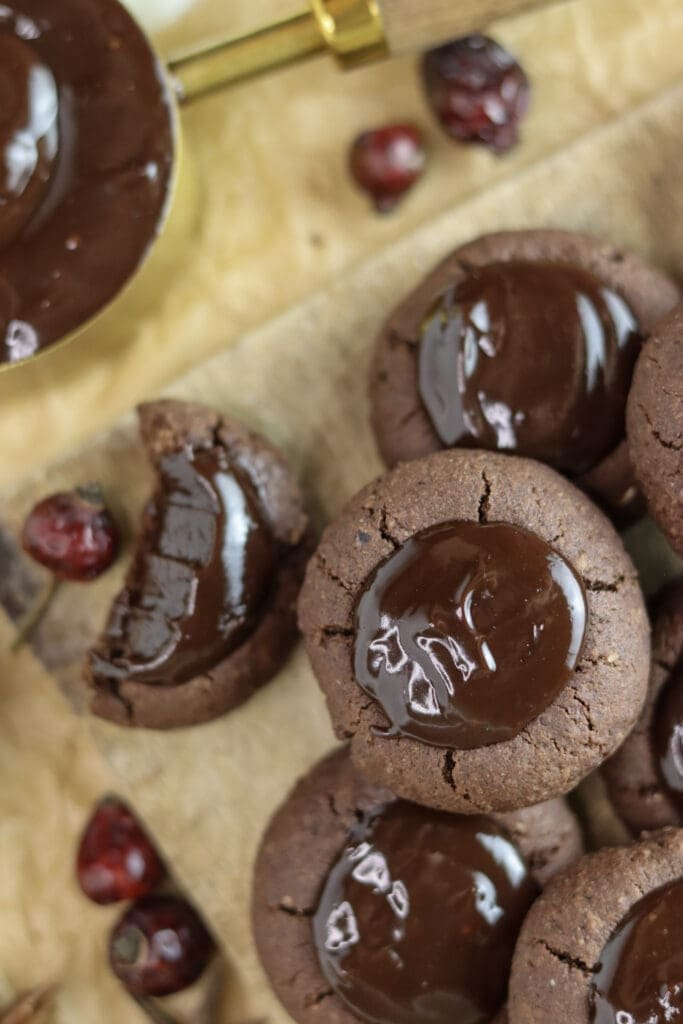
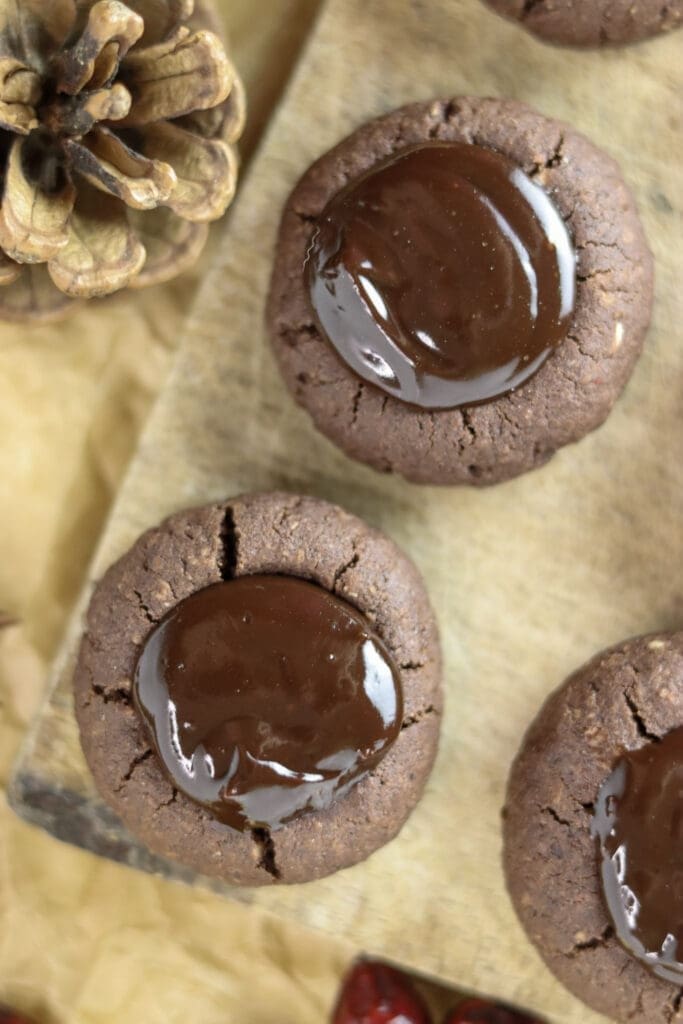
Buckwheat thumbprint cookies made with pure buckwheat flour, cocoa, and ground hazelnuts, filled with smooth chocolate ganache and a hint of orange zest. Naturally gluten-free, rich and crumbly, with a deep chocolate flavor. A classic chocolate–orange combination that always works.
Rustic buckwheat thumbprint cookies with chocolate-orange filling
If you’re already a fan of buckwheat cookies, you’ll feel right at home with this version. You can really never go wrong with these chocolate buckwheat thumbprint cookies, and here are a few reasons why:
They’re super simple to make. The dough is easy; you’ll whip it up in minutes and actually spend more time chilling it than making the cookies. Once ready, shaping is easy; just roll, press a small indentation, and they’re set for the oven, where they bake for only 10 minutes. It’s a reliable buckwheat recipe that works every time, and kids will love helping with these!
They’re healthier than your classic all-purpose flour cookies, and buckwheat flour is naturally rich in nutrients. With these, you won’t be missing out on minerals and vitamins.
They’re naturally gluten-free and grain-free. Much lighter on the stomach, and made with pure buckwheat flour, which feels far more wholesome than most gluten-free flour blends. Still, they look pretty enough to impress.
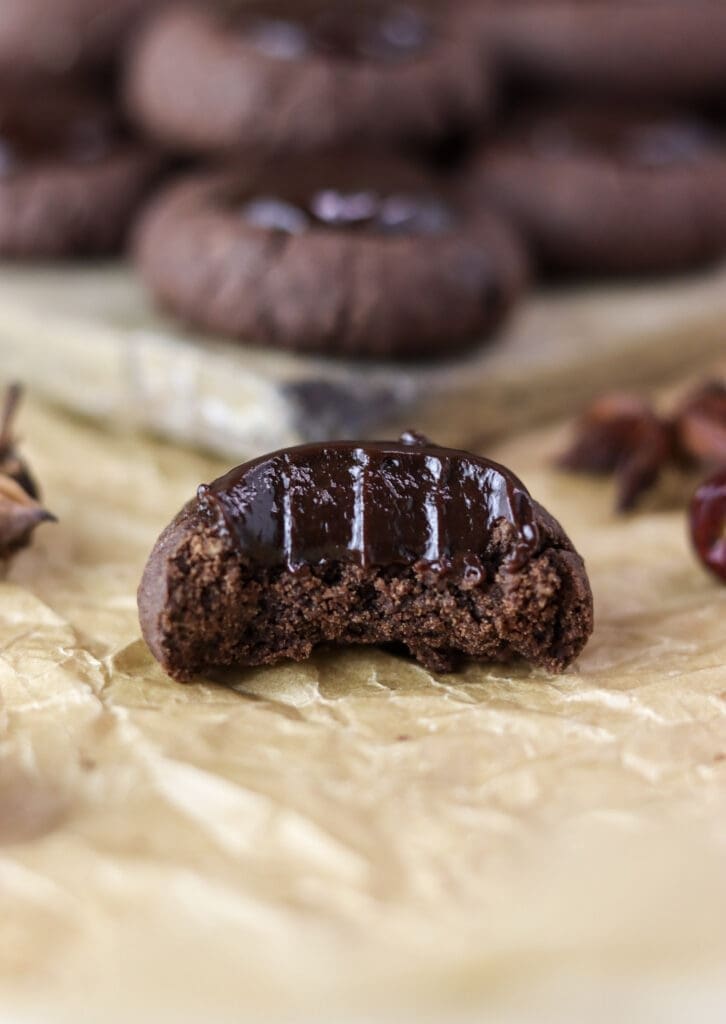
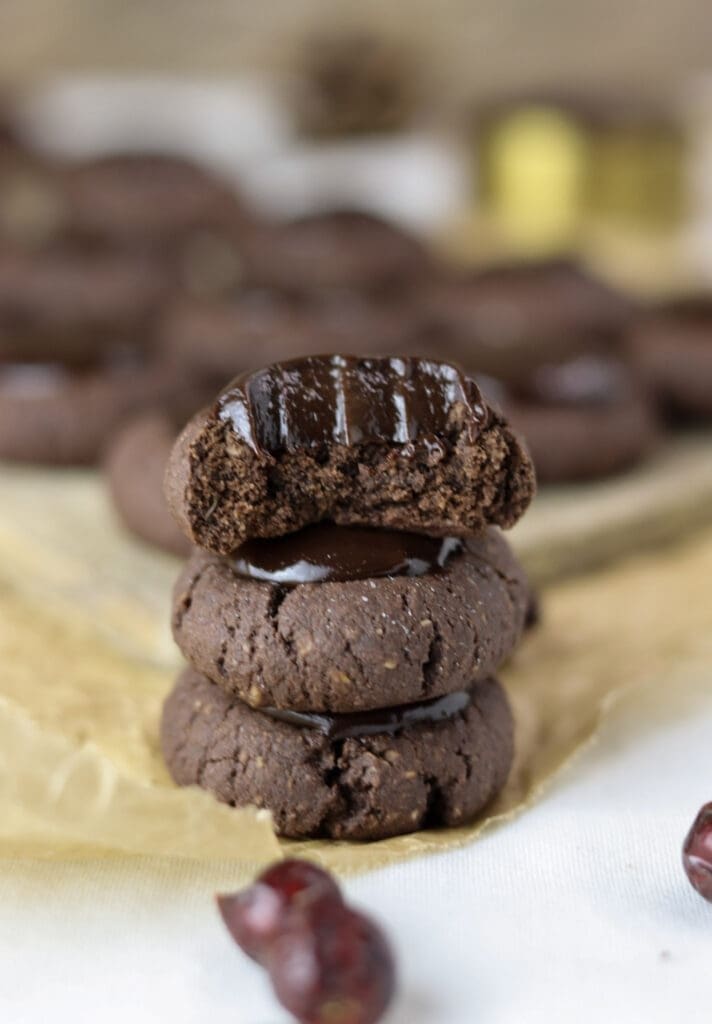
They’re adorably aromatic. The dough with cocoa has a warm, cozy flavor, and when combined with hazelnuts, it turns gently nutty and nicely crumbly. They’re filled with a mouth-watering chocolate center made from half dark and half milk chocolate, with a good amount of orange zest. That’s what makes them hard to resist!
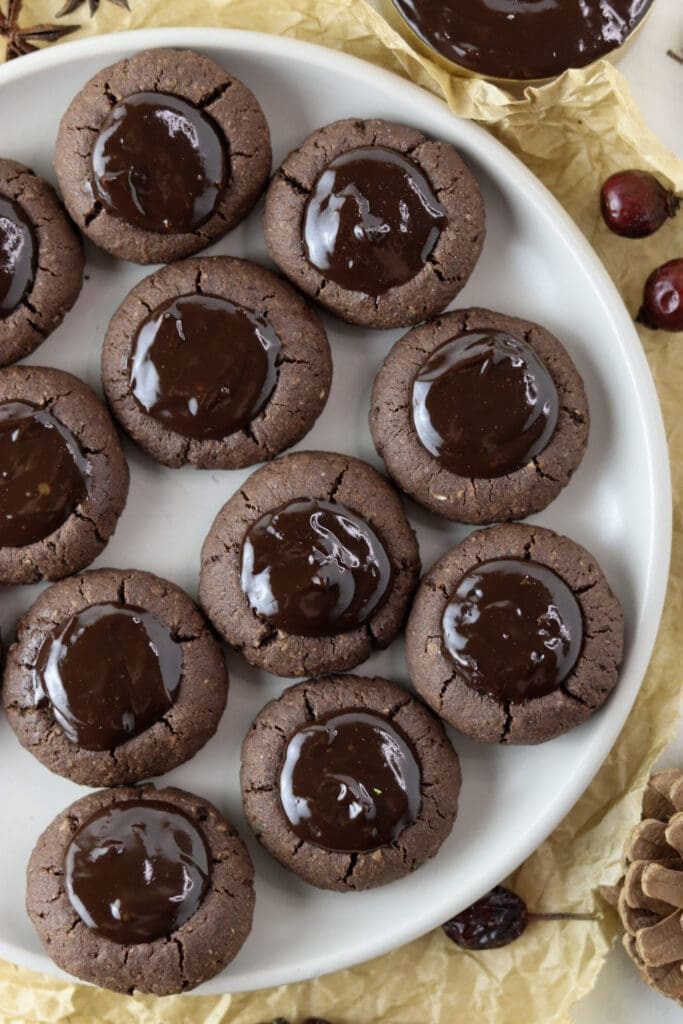
You can make them ahead. The dough freezes very well, and you can roll the balls in advance and store them that way. When you want a batch, just let them soften slightly, press in the indentations, bake for about 10 minutes, and fill with chocolate. That’s it. One batch makes around 35 buckwheat thumbprint cookies.
They keep well. These won’t turn soft or mushy, since nothing in them spoils quickly. You can store them for up to two weeks without any trouble.
Ingredients you’ll need
BUCKWHEAT FLOUR – I used common buckwheat flour, as it’s smoother and the cookies crack less than with Tartary buckwheat. If your flour is wholemeal, you’ll likely need a bit more butter or a splash of milk.
COCOA POWDER – This goes straight into the dough. It deepens the chocolate flavor and darkens the color, so you’d hardly guess these are made with buckwheat.
GROUND HAZELNUTS – You can swap them for walnuts or almonds. They make the cookies lighter and give them that lovely crumbly texture.
BUTTER – Use real, unsalted butter. Let it soften to room temperature so it mixes easily with the sugar and egg.
POWDERED SUGAR – For a more wholesome option, you can use coconut sugar, brown sugar, or erythritol. You can grind any of these into a fine powder using a small coffee grinder.
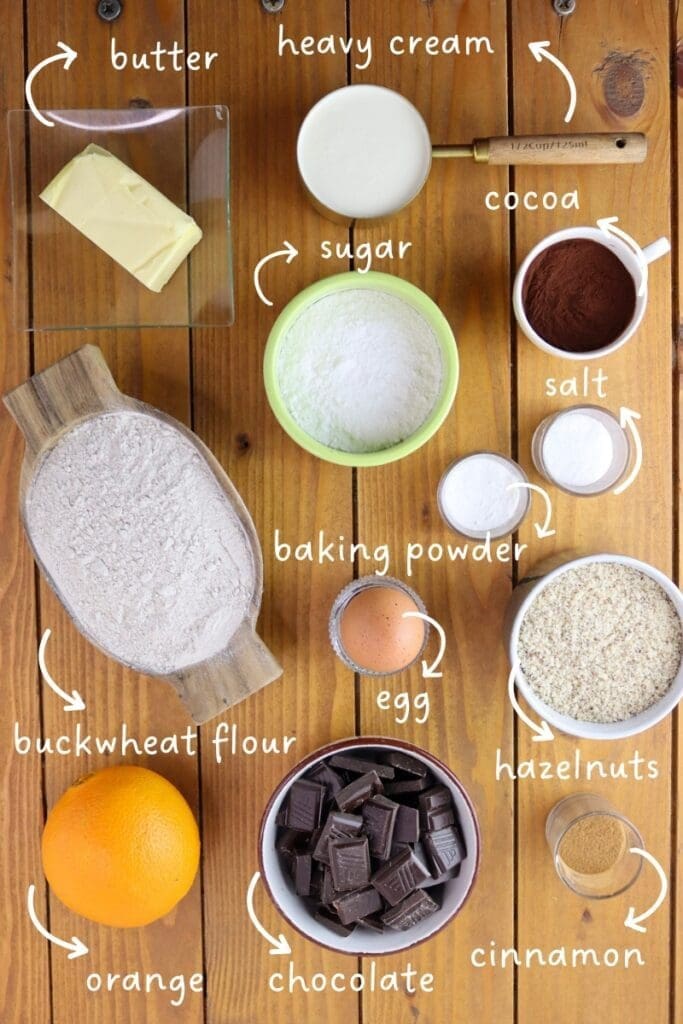
HEAVY CREAM – Go for at least 35% fat. It’s used to melt the chocolate and gently carry the orange zest flavor into the filling.
ONE EGG – You can skip it, but the cookies will hold together better and feel more compact with it.
CINNAMON – Just half a tablespoon for a bit of warmth and that cozy smell while baking.
BAKING POWDER – Only about 3 g of baking powder or ⅓ teaspoon of baking soda. You can even leave it out entirely, and the cookies will still turn out well.
CHOCOLATE – I like using a mix of half dark chocolate and half milk chocolate for a balanced, smooth flavor. This seems to pair best with orange zest.
ORANGE ZEST – Fresh is best for a bright and natural aroma. Use an organic orange if possible.
SALT – Just a pinch to balance the sweetness and bring out the flavor.
Easy buckwheat thumbprint cookies recipe
STEP 1: Preheat the oven to 338°F/170°C.
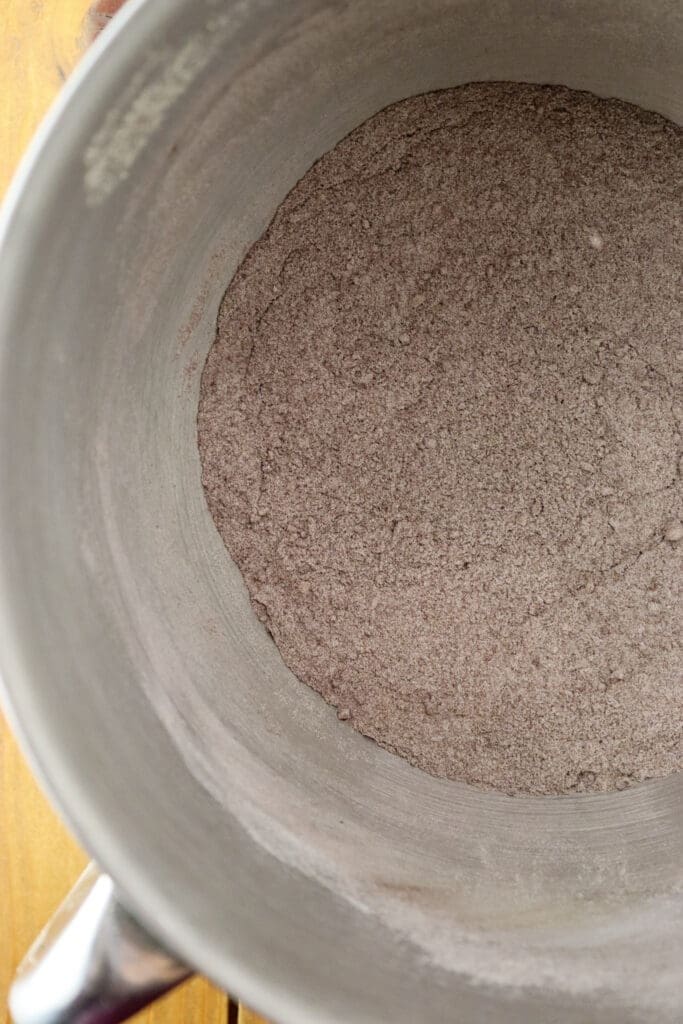
First, mix together the dry ingredients – buckwheat flour, cocoa powder, hazelnuts, a little cinnamon, a pinch of salt, and a pinch of baking powder. The cocoa will give the mixture a nice, darker color, and it will become even more chocolate-like once the butter is added.
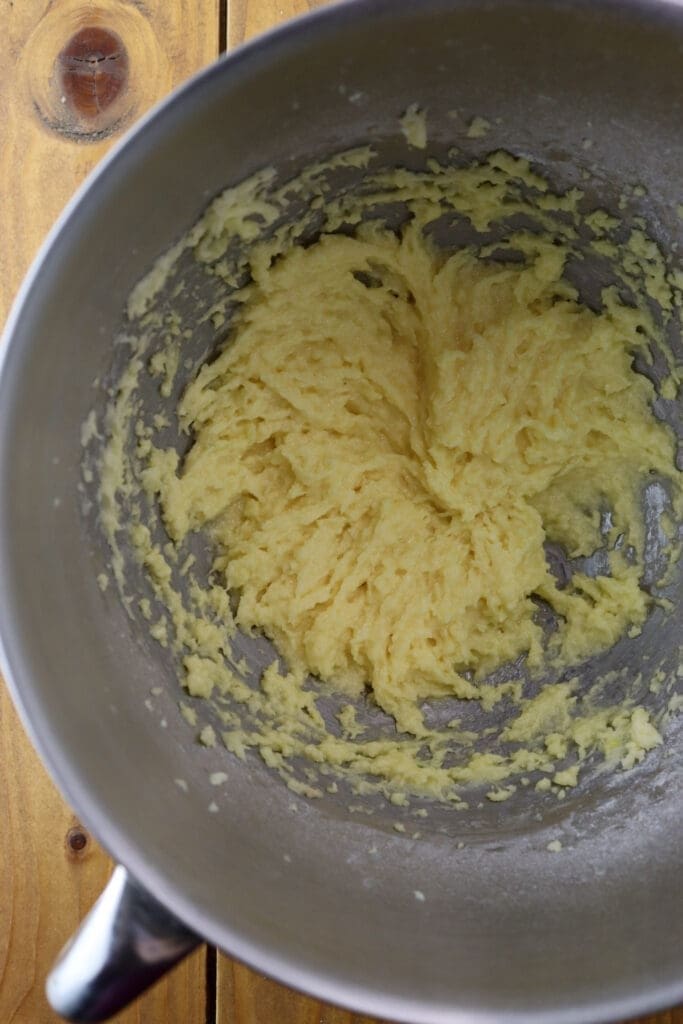
STEP 2: In another bowl, mix the butter and powdered sugar until smooth and creamy. Then add the egg and whisk everything well. Don’t rush this step – the more you mix it, the fluffier the egg yolk, the better the texture of the cookies will be.
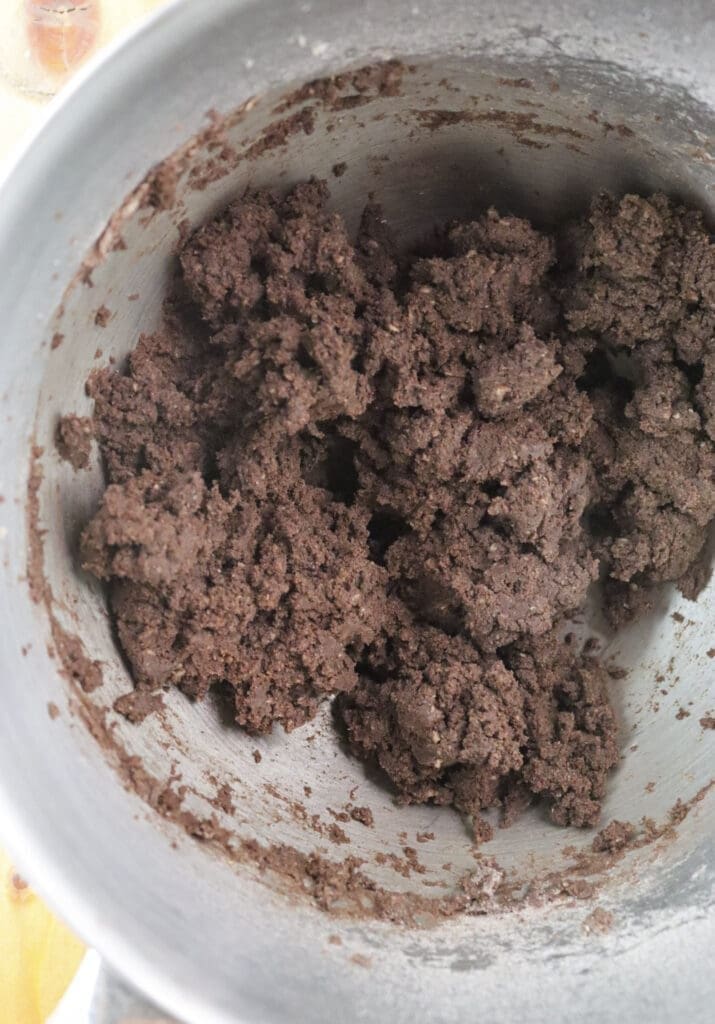
STEP 3: Now start adding the flour and cocoa mixture, and it’s best to do this gradually. At first, you’ll get a rough dough that looks like large crumbs or streusel.
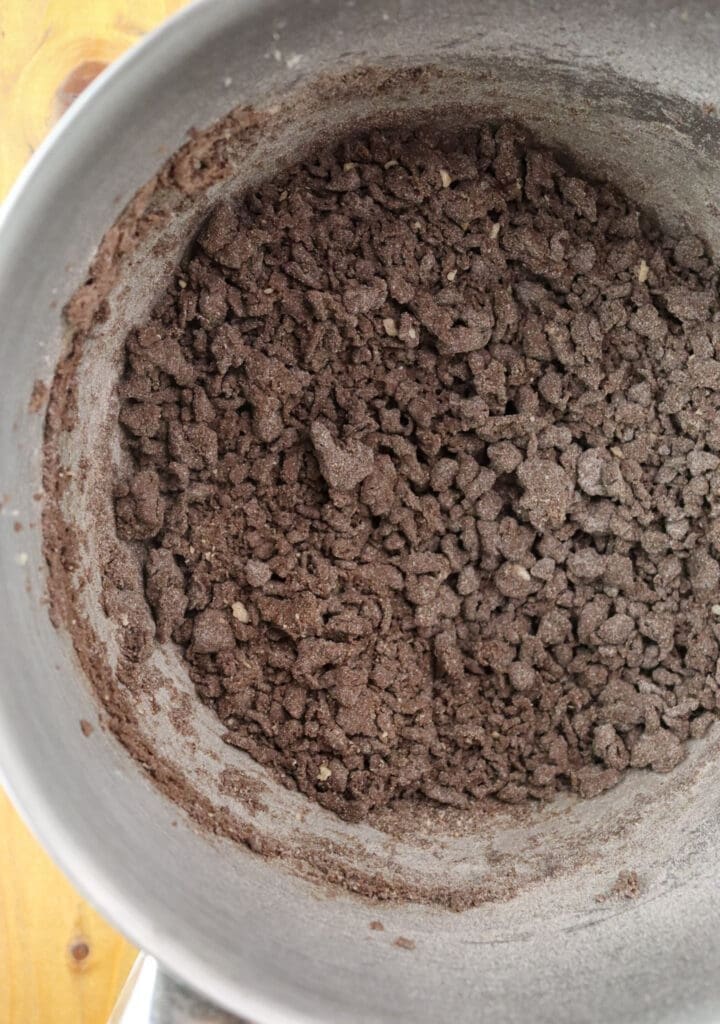
STEP 4: As you keep mixing, it will slowly darken as the butter is absorbed into the flour. That nice dark brown color is exactly what you’re looking for. If you’re using a stand mixer, let it run for a few minutes, or knead it by hand. The dough isn’t very sticky and is easy to handle.
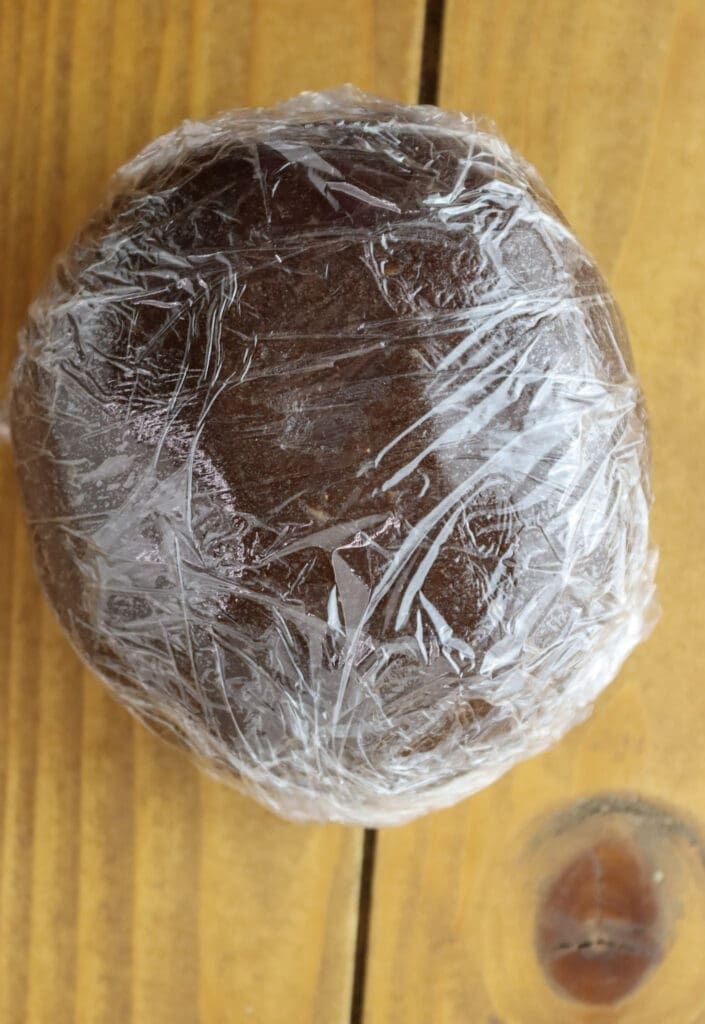
STEP 5: Once done, form a large dough ball, place it in a covered bowl or wrap it in plastic wrap, and chill it in the refrigerator for about 30 minutes. This helps the butter firm up a bit, making the dough easier to work with. The thinner the dough, the faster it will chill.
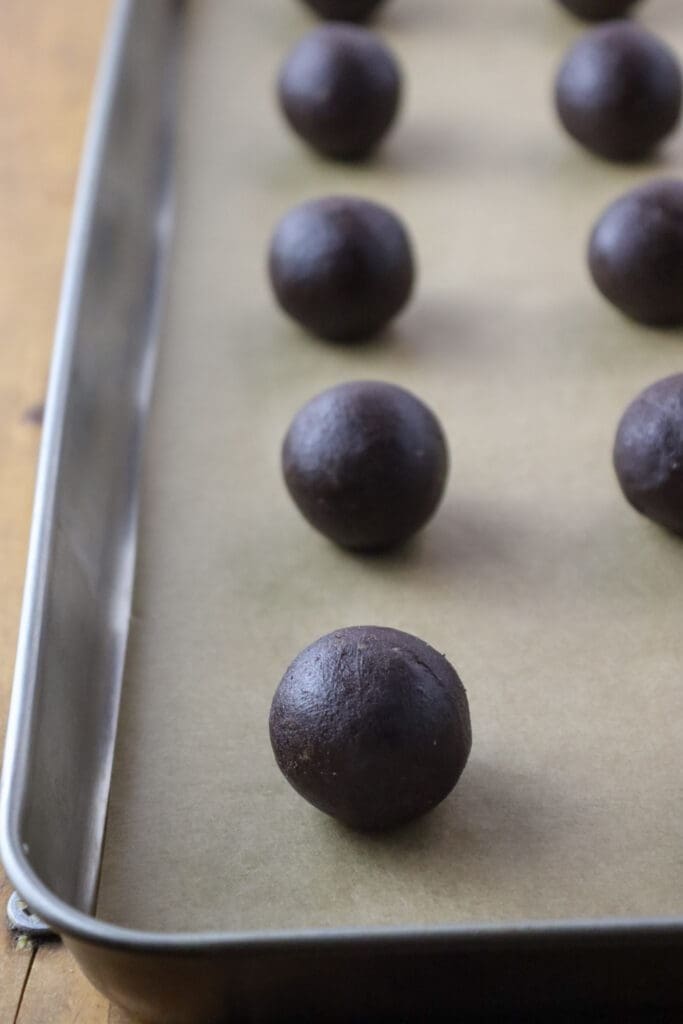
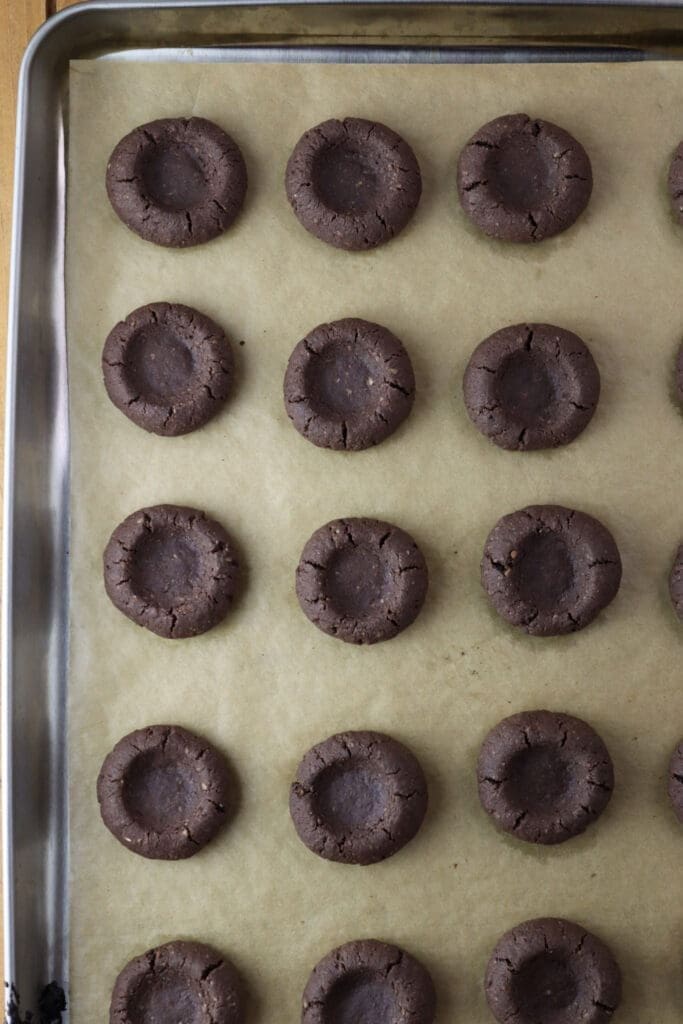
STEP 6: Line a cookie sheet (large enough for 35 cookies) with parchment paper. Scoop out small portions of dough, about one tablespoon each, and roll them in your palms into small balls. Try to keep them the same size, so they bake evenly. Place them on the baking sheet, leaving about 4 cm (1½ inches) between each one.
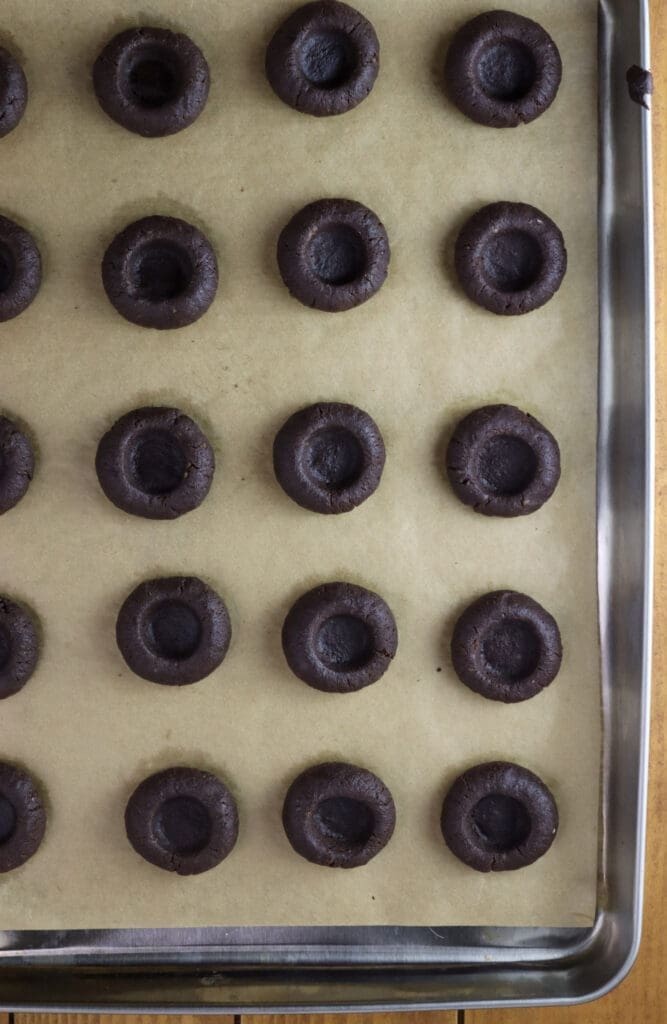
STEP 7: Make the indentations using your thumbs or, as we did, with the bottom of a teaspoon. These will be slightly deeper. It helps to lightly grease the teaspoon so it doesn’t stick to the dough.
STEP 8: Place the cookies in the oven and bake for about 10 minutes at 338°F/170°C. Because of their dark color, it’s harder to notice when they’re done, so keep an eye on them and be careful not to overbake.
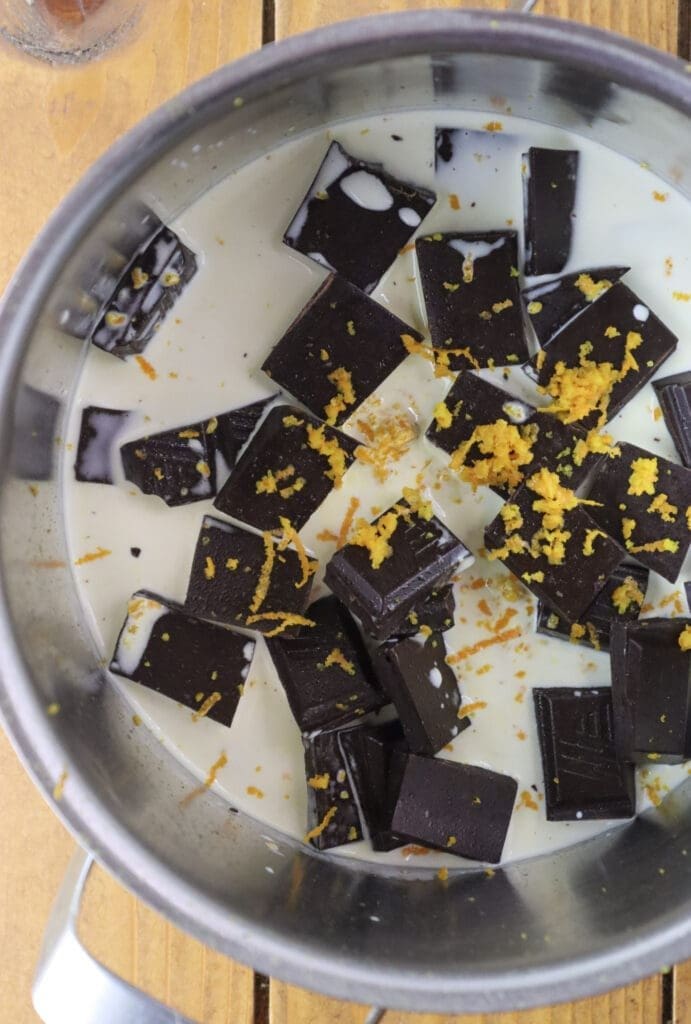
STEP 9: While they bake, prepare the ganache. In a small pot, melt the chocolate in warm heavy cream and add a good amount of orange zest. Even if it seems like a lot, the flavor settles nicely, and the aroma the next day is really something. You’ll be surprised how well it works. If you want the filling to look glossy, add a tablespoon of coconut oil.
STEP 10: Once the cookies are baked, remove them from the oven and fill them with chocolate while they’re still warm. You can use a piping bag for a neater look, but a small teaspoon works just as well.
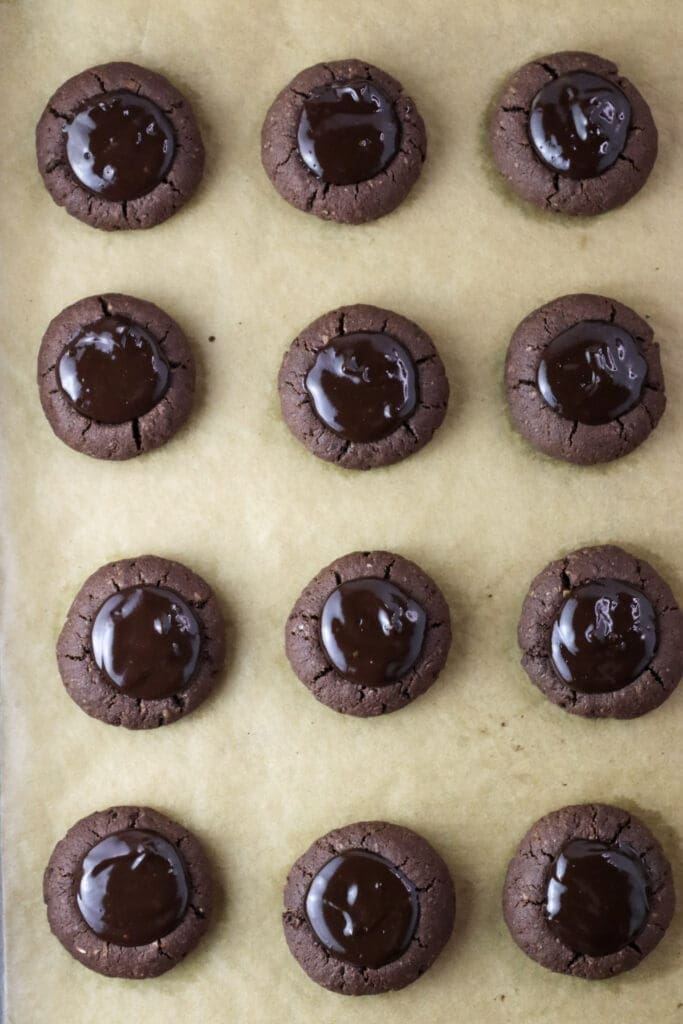
STEP 11: It’s easier if you lift each cookie slightly while filling, but be gentle – these cookies are quite delicate when hot. If the chocolate starts to firm up, just warm it again over low heat. Then transfer the cookies to a cooling rack.
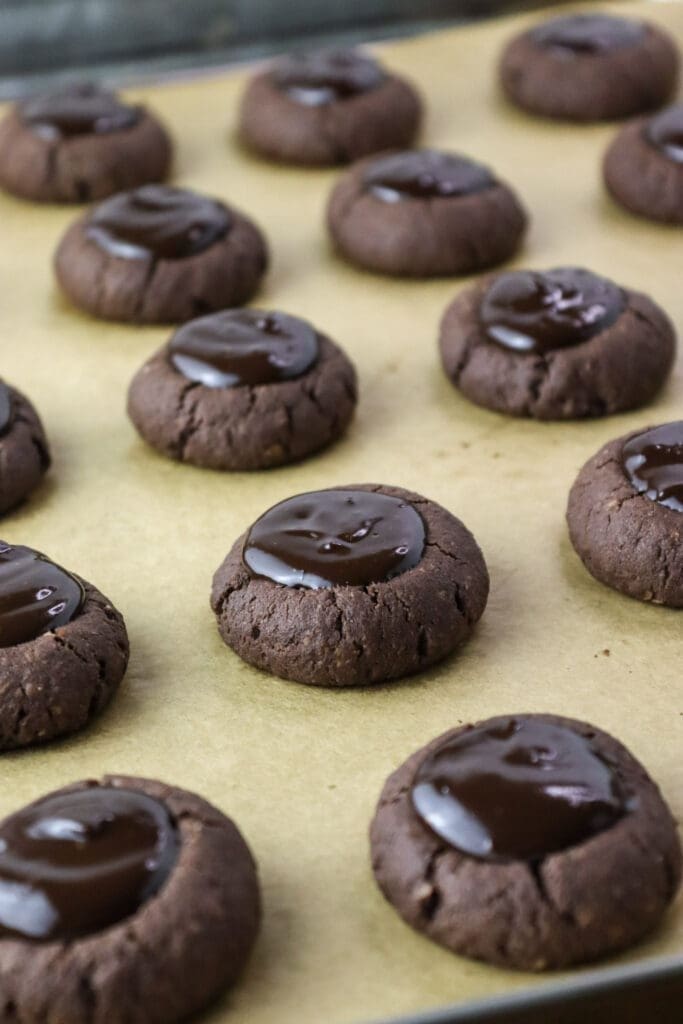
STEP 12: Let the cookies set as they cool. You’ll know they’re ready once the filling is firm enough to stack them without sticking.
And that’s it! Your chocolate buckwheat thumbprint cookies are ready, and I’m sure they won’t last long! These tend to disappear rather quickly, and I always end up wishing I had made a double batch.
Tips for the tastiest chocolate buckwheat thumbprints
Use good chocolate. The better the chocolate, the better the cookies. You can make them with dark chocolate only, but from our testing, orange zest pairs best with a mix of half dark and half classic milk chocolate.
Don’t skip the chilling. The dough is much easier to work with, and it keeps the cookies from spreading too much in the oven. To speed things up, press the dough flat and place it in the freezer (about 15 minutes is enough).
Keep the size even. It’s easier to scoop with a tablespoon than to fix uneven sizes by hand. Even size means even baking.
Don’t be shy with orange zest. It may taste a bit strong at first, but by the next day, the flavor settles into the chocolate and turns out beautifully. For an even better aroma, you might want to add a teaspoon of rum too.
Lightly grease your spoon or thumb. This prevents sticking when making the indentations and keeps the edges neat. The deeper the indentations, the more chocolate they can hold – and the better the cookies will taste.
Fill the cookies while still warm. The chocolate settles better and slightly melts into the base. It helps to hold each cookie while filling. If it starts to thicken, gently warm it again to keep it smooth. Use a piping bag if you want a neater look, but a teaspoon works just fine.
Storage
Store the cookies in a paper shoebox lined with parchment paper, and make sure the filling is fully set before stacking them. They’ll stay crisp and delicious for about two weeks – though, honestly, they rarely last that long in our house!
If you want to make them ahead, prepare a few batches of dough, roll it into balls, and freeze them on a baking sheet. Once firm, transfer them to a freezer bag. They’ll keep well for up to 6 months.
Let the dough balls thaw just enough that you can press the indentations. Then simply bake the cookies as described in the recipe.
FAQs about buckwheat thumbprint cookies
Yes, absolutely! The chocolate ganache is sweet enough on its own, so even if you make the cookies without added sugar, they’ll still satisfy your sweet cravings.
For up to 2–3 days. Make sure it’s well wrapped or stored in a covered container so it doesn’t dry out. When you’re ready to use it, let it sit at room temperature for a bit if it feels too firm to work with.
It’s a bit denser than regular all-purpose flour, so the cookies feel more rustic. That’s why mixing it with ground hazelnuts, walnuts, pecans, or almonds helps make them lighter, crisp, and nicely crumbly.
Keep the dough portions even, and press gently in the center of each dough ball to form an indentation. Using a lightly greased thumb or teaspoon helps prevent sticking and keeps the shape neat.
More cookie recipes
- Buckwheat strawberry jam cookies
- Homemade biscottini cookies
- Sweet empanada cookies
- Lemon baobab cookies
Chocolate Buckwheat Thumbprint Cookies
EQUIPMENT
- 1 cookie baking sheet
INGREDIENTS
For the dough
- 160 g buckwheat flour
- 30 g cocoa powder
- 80 g ground hazelnuts
- 80 g powdered sugar
- 100 g butter
- 1 tsp cinnamon
- ⅓ tsp baking powder
- 1 tsp salt
For the filling
- 200 g chocolate
- 120 ml heavy cream
- 1.5 tbsp orange zest
INSTRUCTIONS
- Preheat the oven to 338°F/170°C.
- In a bowl, combine the dry ingredients – buckwheat flour, cocoa powder, ground hazelnuts, cinnamon, salt, and a small pinch of baking powder.
- In a separate bowl, beat the butter with powdered sugar until smooth and slightly airy. Add the egg and mix well until everything is nicely combined.
- Gradually add the dry mixture to the butter mixture. At first, the dough will look crumbly and coarse. Keep mixing until it comes together into a soft dough and turns a rich brown color. You can use a mixer or knead it by hand; the dough should be easy to handle and not overly sticky.
- Shape the dough into a ball, cover it, and refrigerate for about 30 minutes. This makes it firmer and easier to shape later.
- Line a baking sheet with parchment paper. Portion the dough into tablespoon-sized pieces and roll them into balls. Keep them even in size and place them on the tray with about 4 cm (1½ inches) of space between each.
- Press an indentation into each ball using your thumb or the back of a teaspoon. Lightly greasing the spoon helps keep the shape clean.
- Bake for 10 minutes. Since the cookies are dark, check them closely so they don’t overbake.
- While the cookies are in the oven, prepare the filling. Warm the heavy cream and melt the chocolate in it, then stir in the orange zest. For a shinier finish, you can add a tablespoon of coconut oil.
- Take the cookies out of the oven and fill the centers right away while they’re still warm. A teaspoon works perfectly, or use a piping bag if you prefer a neater look. Handle them gently as they are very soft when hot. If the filling thickens, warm it slightly again. Transfer the cookies to a cooling rack once they're done.
- Let them cool completely so the filling sets. Once firm, they can be stacked without sticking.