Wild garlic pasta dough has become a springtime ritual that rekindles my love for the season with each delicious strand. Spring has always held a special place in my heart. It’s a season of renewal, where nature awakens with vibrant colors and fresh scents, promising new beginnings.
One of my favorite ways to embrace this beautiful time of year is by retreating to the tranquility of my kitchen to make some beautiful creations inspired by the greenery outside, like green pasta. There’s something incredibly serene about it, and the vibrant green color and the smell of wild garlic always remind me of Federico García Lorca’s “Verde que te quiero verde” from his poem Romance Sonámbulo.
If you’re ready to green up your dinner, please follow along as we craft beautiful, flavorful green pasta from scratch.
Color your pasta green
There’s nothing quite like the taste of freshly made pasta, especially when it’s enhanced with fresh greens such as spinach or wild garlic. The flavors are rich and vibrant, far surpassing anything you’d find in a store-bought box. And it’s much easier to make than you might think.
If you’re wondering if green pasta is more nutritious, the answer is yes. You’re actually weaving a tapestry of vitamins, minerals, and antioxidants into your meal.
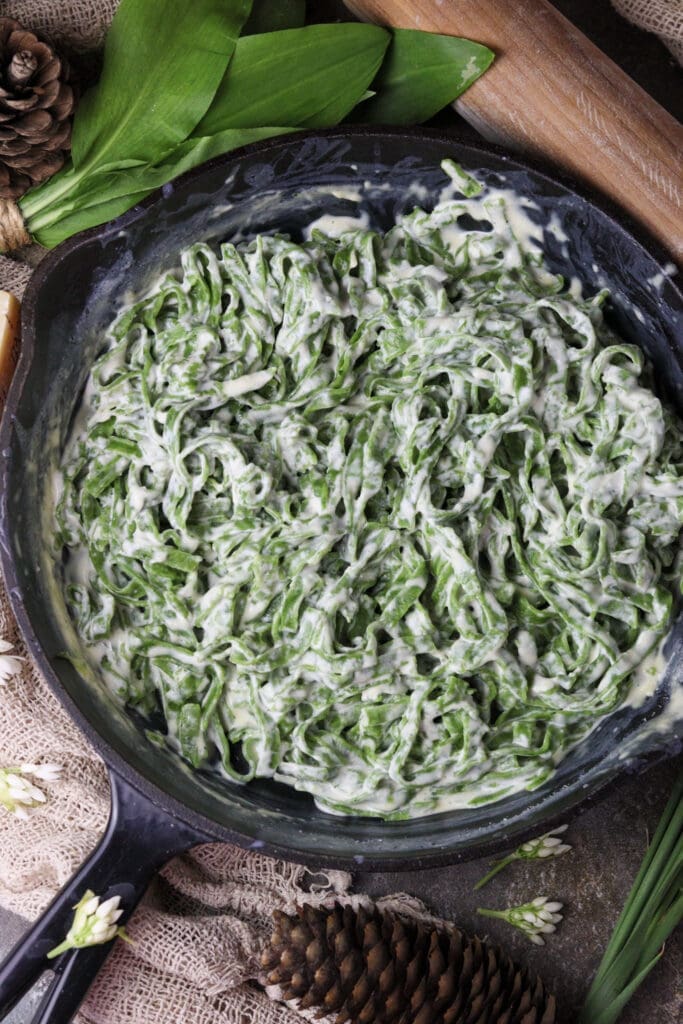
For those who love to forage, garden, or simply seek a deeper connection to their food, fresh green pasta will bring the freshness of the outdoors right into your kitchen. Paired with a creamy mushroom sauce, it can quickly become your favorite dinner.
And it’s quite impressive, too. It’s like a personal expression of care and craftsmanship, a devoted ode to nature and its beautiful gifts.
Lastly, making noodles is also incredibly enjoyable! Ideal for family bonding and a great fun activity for kids.
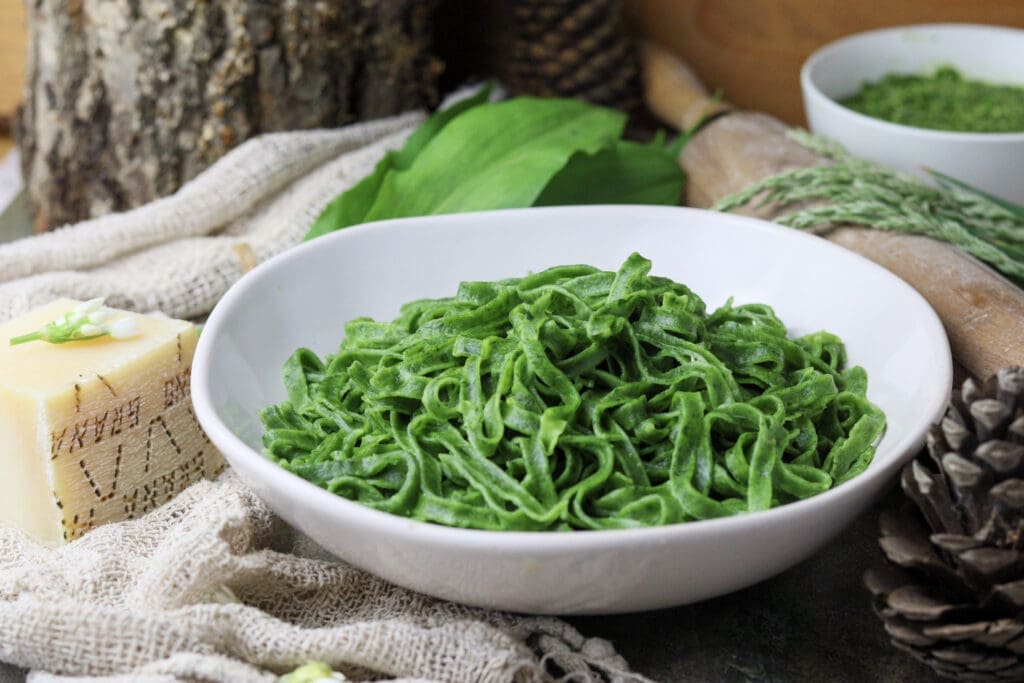
Green, how I want you green.
Green wind. Green branches.
The ship out on the sea
and the horse on the mountain. (F. G. Lorca)
Greens you can use
When making fresh green pasta, the world of greens opens up with endless possibilities. Of course, each one of them adds a unique flavor to your creation:
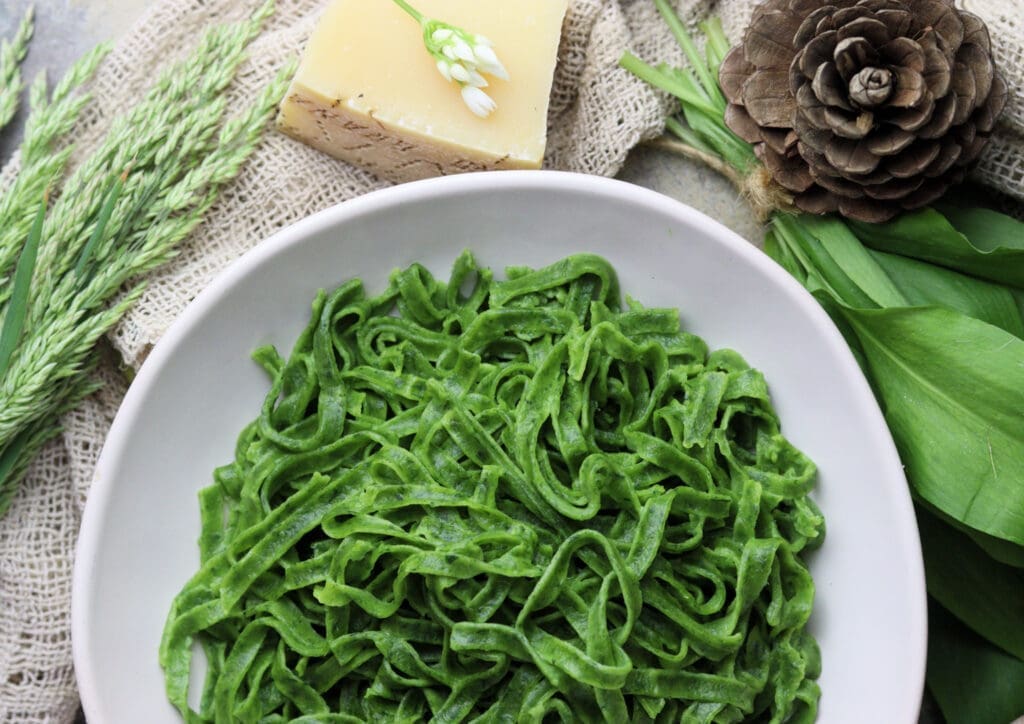
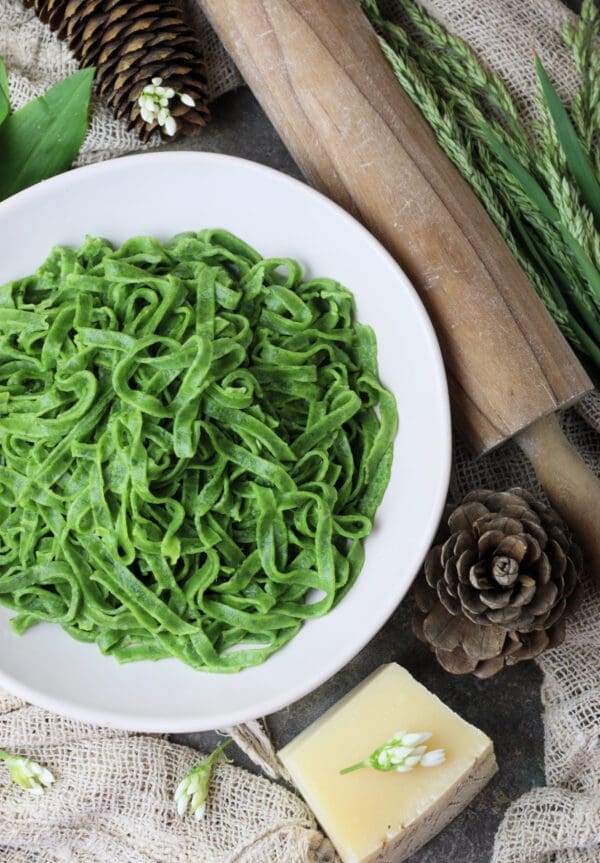
The pasta in this recipe was made with fresh wild garlic leaves. It has a unique taste, a mild garlicky flavor, and a vibrant green color. It combines perfectly with cheesy sauces like spruce tip pesto, Grana padano pesto or even more delicious salmon. When cooked, this pasta gets the craziest green color I’ve ever seen. You might want to check our wild garlic pizza and wild garlic risotto, too. And what better way to end it than with a slice of dandelion cake?
Like wild garlic, fresh pasta with fresh ramp leaves has a strong garlic aroma and flavor, adding a touch of spring to your table.
Fresh young spinach leaves are most often used to make homemade pasta. The leaves are softer than wild garlic leaves and easier to work with. Homemade spinach pasta has a milder and earthier flavor compared to store-bought pasta. It tastes great with garlic, cherry tomatoes, or a simple Alfredo sauce.
We made green gnocchi with wild spinach. Wild spinach is a great plant for coloring pasta green. This underrated green gold, which you’ll often describe as a weed in your garden, is a rich source of vitamins and minerals and often a healthier option than baby spinach.
Stinging nettle is another impressive choice. Its aroma is rich, slightly earthy, and herbaceous, similar to spinach’s, but with a deeper and more complex taste. It’s great when served with meat sauces or ragu. How about nettle pasta with mushrooms?
Particularly aromatic is pasta with fresh basil. Its bright, almost emerald hue imbues it with a fresh taste reminiscent of summer gardens. All those things you enjoy eating with basil go perfectly with this pasta.

Other ingredients you’ll need
FLOUR – You can use semolina or 00-type flour, but if you don’t have it, your pasta will be just as great with all-purpose flour. Although it gets a bit sturdier, it can also be made with whole wheat flour.
EGGS – These will bind everything together. If you can use fresh, home-grown eggs, definitely do so!
OLIVE OIL – Adding a little olive oil to the dough will make it smoother and easier to work with.
SALT – A pinch of salt added to the dough and boiling water will prevent the pasta from becoming bland.
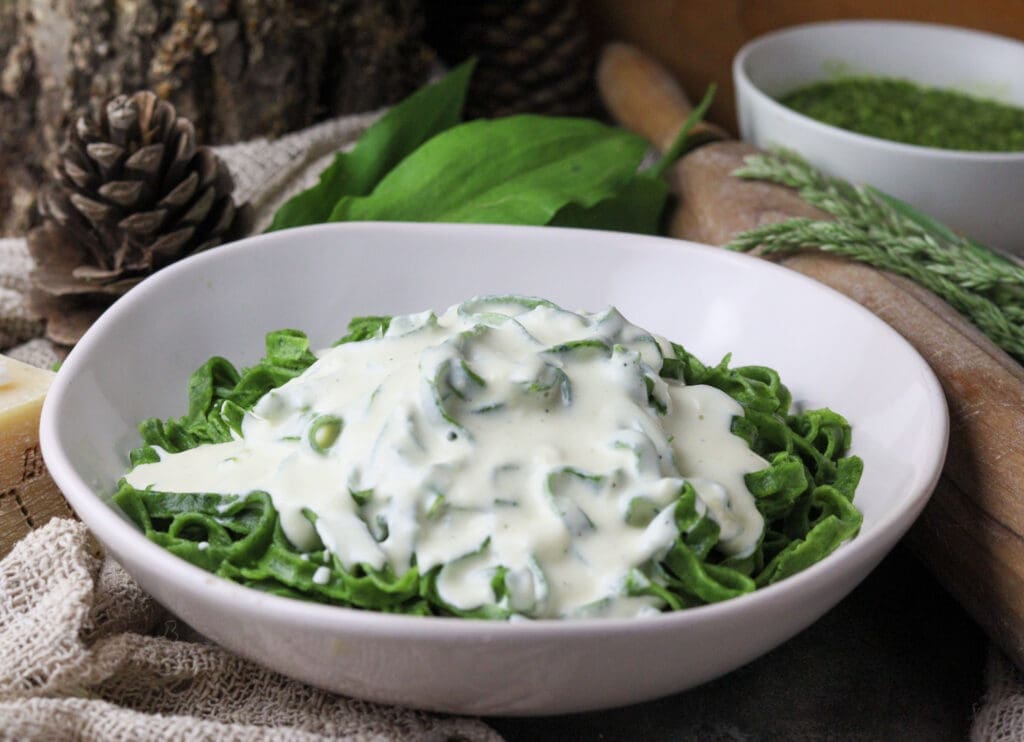
YOUR FAVORITE SAUCE – We ate our wild garlic green pasta with a simple cheesy sauce and grated grana padano cheese. However, depending on the greens you are using, prepare your favorite sauce or pesto to top your pasta with, or sprinkle it with parmesan cheese. Pasta with salmon or pasta with mushrooms might be a delicious idea.
HERBS (optional) – We added a pinch of dried wild thyme to our green pasta dough.
Do you need a pasta machine? Not necessarily. The recipe calls for a pasta machine or the pasta maker attachment, but if you don’t have one, don’t worry. Pasta has been made for centuries without equipment, using a rolling pin and a knife. We’ll show you how easy it is to make it!
Step-by-step wild garlic pasta recipe
PREPARE THE GREENS
STEP 1: Prepare your greens and thoroughly wash them.
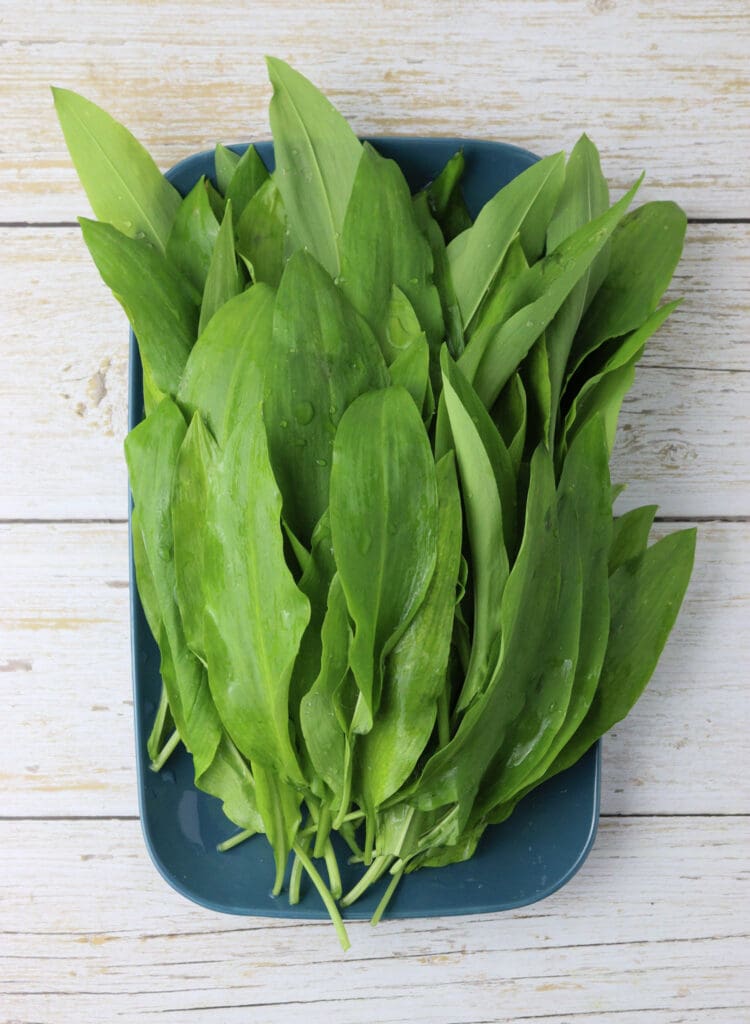
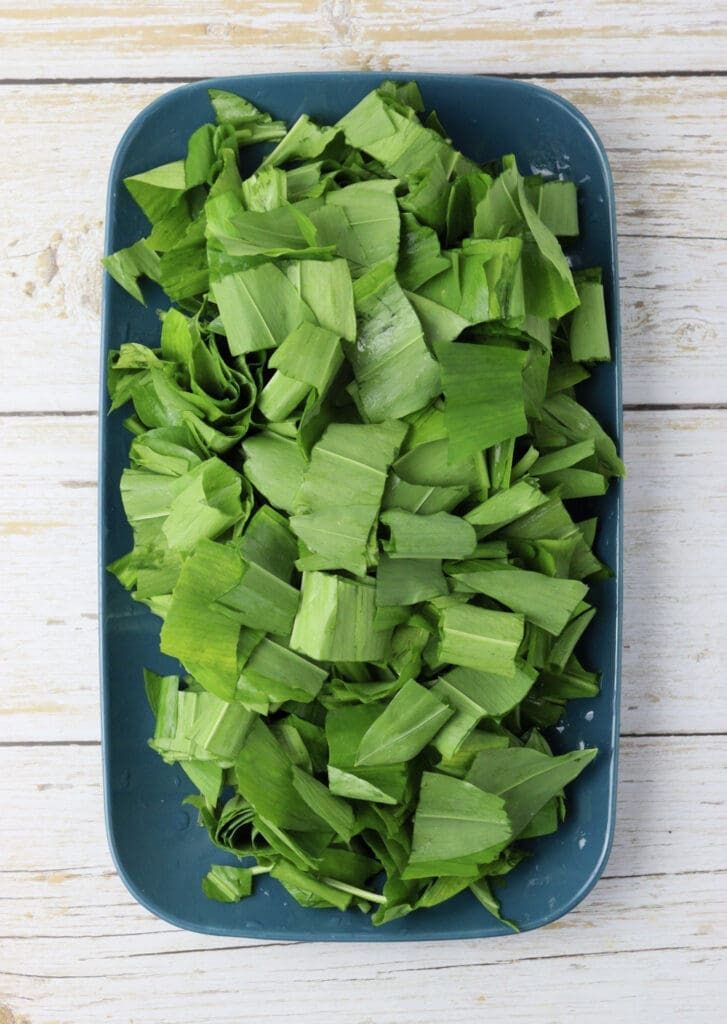
STEP 2: Chop the leaves into smaller pieces.
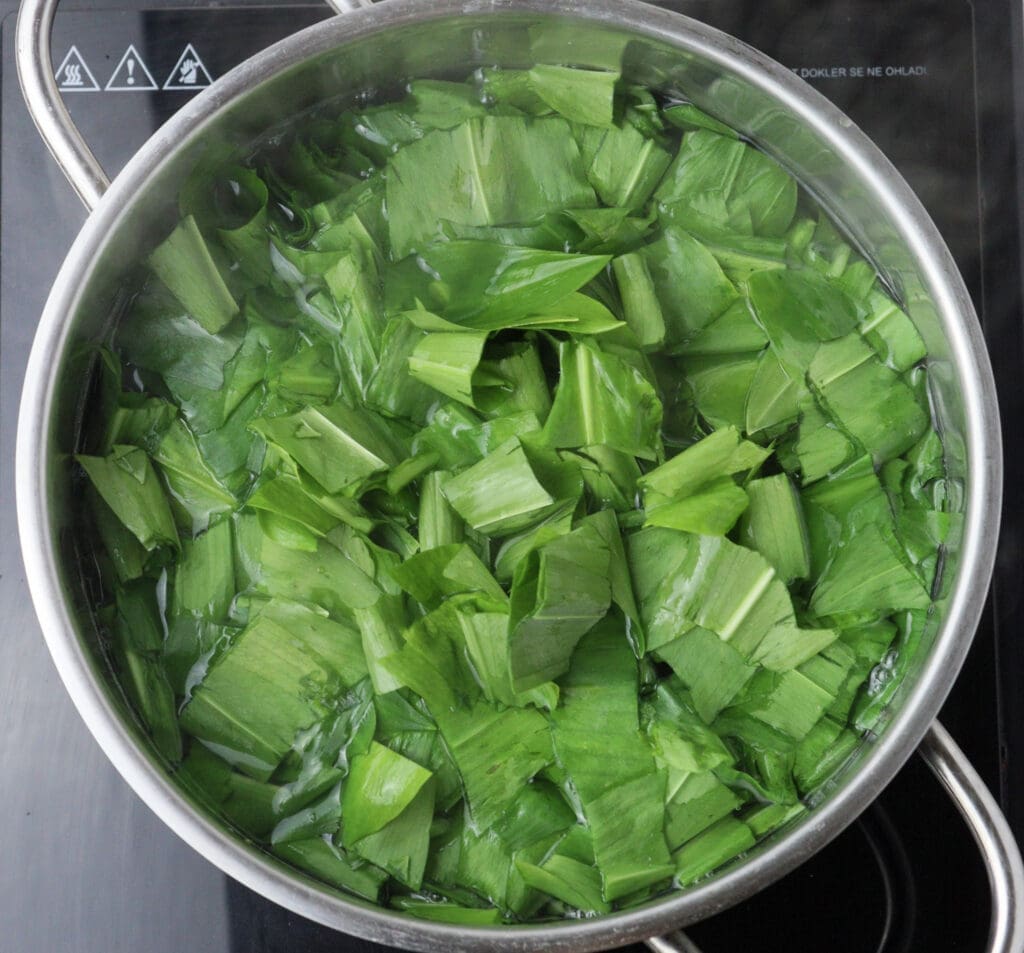
STEP 3: Bring a pot of water to a boil and blanch the leaves for about two minutes. Add a pinch of salt to the water.
STEP 4: Drain them thoroughly to prevent excess water from making the pasta dough too moist and soggy. Cut the blanched leaves once again into smaller chunks.
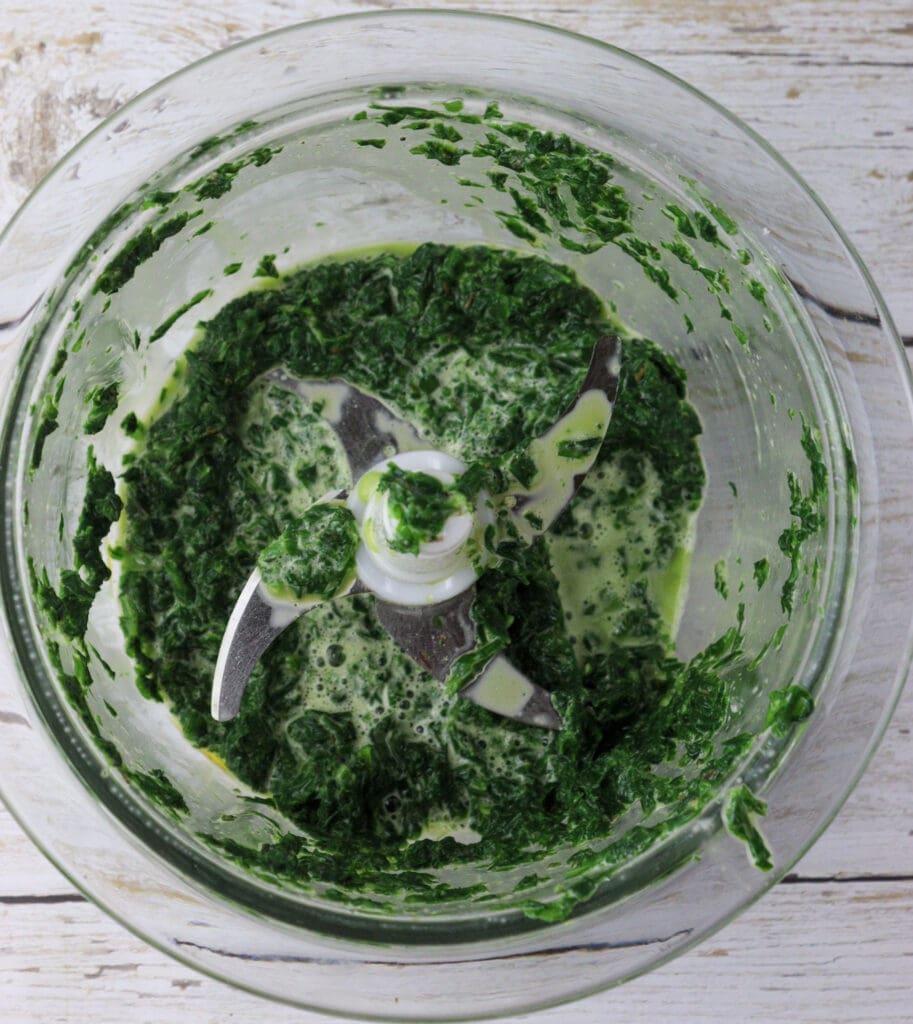
STEP 5: Blend blanched leaves together with two eggs, half a tablespoon of olive oil, a pinch of salt and a pinch of thyme. When blended, you should get a fairly smooth green puree.
If you want your pasta to have that truly intense green color, consider blending it a few minutes longer.
If the puree is not blended enough, small pieces of wild garlic leaves will be visible in the pasta. However, some people love that and guess what? It does look amazing.

MAKE THE DOUGH
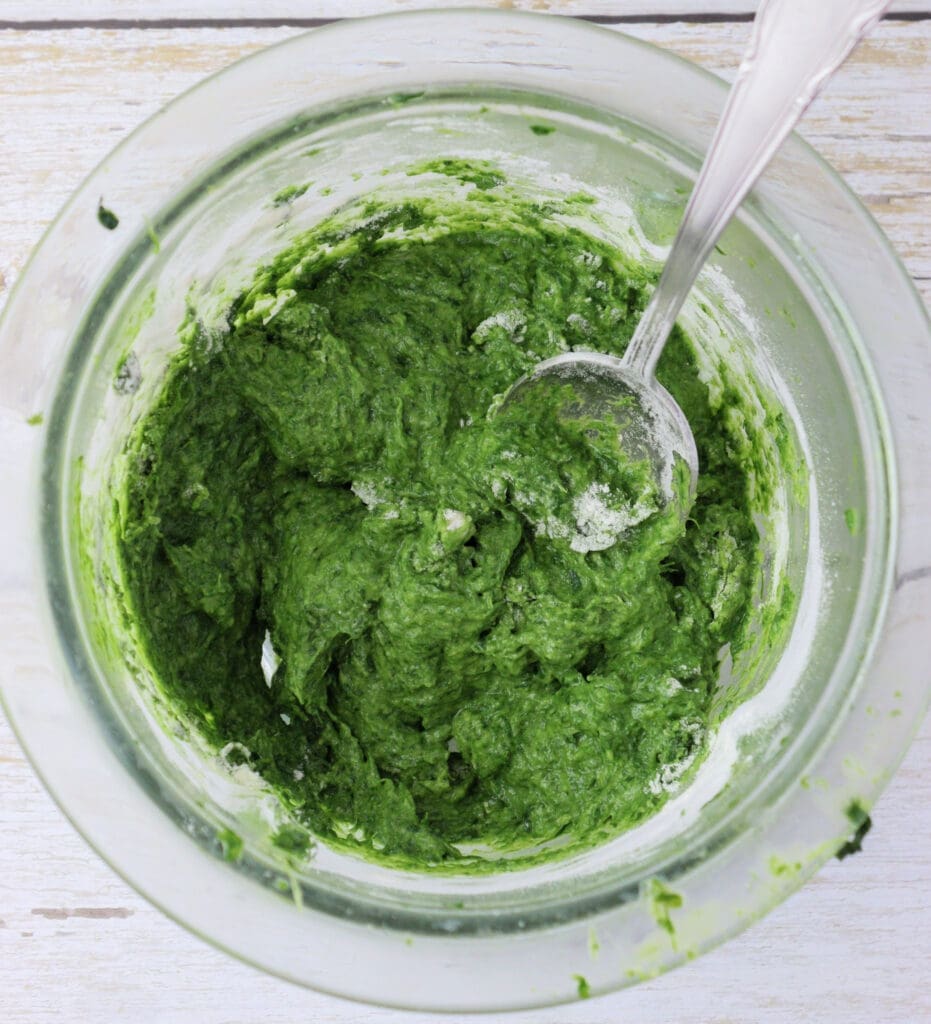
STEP 6: Add flour to the puree, ensuring the dough is evenly mixed.

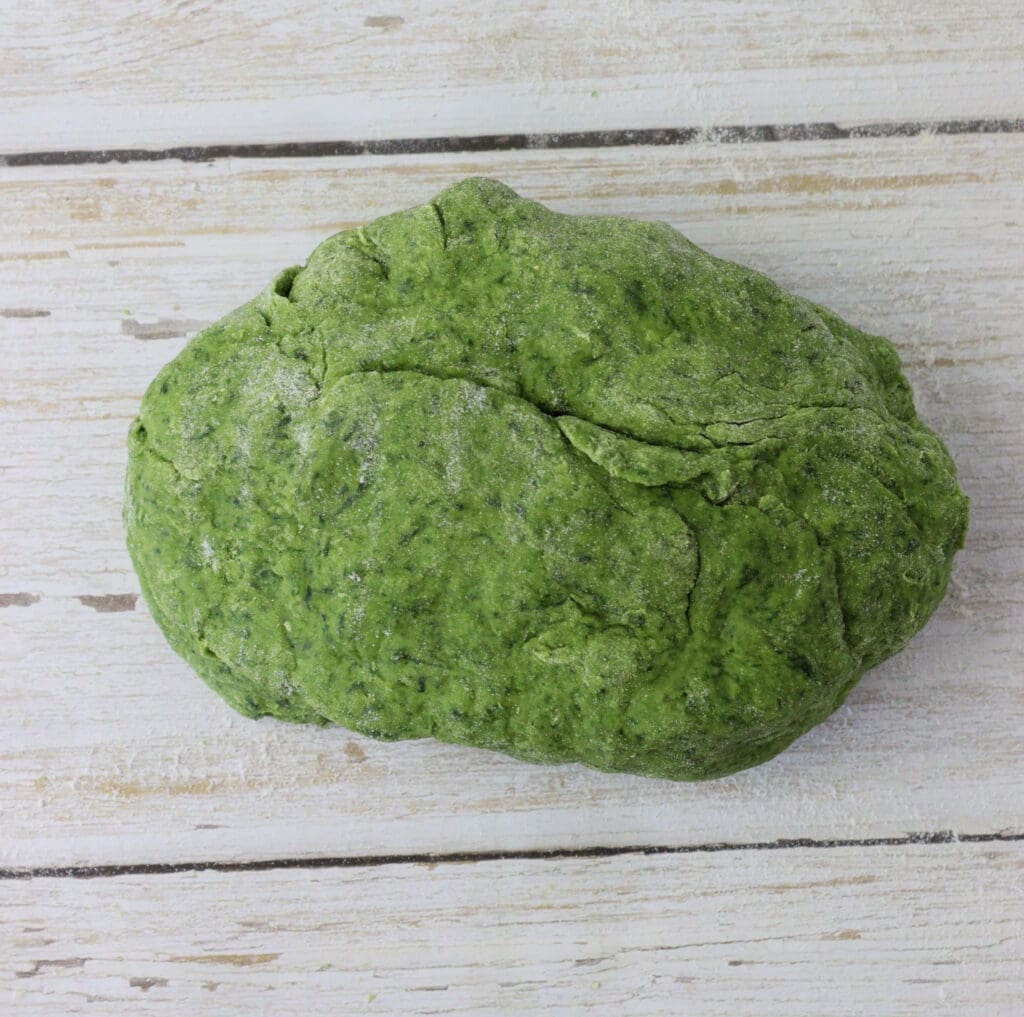
STEP 7: Transfer the dough to the counter and knead for at least 7 minutes.
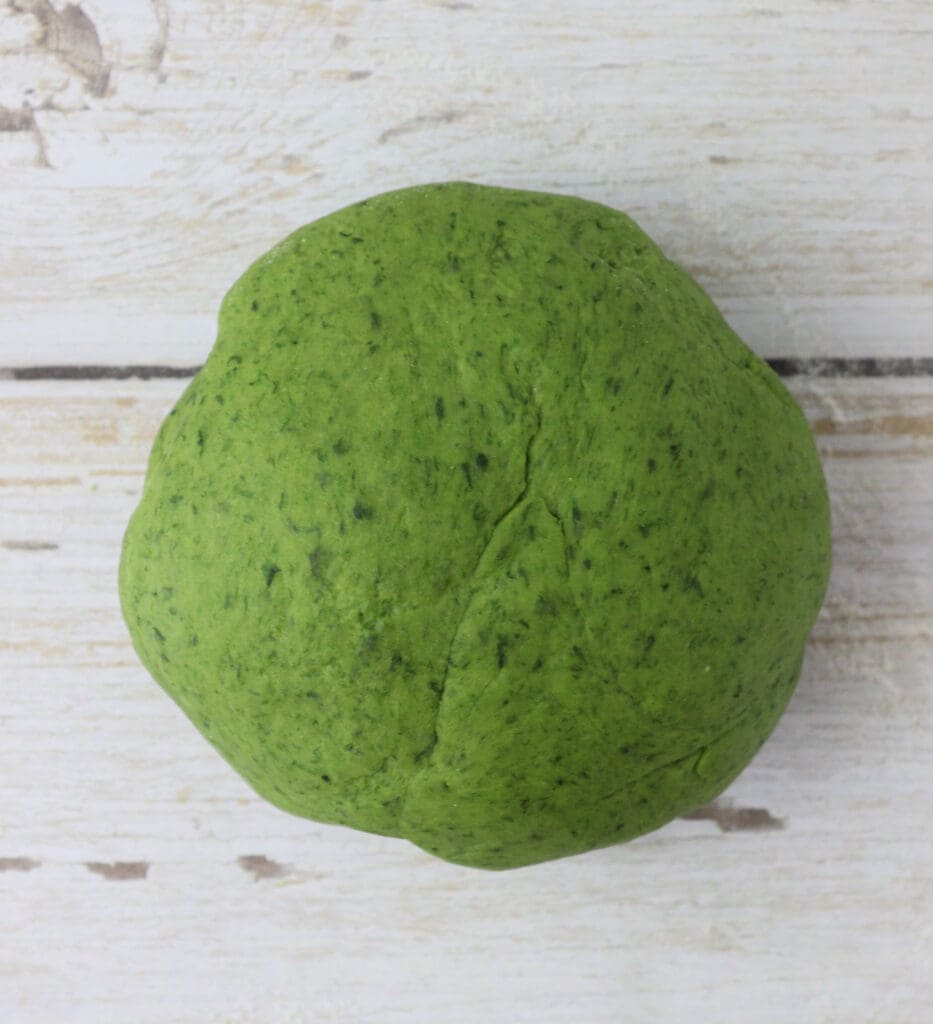
STEP 8: After the dough is kneaded well enough, it’s best to cover it with plastic foil and let it chill in the refrigerator for 2o minutes.
CREATE YOUR GREEN PASTA
STEP 9: Before rolling it out, split the dough into four even pieces.

STEP 10: Sprinkle the counter generously with flour and roll out each piece thin enough to fit the first, widest setting on the pasta roller.
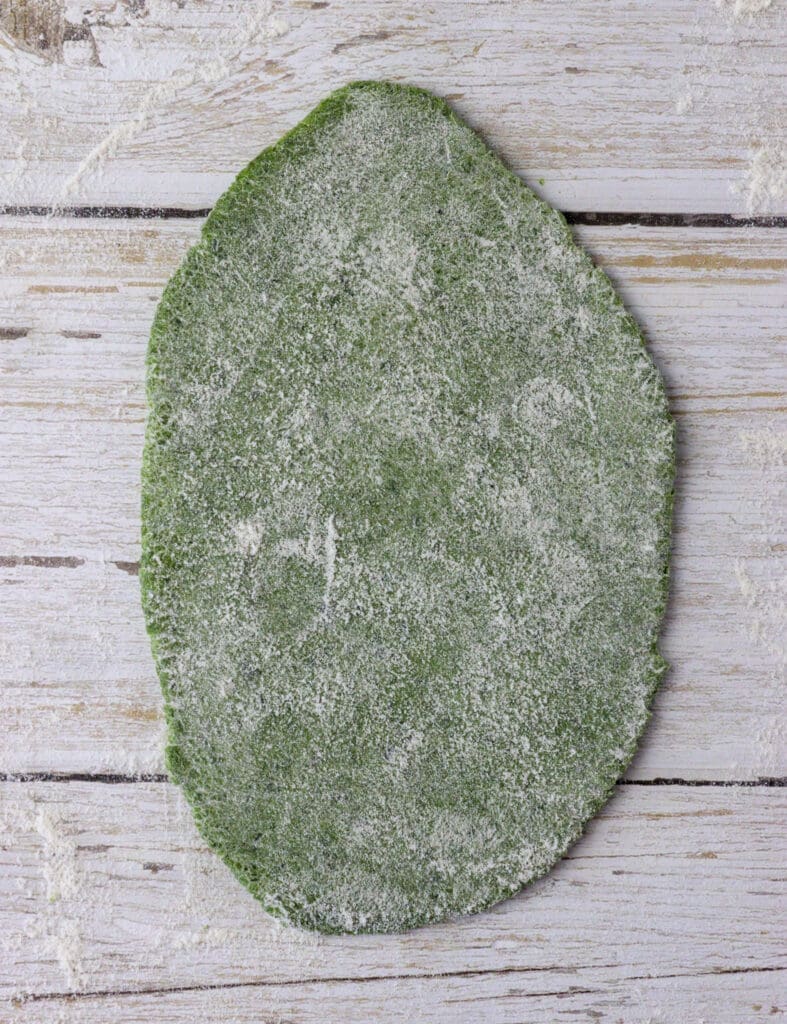
STEP 11: Flour the sheets and roll them on the next setting. Continue doing so until you get the desired thickness. Remember that you must flour the sheets again between rolling them on the next setting to prevent sticking.
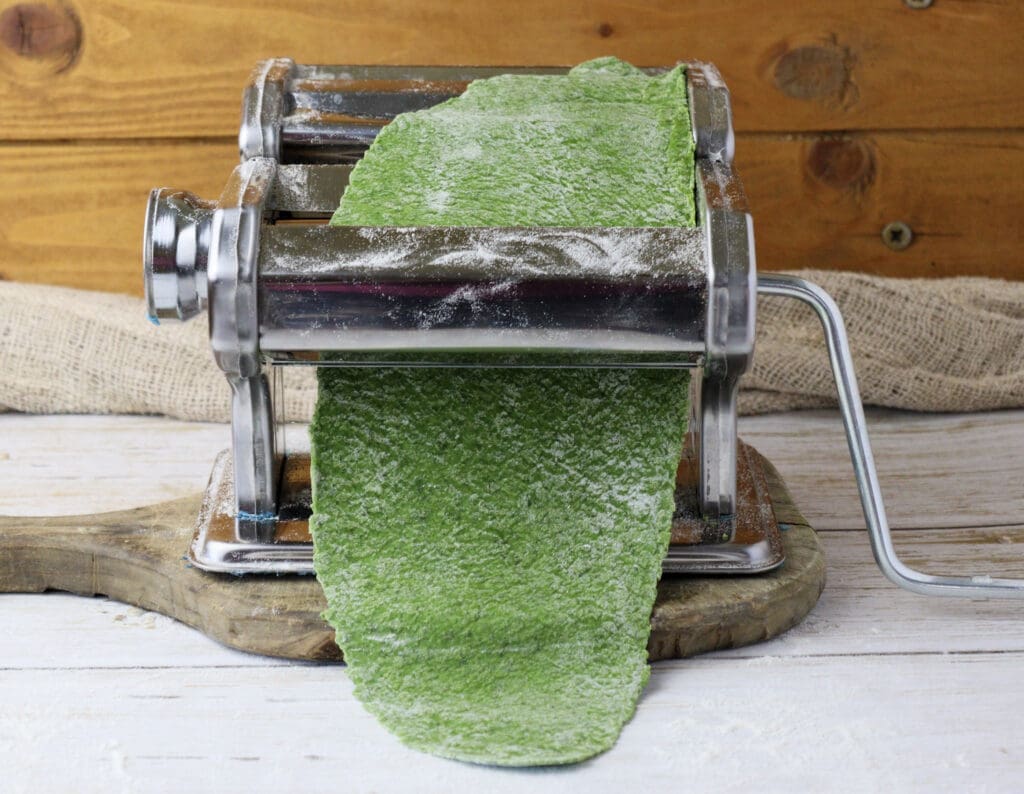
STEP 12: Always sprinkle your sheets with flour at the bottom and on top to prevent sticking.
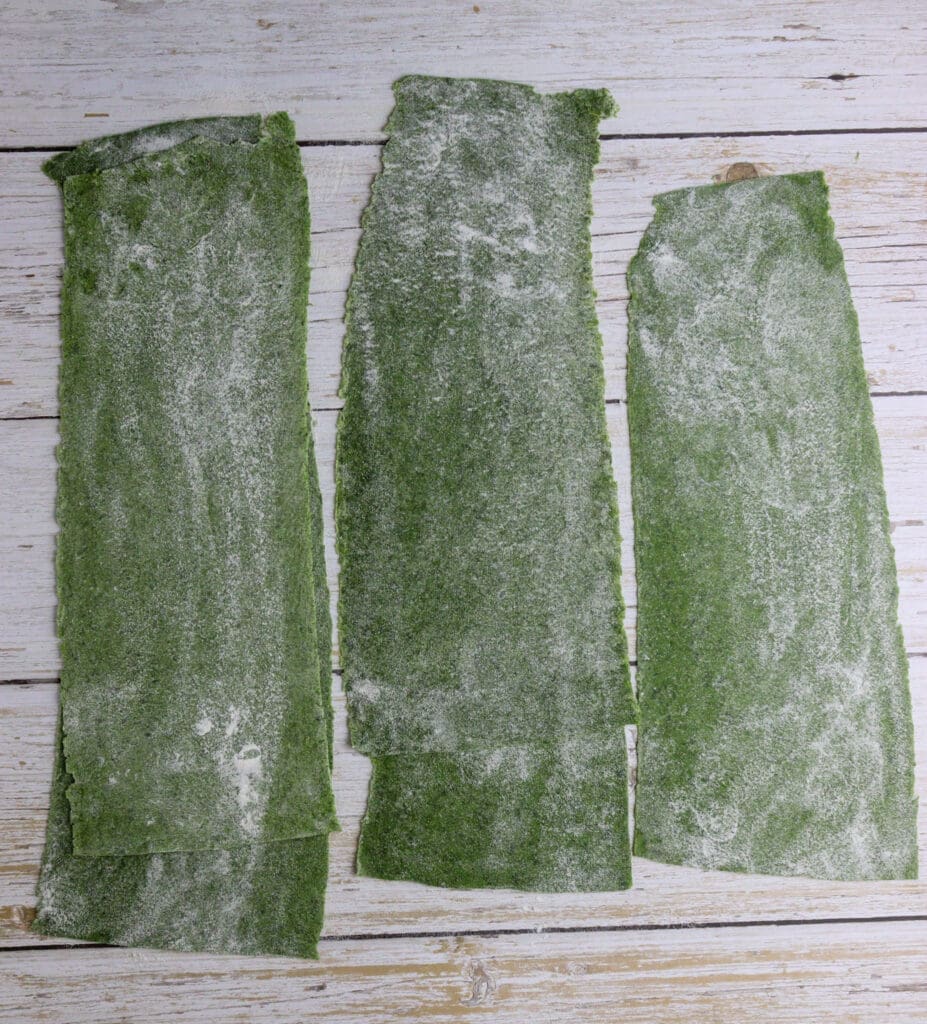
STEP 13: Lastly, roll the sheets through your pasta maker’s “tagliatelle” or fettuccine” setting.
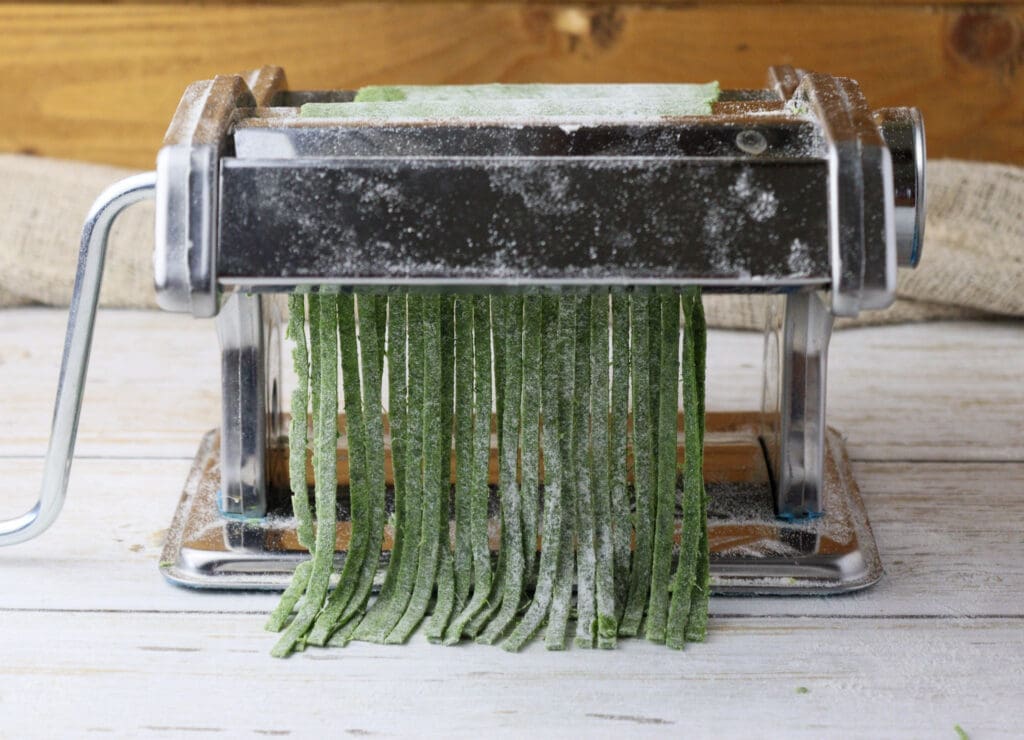
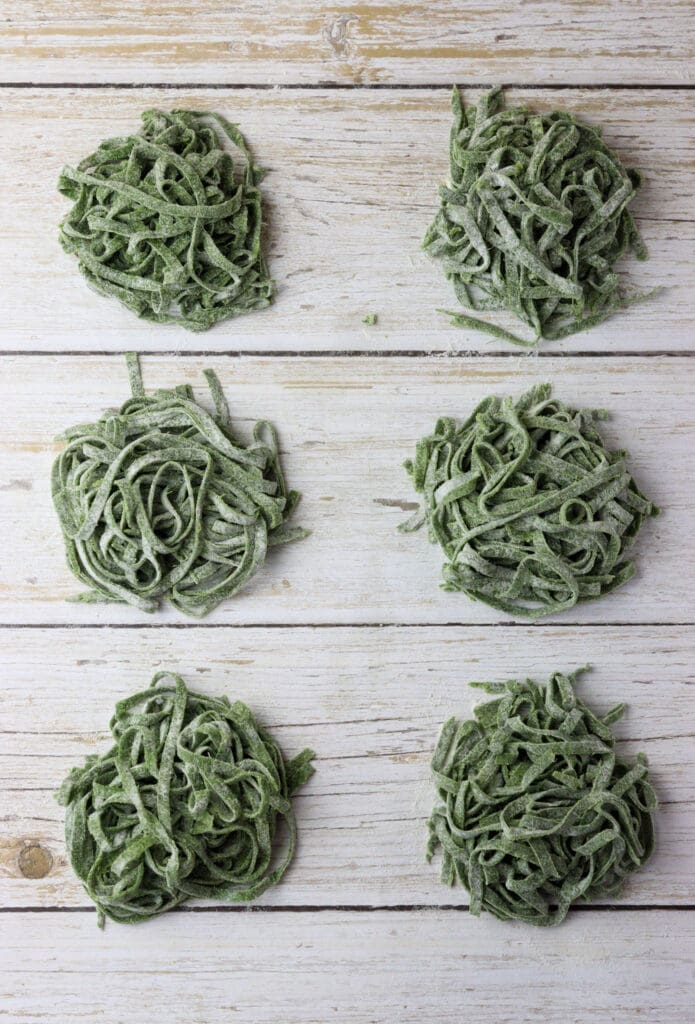
STEP 14: Let it rest on a generously flour-sprinkled surface for a minute or two until you finish with all the remaining sheets. Create small nests, and again, make sure you additionally sprinkle them with flour to prevent sticking together.
COOK
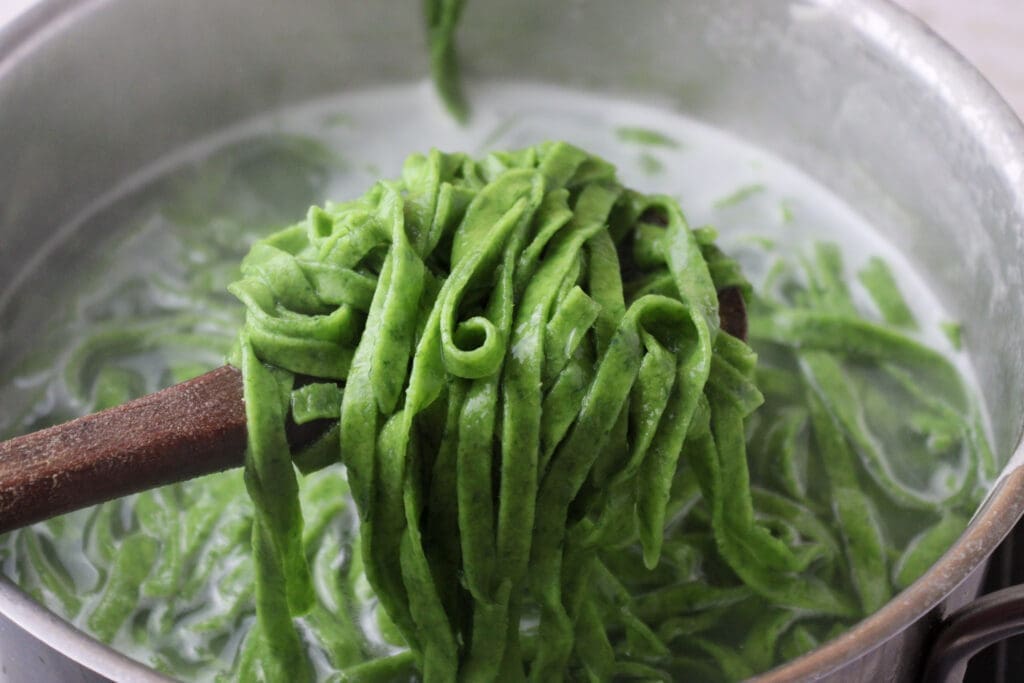
STEP 15: Bring a large pot of salted water to a boil. Cook the noodles for about 3 to 4 minutes. While dried pasta takes longer to cook, fresh, homemade green pasta only takes a few minutes. You want your pasta to be cooked “al dente.”
If you plan to serve it with a cooked sauce or ragu, it’s best to wait until your sauce is ready before cooking the pasta.
How to make green pasta the traditional way
Most people think that making your own fresh green pasta is too much of a hassle. But most of the time, they are wrong. Fresh homemade pasta tastes much better than store-bought, and the whole process won’t take you longer than 15 minutes even if you don’t use the pasta maker machine.
If you frequently eat pasta, it’s most convenient to prepare the dough ahead of time, store it in the refrigerator, and then roll it out and make the noodles when pasta is on the menu.
So how do you do it the traditional way?
STEP 1: Use the same steps from 1 to 9 for making the dough as before.
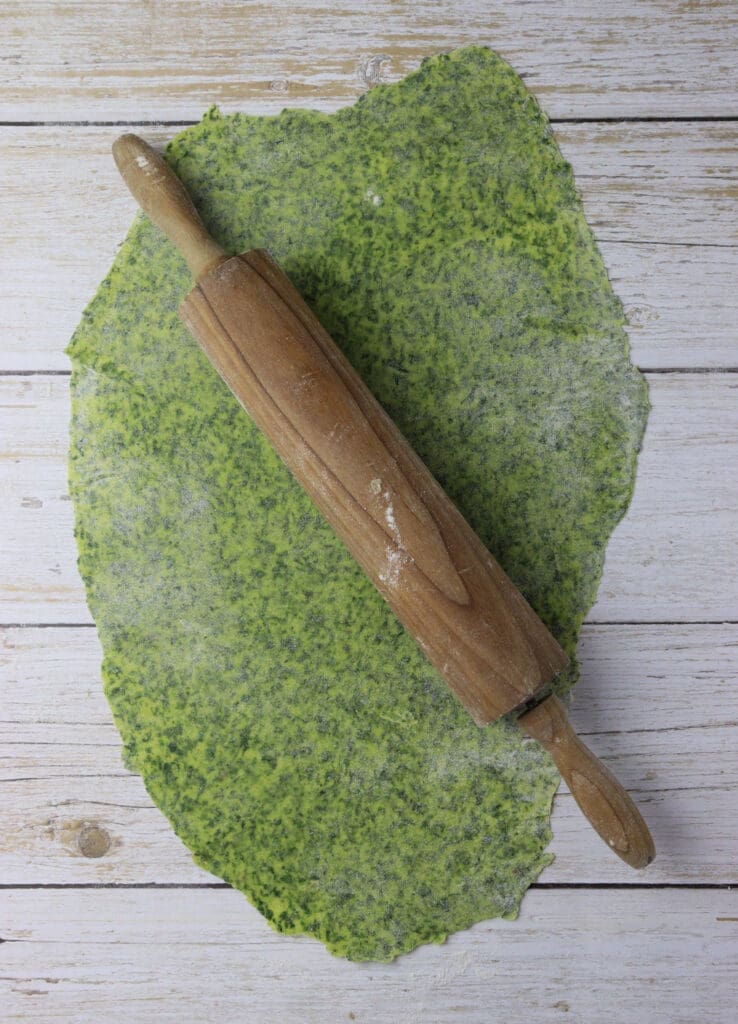
STEP 2: Sprinkle the counter or other surface with flour. Roll out the pasta until thin enough. If it’s good, you will see through the dough when you lift it up.
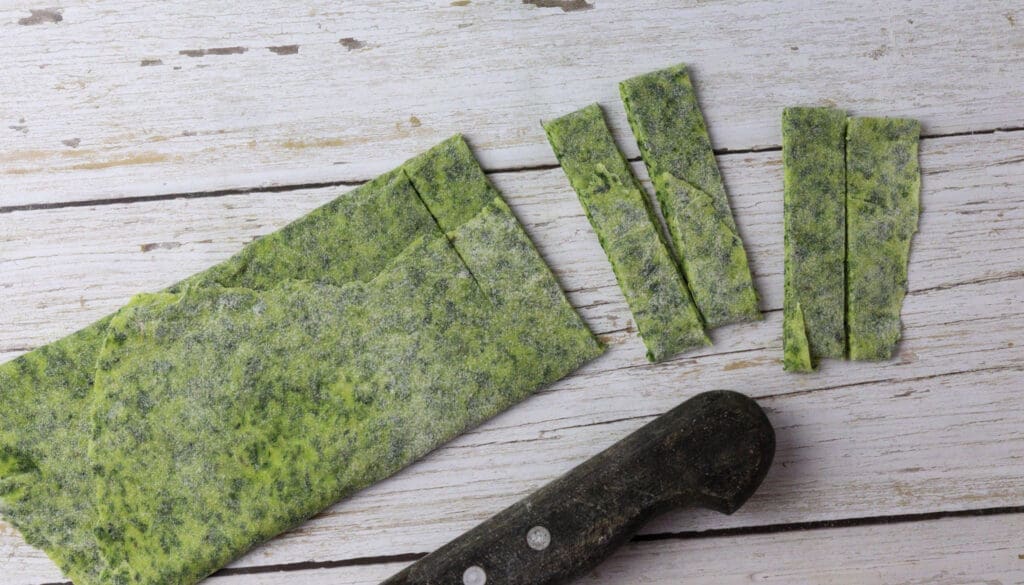
STEP 3: Generously cover the dough with flour on both sides. Roll it together and cut it into your desired shape and thickness. Use a sharp knife or a pizza cutter, resulting in clean, long strips. After that, cook as described above.
Perfect wild garlic pasta dough dos and don’ts
- Opt for quality ingredients. Your green pasta will definitely taste much more delicious if you use organic free-range chicken eggs and freshly picked greens instead of frozen spinach.
- Keep them at room temperature. Make sure your eggs are at room temperature before starting. This helps the dough mix more evenly.
- Knead thoroughly. Spend enough time kneading your dough. A well-kneaded dough will have a smooth and elastic texture, which is much easier to work with.
- Let the dough rest. Always allow your dough to rest wrapped in plastic wrap for at least 20 minutes in the refrigerator. The gluten in the dough will love it, and it will be much easier to roll out.
- Don’t spare the flour. Generously sprinkle pasta sheets with flour on both sides when rolling out. Keep your work surface, tools, and hands floured when rolling and cutting your pasta. Also, sprinkle flour over the cut pasta if not cooking immediately. This will prevent the noodles from sticking together.
- Roll out the dough evenly. Aim for an even thickness to ensure uniform cooking.
- Don’t overcook it. Fresh pasta cooks much quicker than dried—usually in 2 to 4 minutes. Taste it before draining to ensure it’s cooked al dente. If you’re serving it with a ragu or sauce, cook the pasta when the sauce is ready.
How to store it
Fresh green pasta tastes absolutely best when cooked immediately.
However, if you eat a lot of pasta, we suggest making the dough in advance and keeping it in the refrigerator. This way, it can be stored for up to 4 days, ensuring you keep it in a covered container, plastic bag, or carefully wrapped with plastic foil.
You can also store the noodles in an airtight container in the refrigerator for up to 3 days. Ensure you sprinkle the nests with enough flour to prevent them from sticking together. The best flour to use is corn flour.
If you want to keep them for longer, you can freeze them for up to 6 months. No thawing is needed before cooking, but they might need to boil for a minute longer.
How to dry wild garlic pasta
If your homemade green pasta is not too thick, it can also be dried.
Before doing that, we recommend swirling the noodles into small nests. This way, they will be easier to store and handle (without breaking) when dry.
How to create the nests:
- Prepare a clean kitchen towel and sprinkle it with flour (preferably corn flour). It should be big enough to hold all the nests, depending on how much pasta you’ve made.
- Take a small bundle of pasta noodles, roughly half the amount you’d serve one person.
- Hold the bundle loosely in one hand at about waist height over the floured towel.
- Using your other hand, twirl the bundle gently, letting the pasta twist and fall naturally into a loose, circular nest on the surface. A looser nest will dry quicker and more evenly.
- Sprinkle a little more flour over the top to prevent the noodles from sticking together during drying or storage.
Allow the nests to air dry on a floured sheet. Before storing them, ensure they are fully dry, which can take up to 24 hours, depending on humidity, room temperature and thickness.
Another approach is to dry the pasta on a drying rack. If you don’t have one, you can easily improvise and use a broom handle instead. Place it between two kitchen chairs and lay your noodles evenly on the handle to dry them.
And lastly, you can speed up your drying process in the oven.
Preheat the oven to 50 C/122 F and turn on the ventilation. Prepare a baking sheet and lay the nests on floured parchment paper. Allow the pasta to dry, and check frequently. Once dried, remove the pasta from the oven and let it cool completely on the baking sheets. Store it in a container or a paper bag at room temperature.
Green pasta dough FAQs
Colored pasta is made by mixing natural colorants into the pasta dough. Essential ingredients to achieve various hues include greens (such as spinach, wild garlic, and basil) for green, beetroot for red or pink, carrots or pumpkin for orange, and squid ink for black.
Green pasta is commonly made by adding pureed greens such as spinach, ramps, basil, or kale to the traditional pasta dough, giving it a vibrant green color. Red pasta usually includes beetroot puree for a distinctive red appearance or tomato paste, resulting in slightly pink pasta.
Green pasta is not superior to white pasta in terms of overall quality, but it does offer some nutritional advantages. This is because green pasta often contains ingredients such as spinach, basil, wild garlic, ramps, or kale, which provide additional vitamins and minerals that white pasta lacks.
The flavor of green pasta will vary depending on the type of greens used to make the dough. Spinach adds a mild, slightly earthy flavor; wild garlic contributes a garlicky taste; kale imparts a robust, earthy tone; basil gives an aromatic, herbal flavor; and stinging nettle lends a slightly grassy taste.
No, unless it’s made from gluten-free flour like rice, corn, quinoa, or buckwheat flour.
Pasta made with herbs like basil or spinach pairs great with light garlic and olive oil sauce or a classic Alfredo. Another excellent choice is a creamy pesto sauce, which perfectly complements the pasta’s green hues and subtle vegetable flavors.
Foraged food you might like
Green gnocchi with wild spinach
Tagliatelle ai funghi (tagliatelle with porcini mushrooms)
Homemade Green Wild Garlic Pasta
EQUIPMENT
- pasta maker (optional)
- Rolling Pin
INGREDIENTS
- 0,33 lbs wild garlic leaves (or other greens) (150 g)
- 0,55 lbs flour (250 g or 1 cup)
- ½ tbsp olive oil
- 1 pinch salt
- 1 pinch dried thyme (optional)
INSTRUCTIONS
- Prepare a large pot with salty water and bring it to boil. Wash the leaves and chop them into smaller pieces.
- Blanche the greens for about two minutes. Drain, allow them to cool and cut them again into smaller chunks.
- Blend together with two eggs, half tbsp of olive oil, a pinch of salt and a pinch of thyme (optional) until getting a smooth puree.
- Add the flour and mix it evenly together with the puree until you get a nice dough.
- Transfer the dough to a clean, flour-sprinkled counter and knead for at least 7-8 minutes.
- Cover the dough ball with plastic foil and allow it to chill in the refrigerator for 20 minutes.
- Split the dough ball into four even pieces before rolling it out. Roll out to fit the first setting on the pasta maker machine. If you are making the pasta the old traditional way, roll it out thinner to the desired thickness of noodles.
- Flour the sheets on both sides and roll them on the first setting of the pasta maker. Continue rolling on the next setting until you get a desirable thickness. Each time, flour both sides of the sheets. Lastly, roll the sheets through the desired noodle setting.
- If you're not using the pasta maker machine, flour the sheets and roll them into a wide roll. Cut the noodles using a sharp knife or pizza cutter.
- Lay your pasta on a flour-sprinkled kitchen towel or parchment paper, forming small nests and let it rest for a few minutes. Bring a large pot with slightly salty water to a boil.
- Cook your fresh green pasta for about 3-4 minutes, combine with your favorite sauce and enjoy 🙂
Video
NOTES
NUTRITION
Proudly announcing our green pasta was featured at Esme’s senior salon pit stop, Gma’s photo and
If you liked our recipe, please rate it in the comments below.
Show your love by sharing ❤️



I never knew wild garlic will give the pasta such strong green color!
Indeed Milo, the colour is much more vibrant than green pasta made with spinach. That’s why we love it 🙂
This is beautiful! Thank you for sharing.
Thans Allyn 🙂
I have never tried my hand at making pasta, and as I am LC may not get to that in the future, but love the color you have here.
Thanks so much for participating and sharing at SSPS 313. See you again next week https://esmesalon.com/tag/seniorsalonpitstop/
It looks quite unbelievable, but this is the color you get from wild garlic!
Beautiful pasta and great info to complete! This will be one of my featured posts for next week’s SSPS. Thanks for sharing with us, we appreciate it!
Awww thank you so much Melynda, you just made my day 🙂
This sounds wonderful. Thank you for sharing your recipe.
Thanks Steph, I’m happy that you like it 🙂
Congratulations Mariama, I will feature your post at SSPS 314. See you Monday: https://esmesalon.com/tag/seniorsalonpitstop/
My dear Esme, you just made my day:) Thank you!
I have not tried green pasta. While reading your instructions, I was reminded of my grandmother. When she would visit she would like to make us dinner. I remember her making homemade noodles, white 🙂
I remember her making the dough and spreading out the newspaper (yeah that’s right) and spreading the flour out on the paper and rolling the dough out flat. Once flat she would take a knife and slice the dough into thin strips. Homemade chicken and noodles! Wonderful memories. Going to pin for future reference.
Take care and best wishes.
Thank you for sharing such a beautiful memory! There’s something truly special about homemade noodles, and it sounds like your grandmother created some wonderful dishes. I’ll definitely try how it works on the newspaper! And I’m glad you’re pinning the recipe for future reference. Take care and best wishes to you too!
This looks delicious! I can’t wait to try this recipe. Thanks for sharing with us at the homestead blog hop. We hope to see more this Wednesday.
Thank you so much Kelly! I’m thrilled to hear that you’re excited to try the recipe. I’ll definitely be visiting the homestead blog hop this Wednesday, hopefully with a new recipe. Let me know how the green pasta turns out for you when you give it a try.
This is beautiful! You’ve inspired me – Pinned and printed! Thanks for sharing at the What’s for Dinner party.
Awww, thanks Helen! I hope I did convince you to try it 🙂
Thank you for sharing your wonderful recipe with us at The Crazy Little Lovebirds link party #41.
It’s always a pleasure 🙂
I’m happy to let you know that your post will be featured tomorrow at The Crazy Little Lovebirds link party. Thank you for sharing your recipe with us.
Awww Stephanie thank you so much! I’m delighted to know my post will be featured. I really appreciate the support and can’t wait to share more. Sending you a hug 🙂