
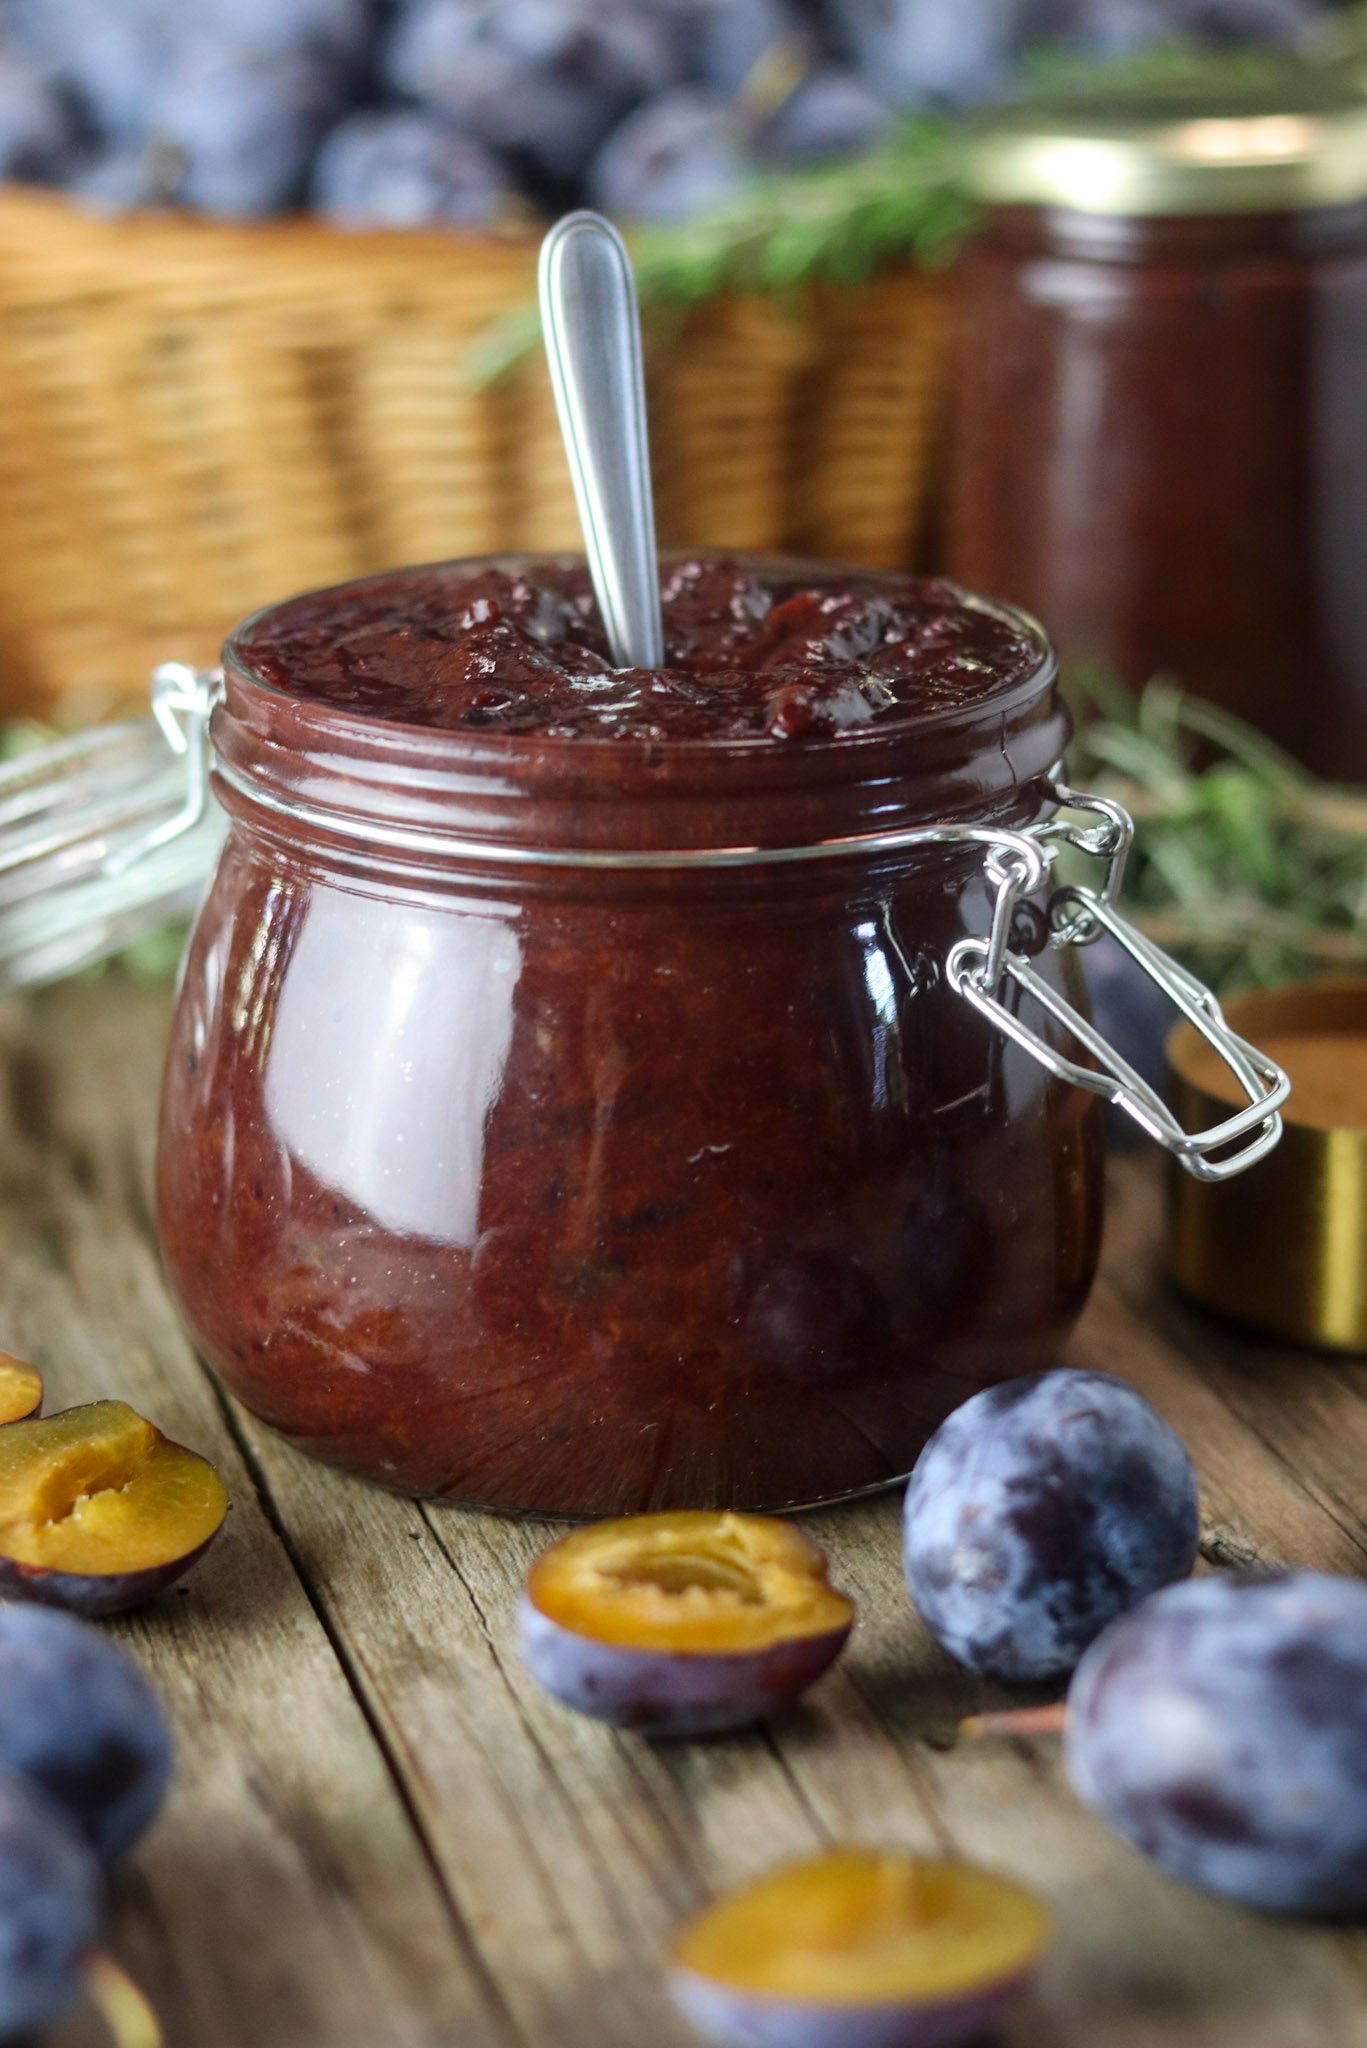
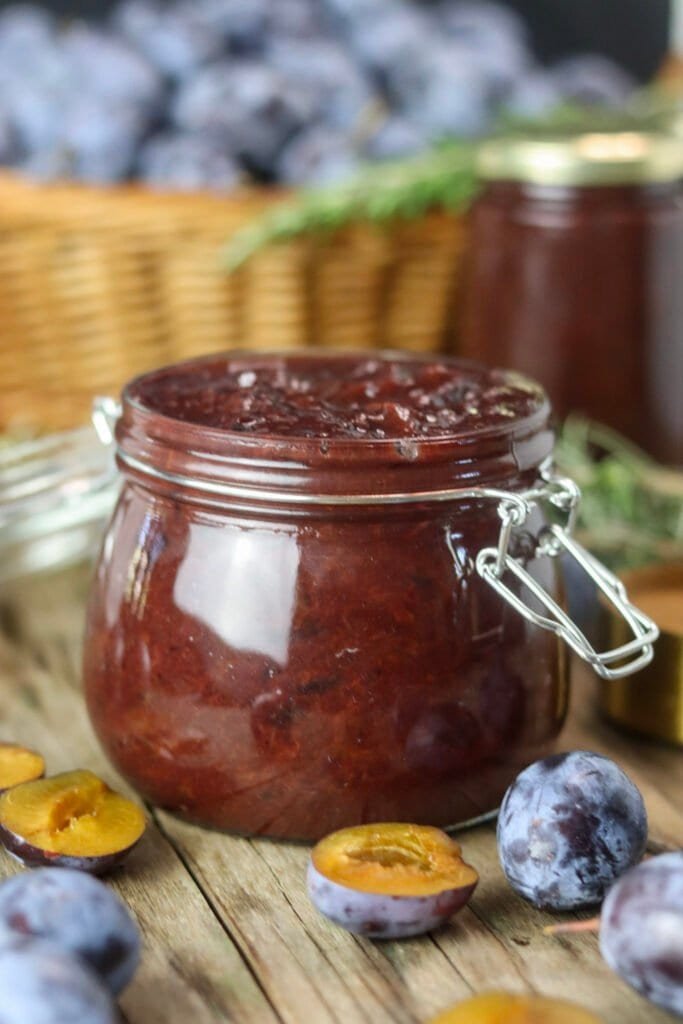
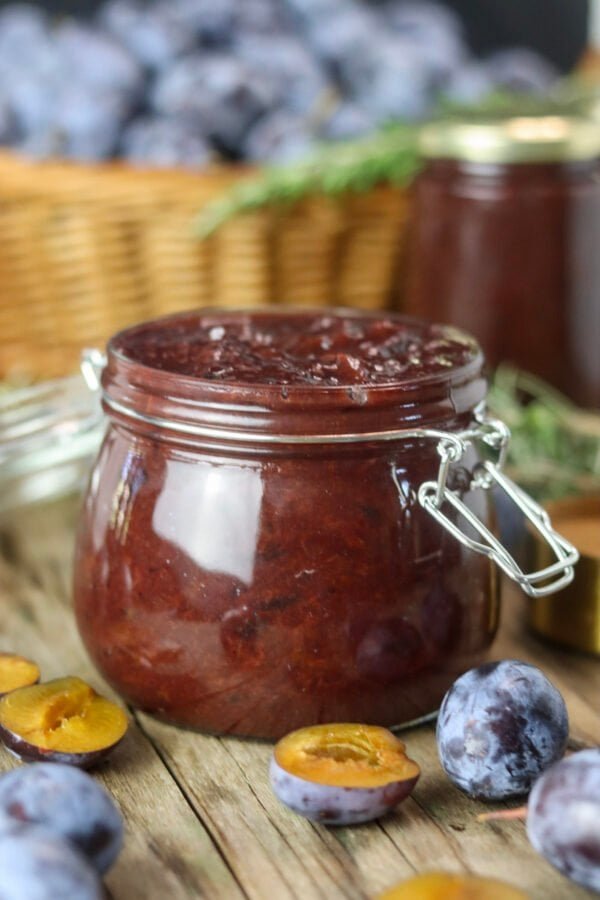
This is an easy recipe for a batch of homemade sugar-free plum jam with cinnamon, including canning instructions. You need no special equipment for this jam, just ripe plums, a tablespoon of cinnamon, jars, two pots, and a handful of good intentions.
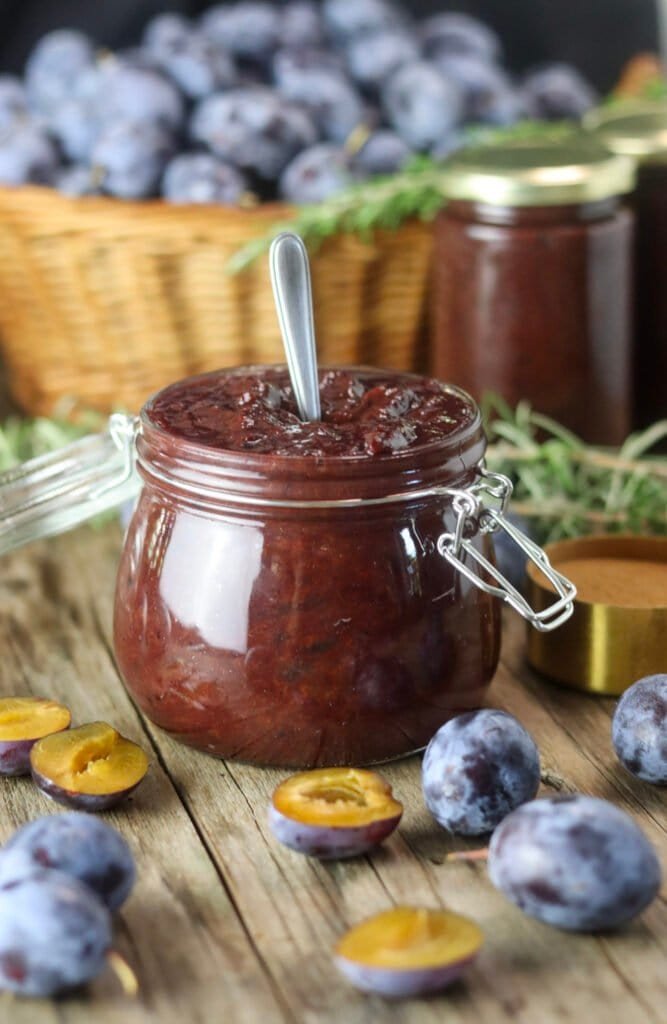
Sugar-free plum jam with cinnamon is great for canning
I can’t even imagine autumn without a fresh batch of plum jam.
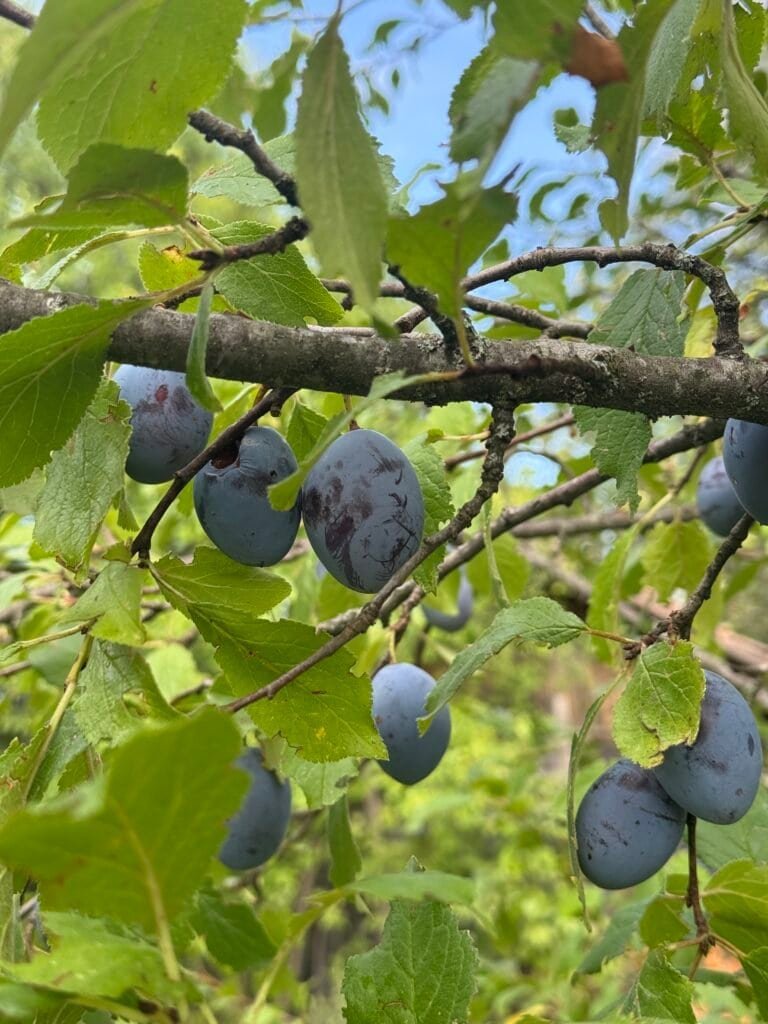
Driving through the Balkans in late summer, you’ll notice a lot of plums around almost every village house; almost every house traditionally has a plum orchard with thousands of blue and purple plums hanging off the branches. Picking the plums is often an obligatory family meeting that lasts for days and somehow celebrates the end of the summer.
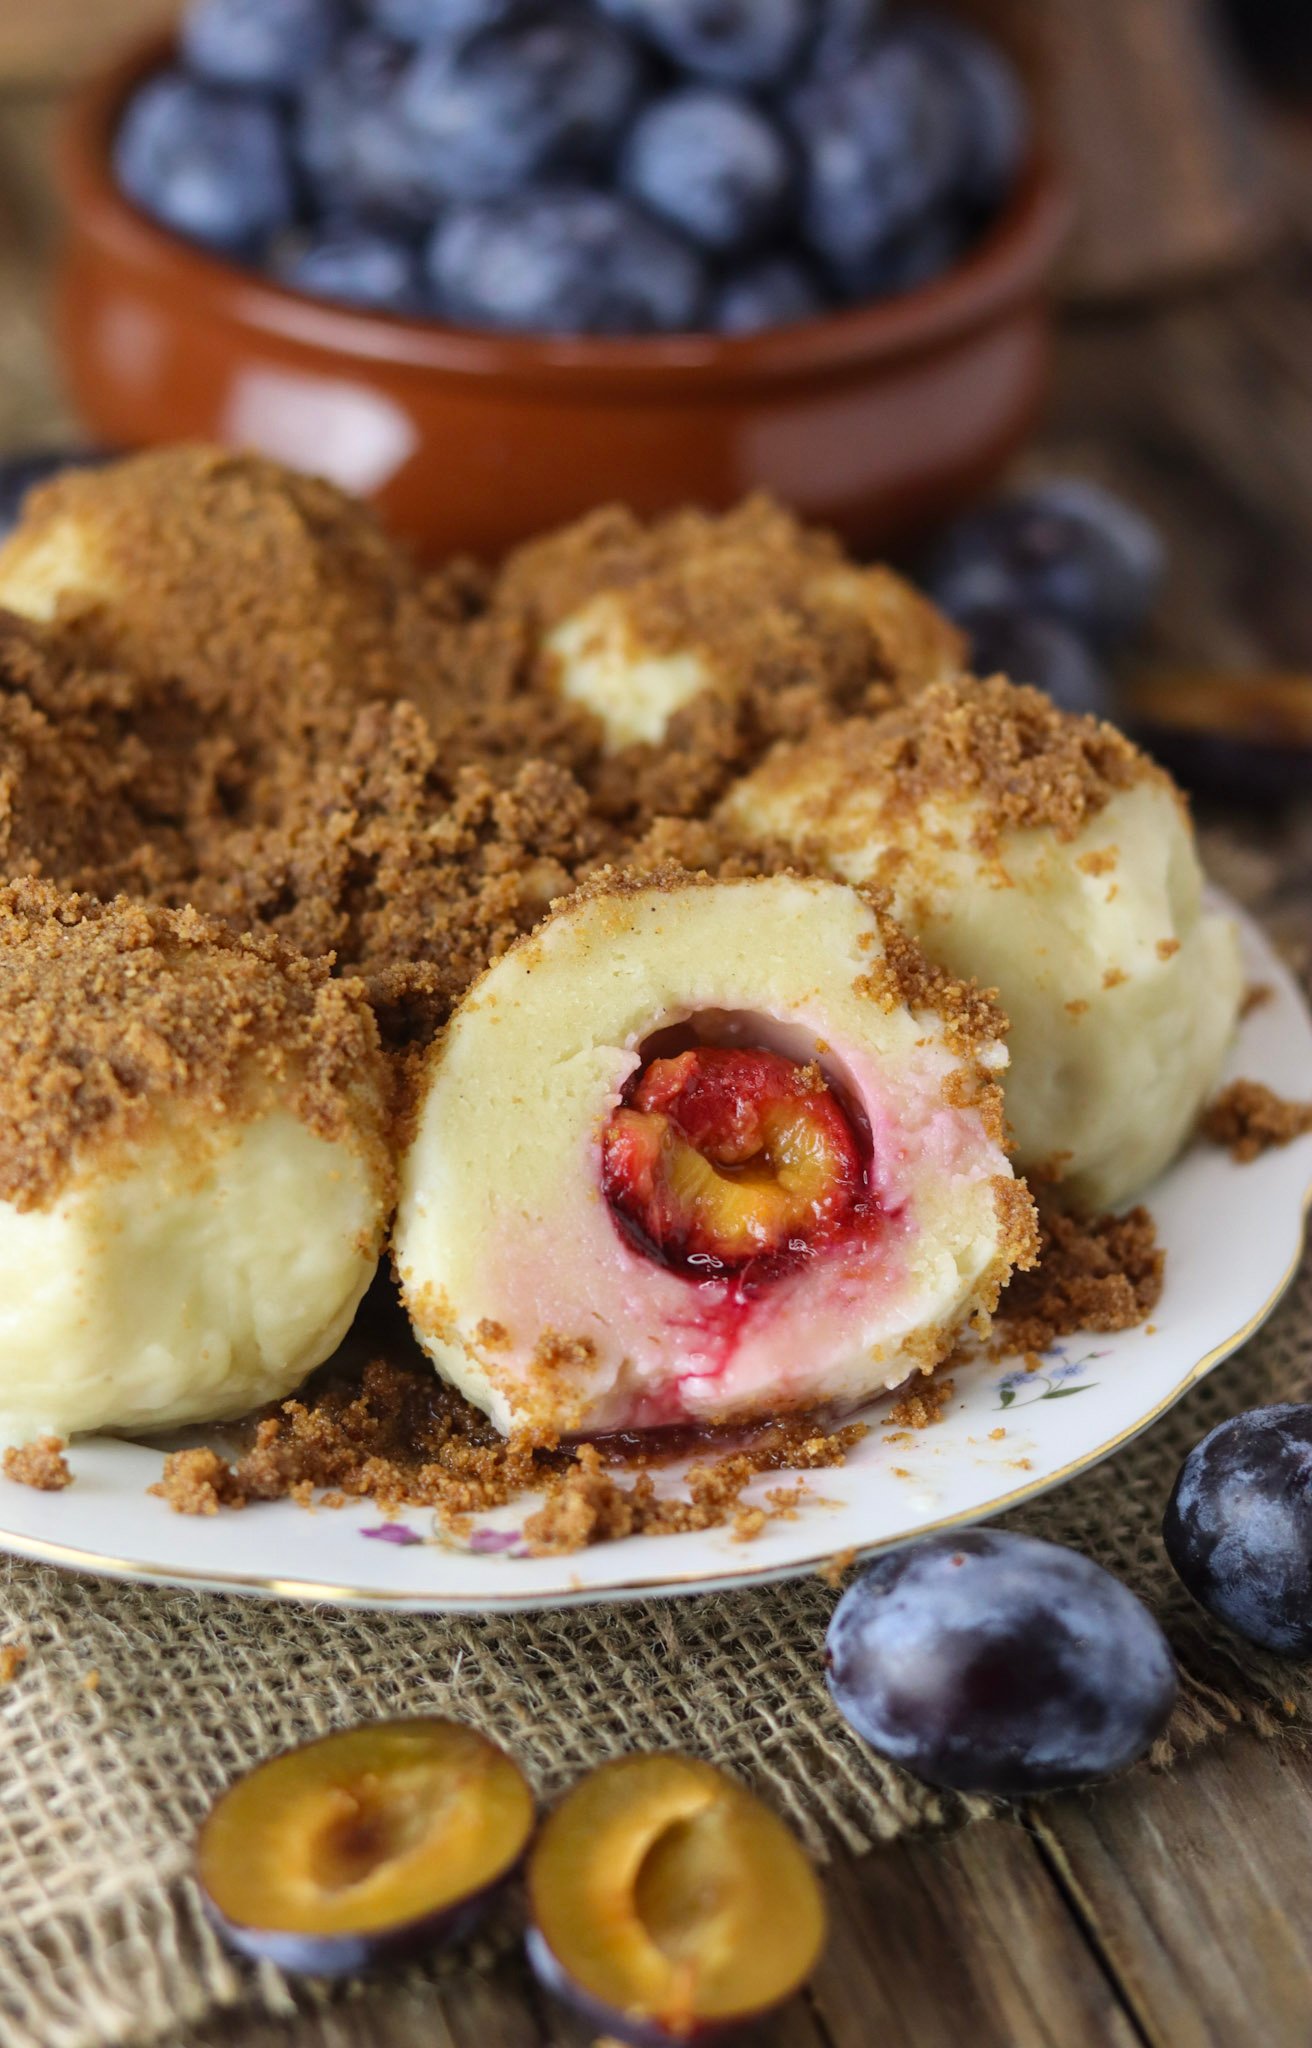
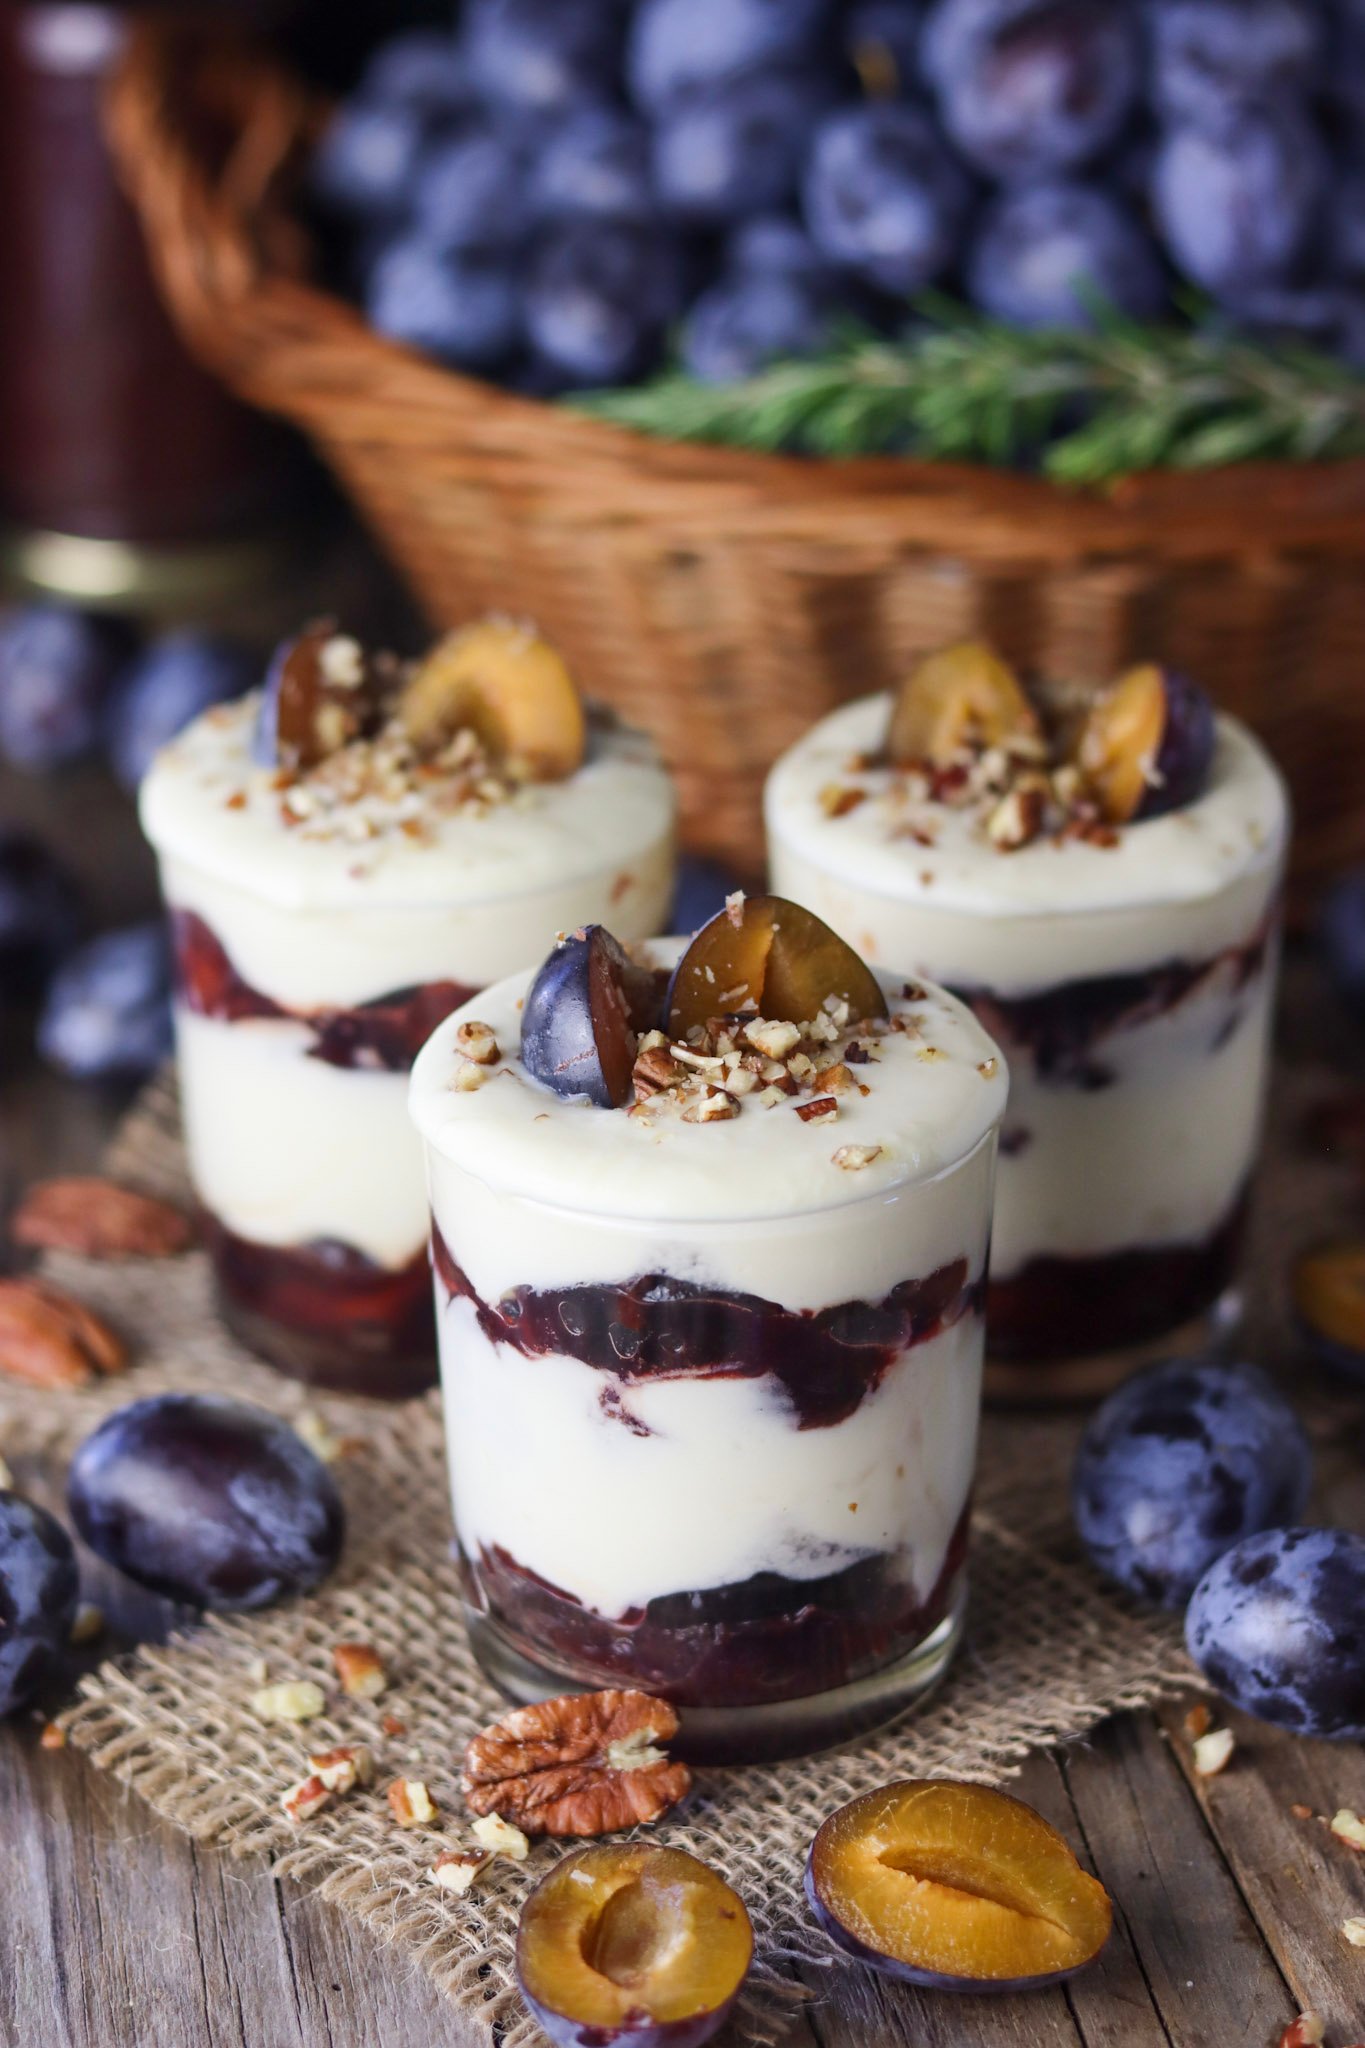
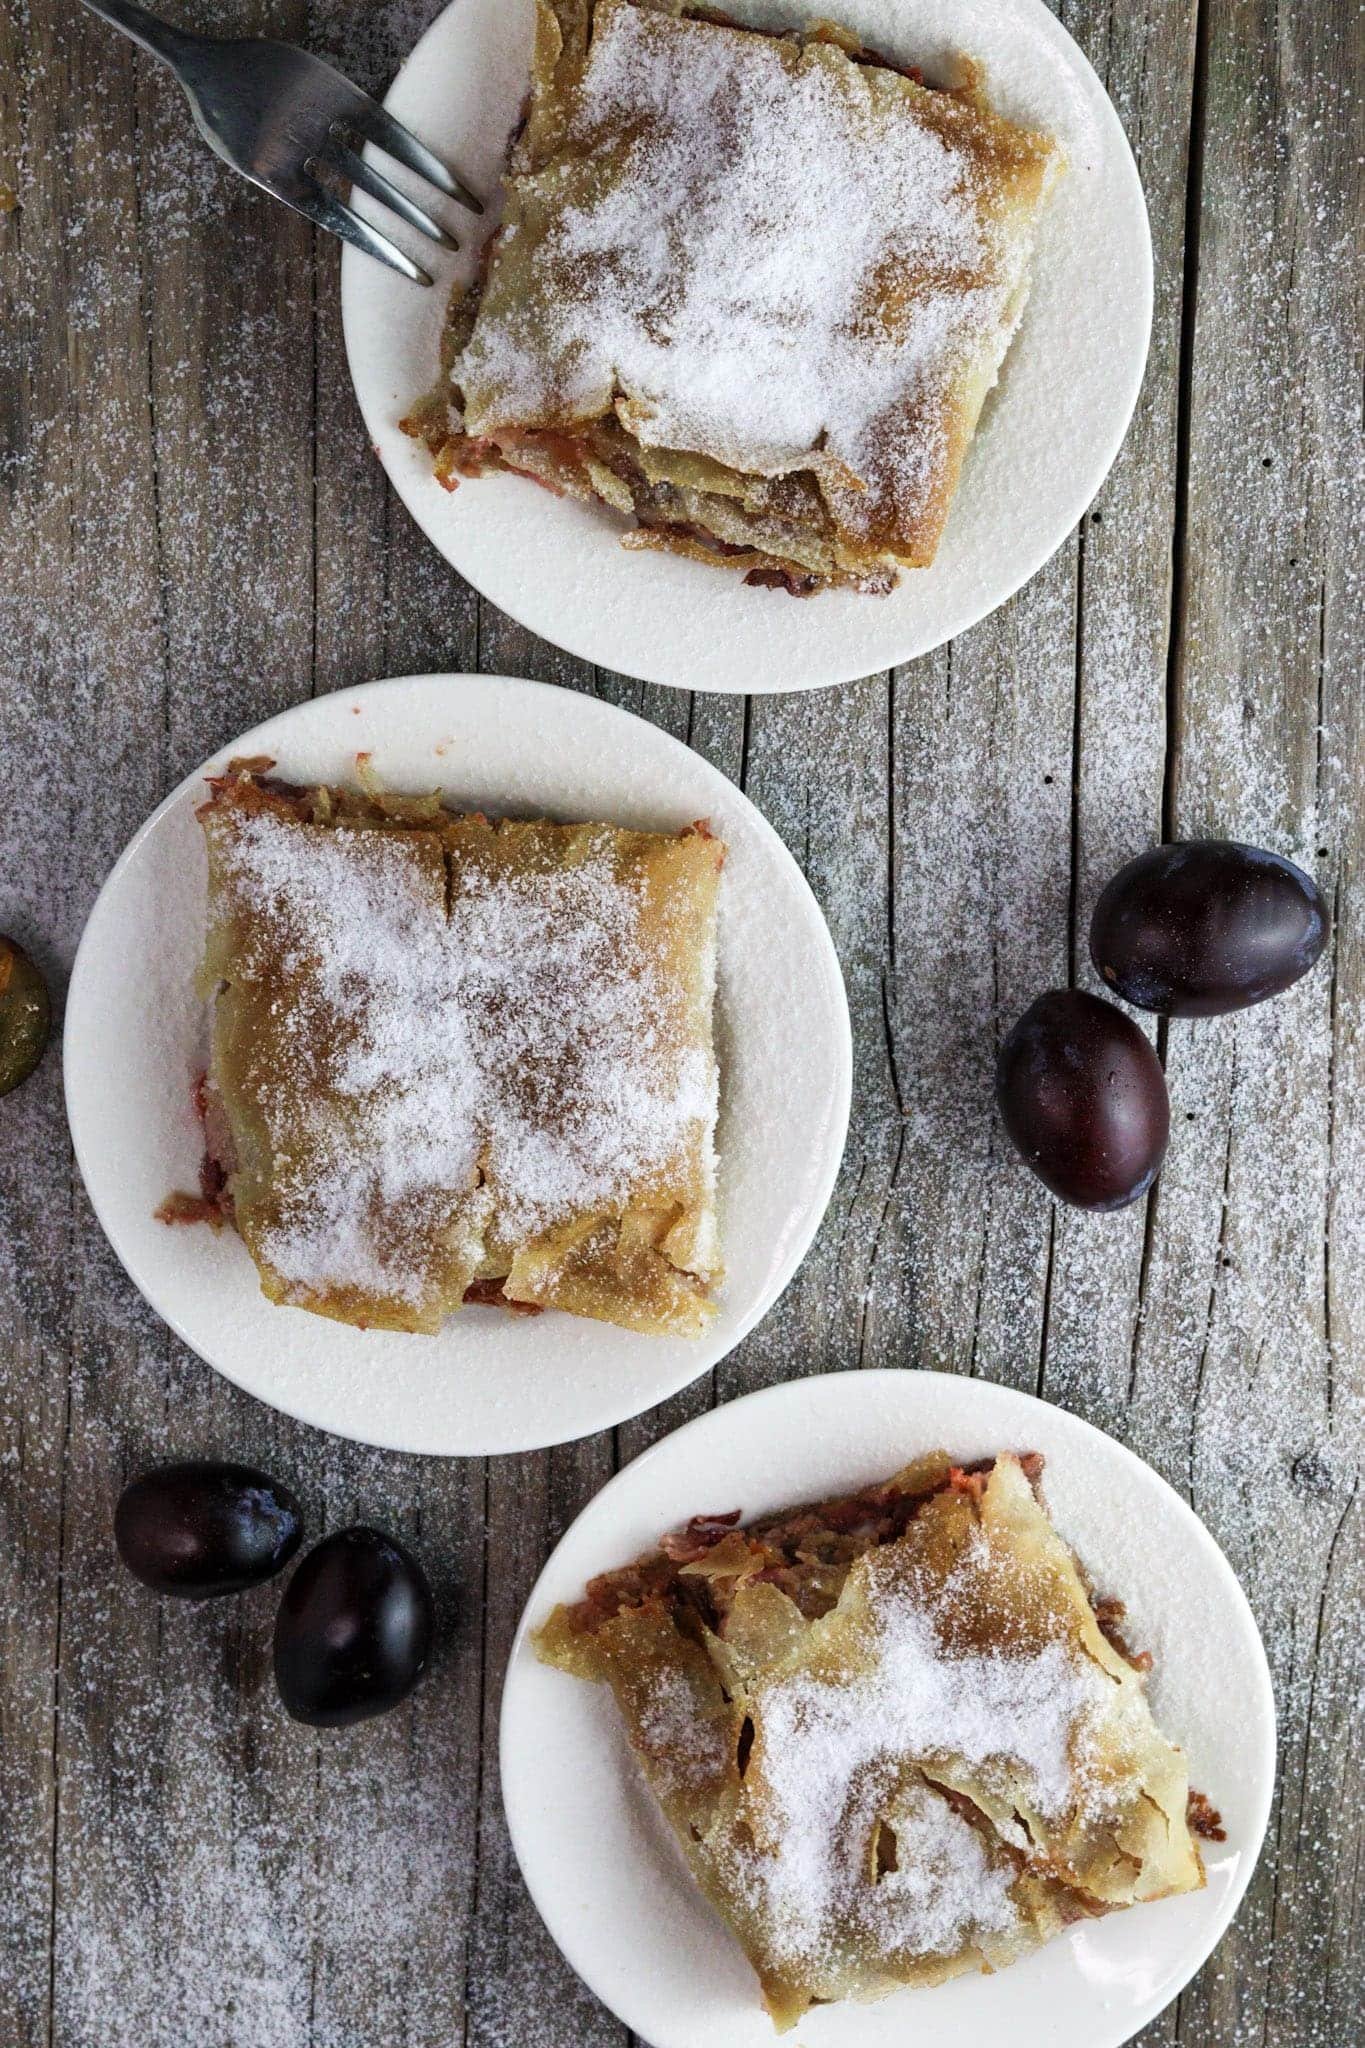
Plums are used in hundreds of recipes, like plum parfait, plum strudel, plum cakes, and the beloved plum dumplings. But what almost every household with a plum orchard does is make plum preserves and homemade plum jam.
This recipe makes a batch of homemade canned plum jam with cinnamon without any added sugar or pectin. If you have a plum tree or just bought plums, you can store it for the whole year, or even longer, and use it in desserts, cookies, pancakes, and more.
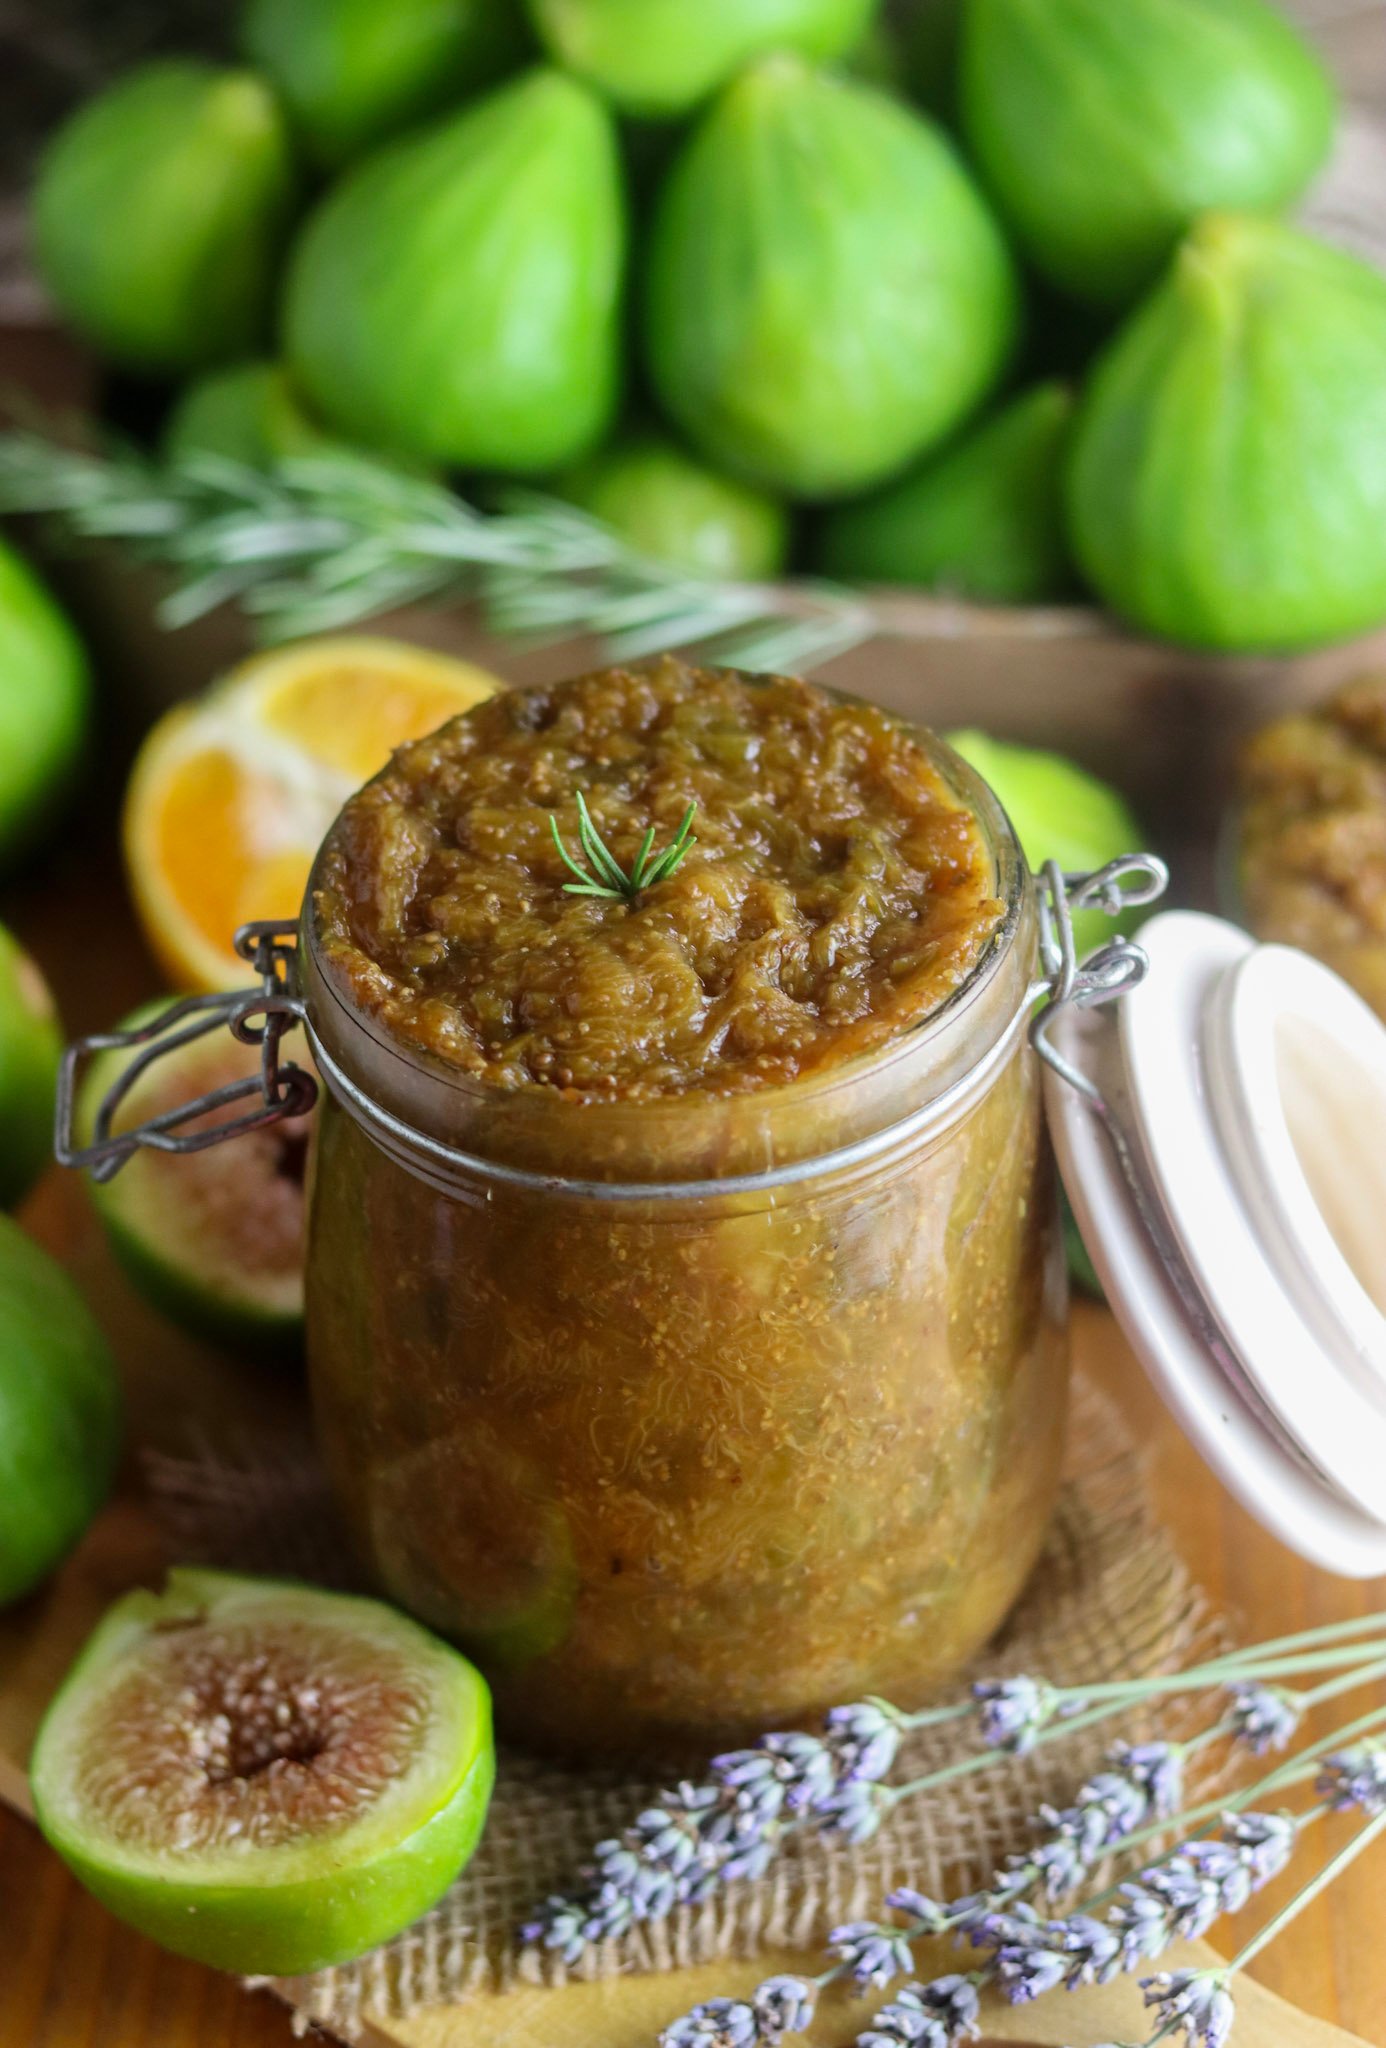
Similar to sugar-free fig jam, this plum jam is keto- and low-carb-friendly; it contains no preservatives and works with all types of plums. Mix it with yogurt, and you’ll always have the best no-guilt yogurt dessert at arm’s reach. Pair it with butter or kajmak on a slice of gluten-free soda bread, and you’ve got a healthy old-school breakfast that beats all the rest.
With a simple canning process, it will last a long time. We’ve got jars of this jam in the pantry that were made two years ago, and they still taste delightful, just like they were made yesterday.
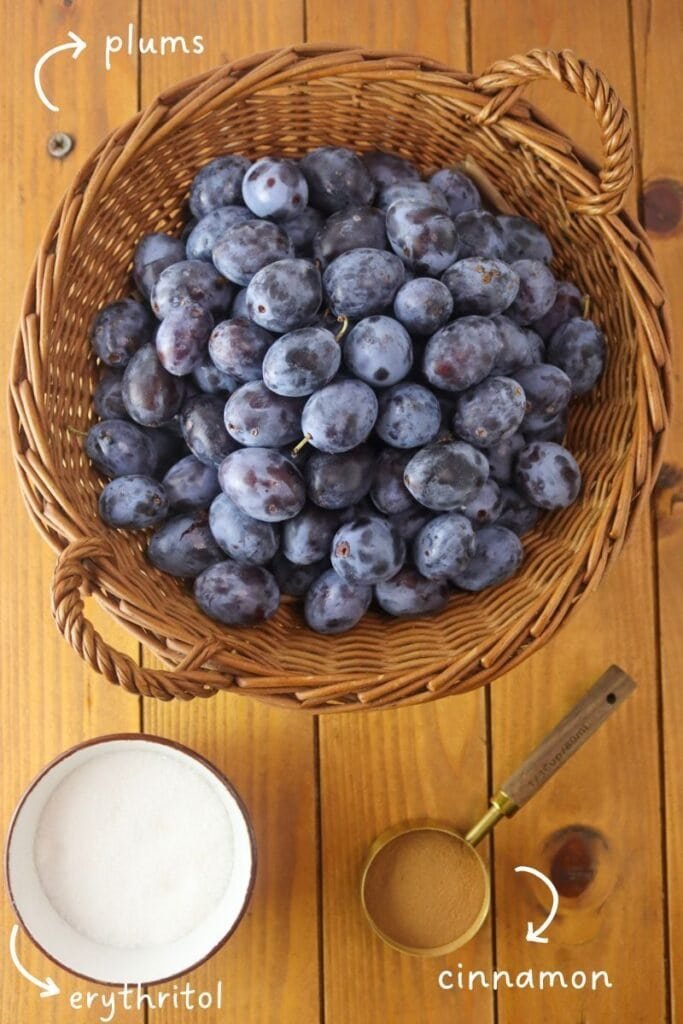
Ingredients you need for the jam
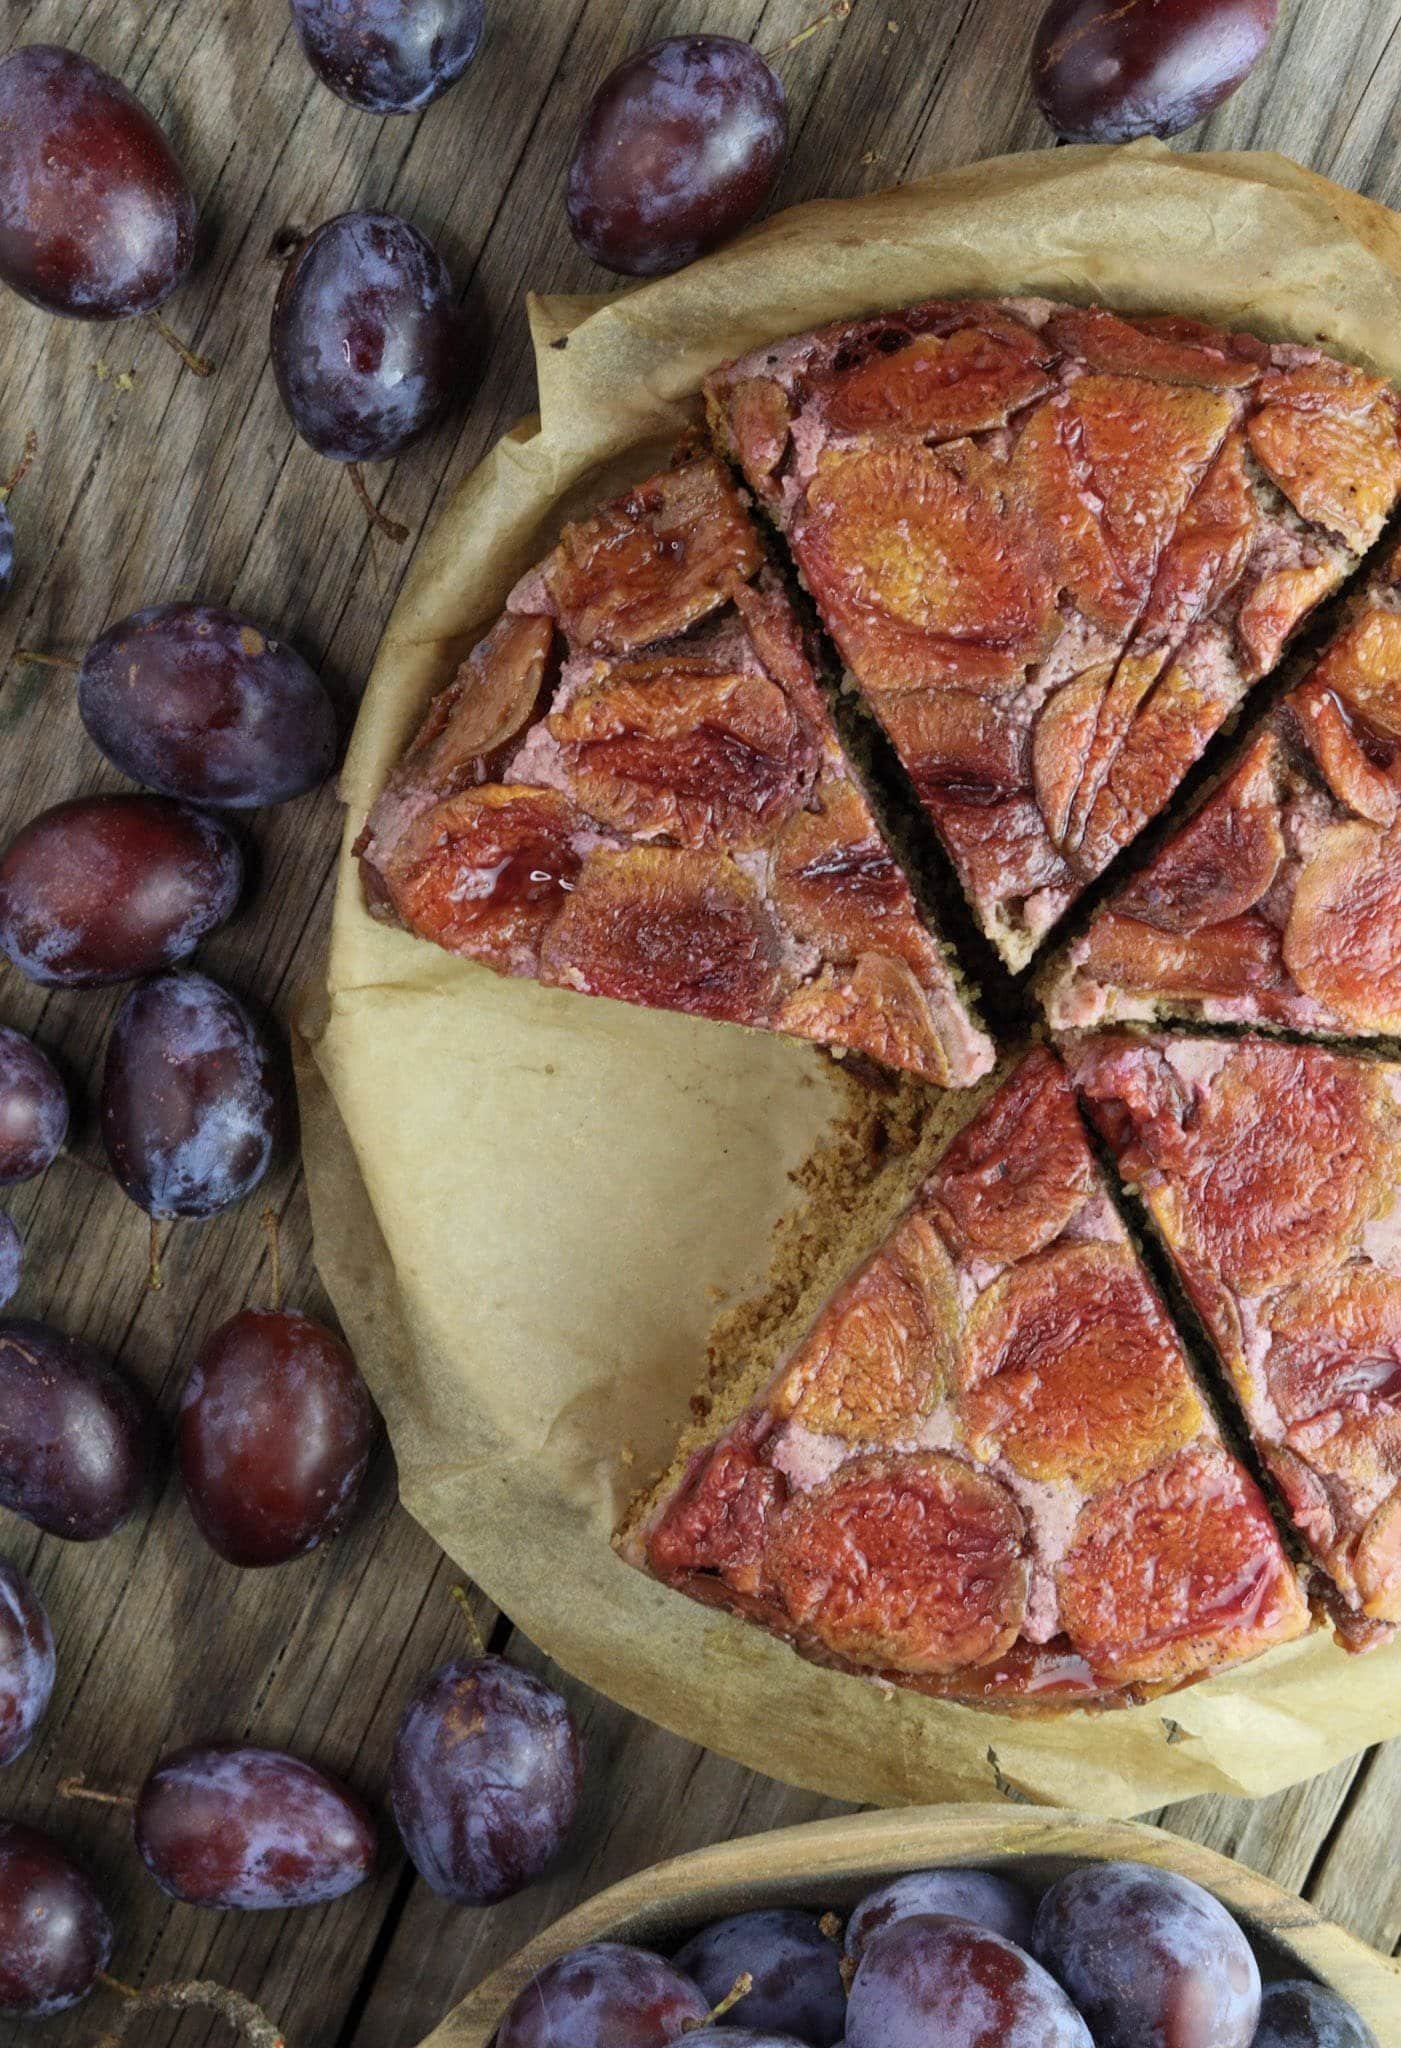
PLUMS – whether you grow your plum trees or buy them in the store, try to pick the ripest ones for the jam. Plums picked later, and already soft inside, are much sweeter, juicier, and tastier than those picked early. Use the rest for easy desserts like upside-down cake or clafoutis
SWEETENER – in this recipe, we used a little bit of erythritol. It’s actually not required for this recipe. You can skip it entirely, and the recipe will still work because ripe plums contain enough sugar to make it sweet.
CINNAMON POWDER – plums and cinnamon somehow go together like bread and butter. Pancakes will smell great, and especially for winter-season recipes, the cinnamon in the plum jam will add a bit of winter magic when combined with baked goods.
RUM & LEMON ZEST – optional, if you like the jam to taste more traditional. The alcohol will evaporate, leaving a unique, gentle lemon scent that pairs wonderfully with plums, cinnamon, and rum.
How to make sugar-free plum jam with cinnamon
STEP 1: Wash the plums. Halve them and remove the pits. Do not remove the skin, as the skin adds a special flavor to the jam. If you don’t like pieces of the skin in the jam and would prefer a smoother texture, blend the plums in the food processor before cooking.
STEP 2: If you prefer a smoother jam, cut the plums into pieces. Otherwise, homemade jam is traditionally made with halved plums, with only the stones to be removed.
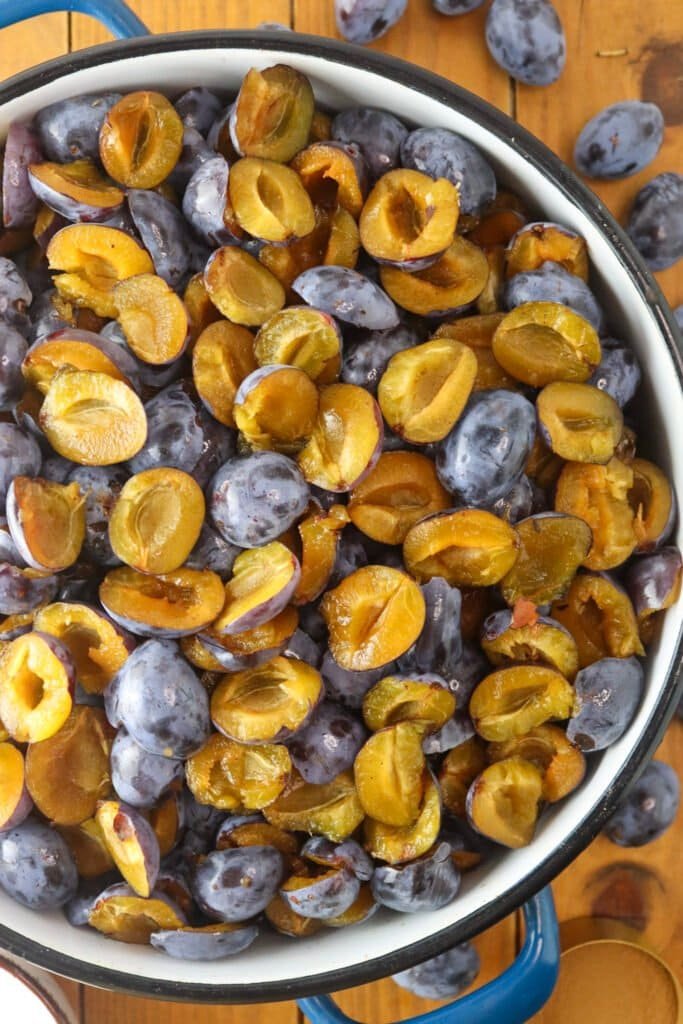
STEP 3: Place the plums in a wide cooking pot or a large saucepan. At this step, add 1 1/2 cups of erythritol. You don’t need to add water because the plums will release a lot of liquid.
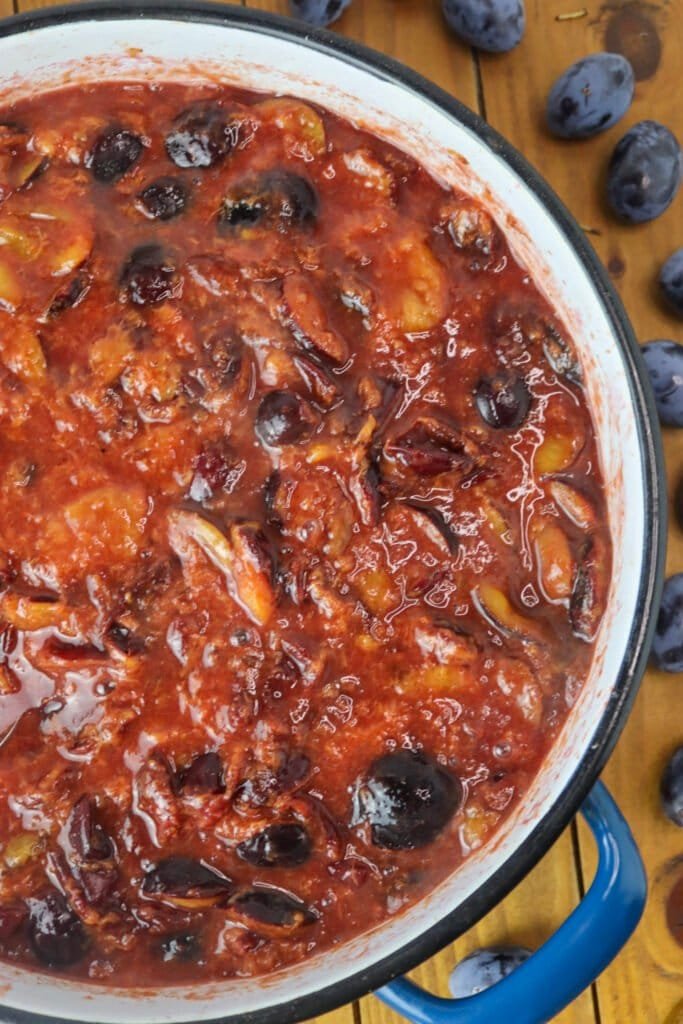
STEP 4: Bring the plums to a simmer, then cover the cooking pot with the lid. Keep cooking the plums on low or medium heat. Stir occasionally with a wooden spoon so the plums don’t burn on the bottom of the pot.
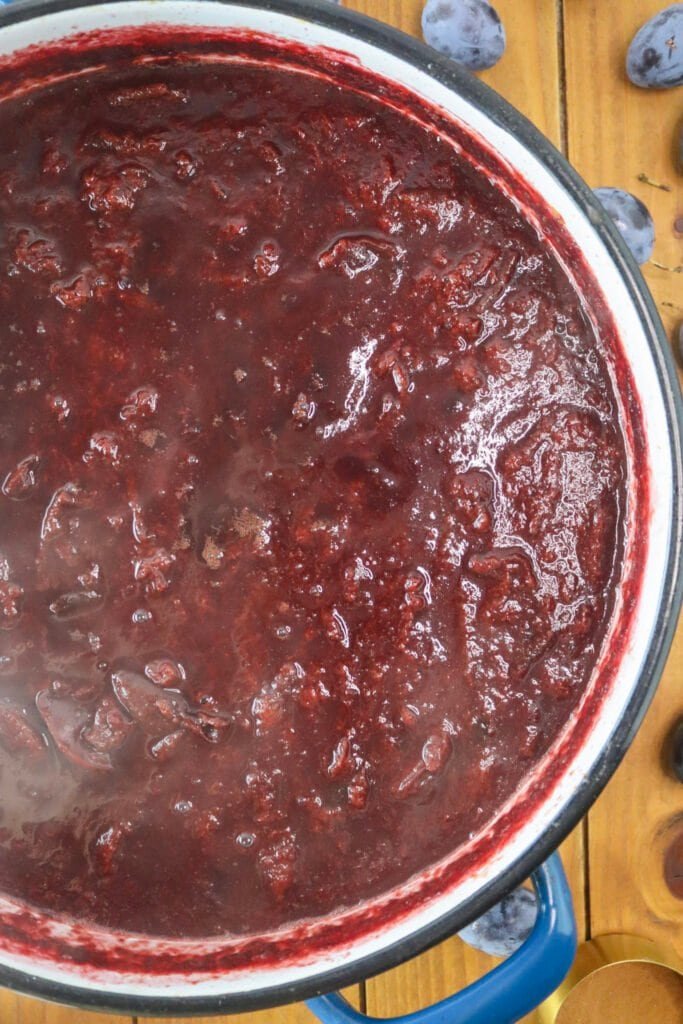
STEP 5: Check the jam and stir it occasionally with a wooden spoon to prevent the plums from burning on the bottom of the pot. The jam will reduce by at least half, and once it starts to get really thick, it will require stirring much more often.
STEP 6: In the meantime, prepare and sterilize the jars. Place them open, with the lids, in a pot of water and bring to a boil. Boil the jars for at least 5 minutes. Each glass jar should come straight from a boiling pot when you put the jam in them.
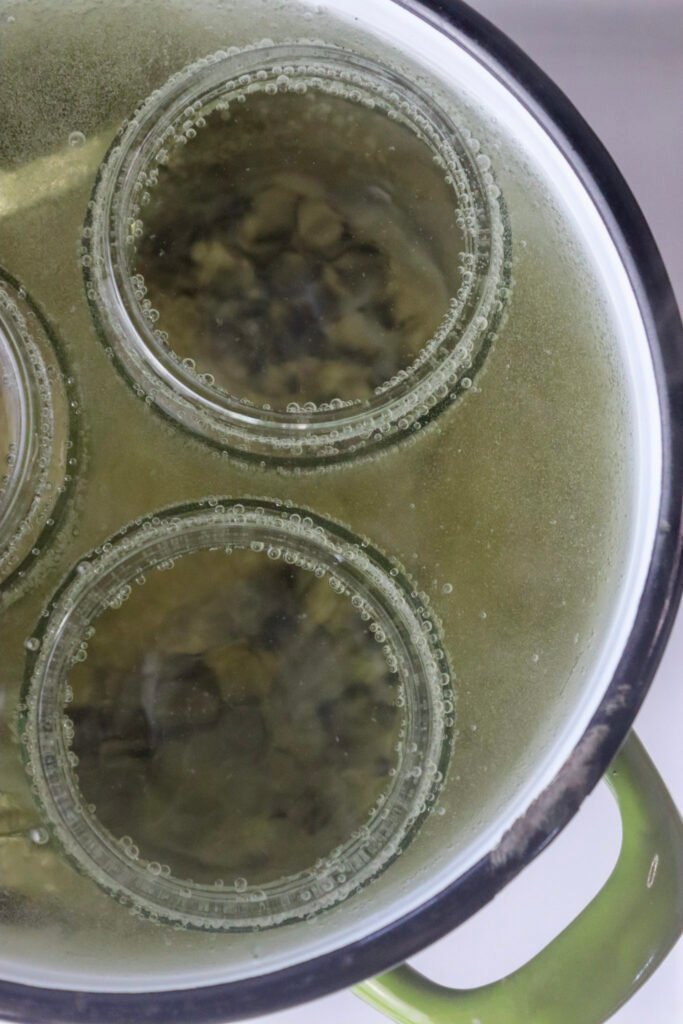
An alternative to boiling the jars is to heat them in the oven at 100 °C/212 °F for 15 minutes. You will still need to boil the lids, though.
STEP 7: Add 2 tablespoons of ground cinnamon to the simmering jam and stir. Cook for at least another 15 minutes.
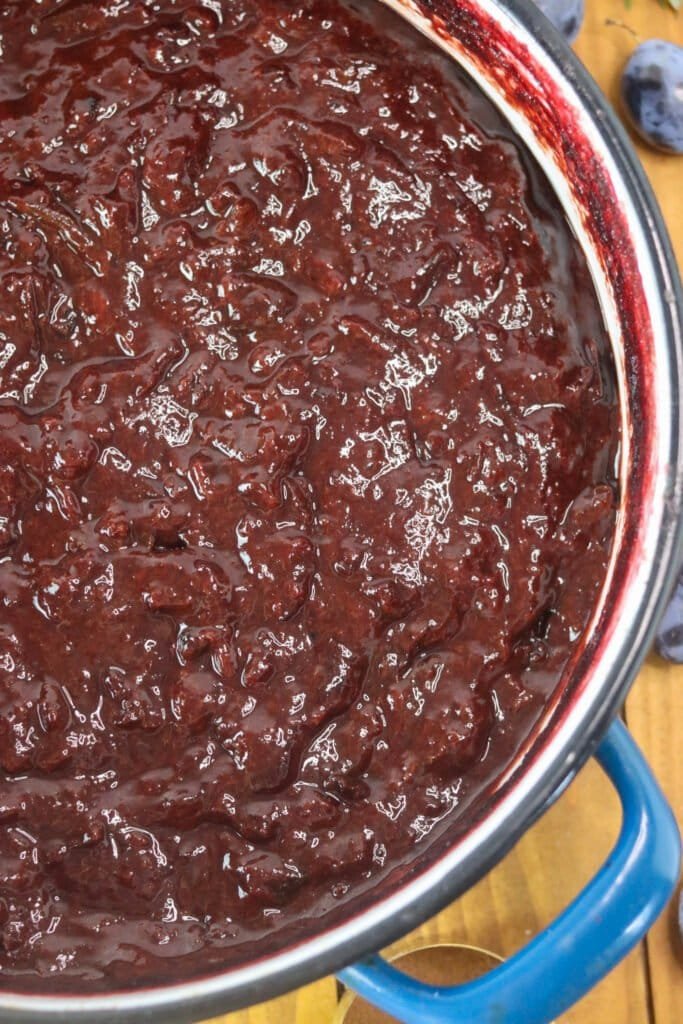
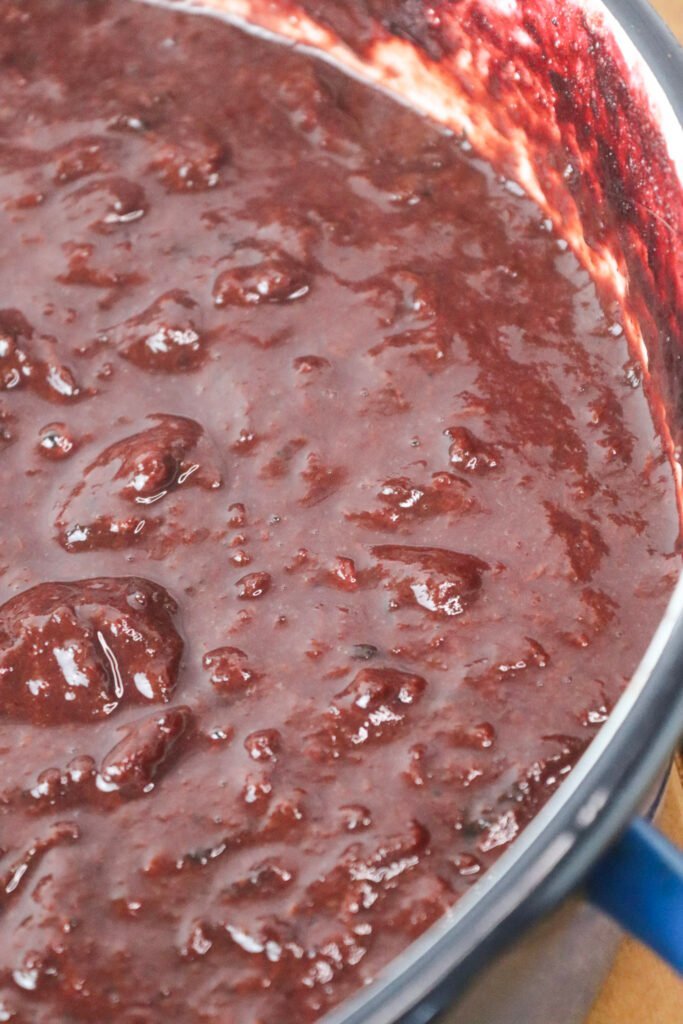
STEP 8: When the jam is ready to move to the jars, it’s a matter of personal preference. The longer you cook the jam, the thicker it gets. If you don’t like the jam to be thick, remove it from the heat sooner.
Using a tablespoon, take a small amount of the jam. Place it on a small plate and set aside for a few minutes to cool. If the jam stays on the plate when you turn it upside down, it’s definitely ready.
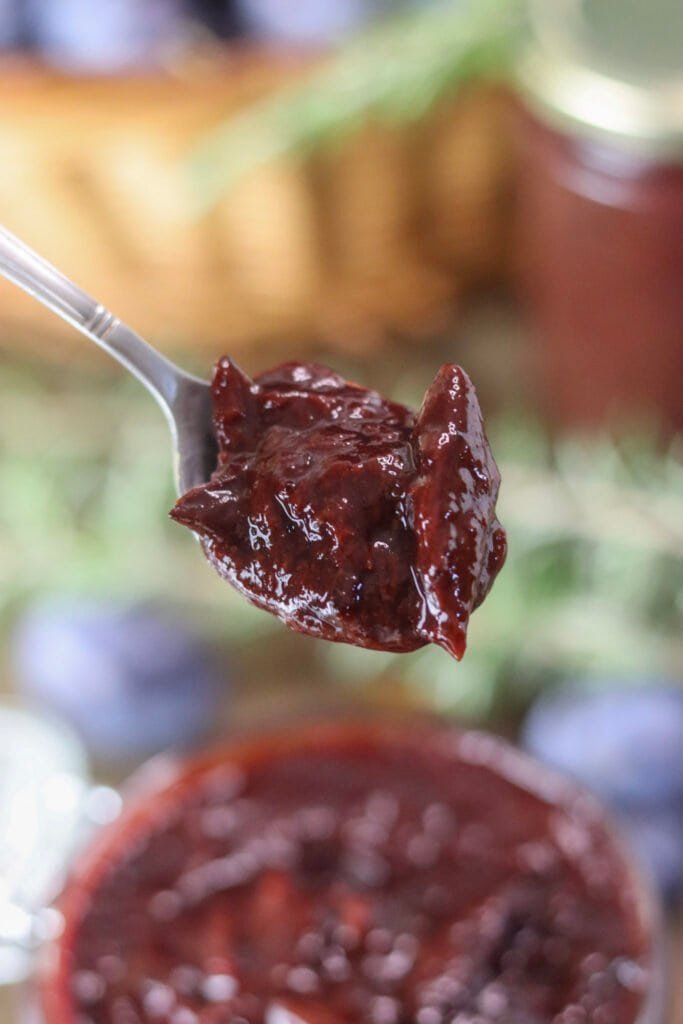
STEP 9: Remove the sterilized jars from the boiling water. When the jam is ready and still boiling, carefully transfer it to a sterilized jar using a clean spoon. Fill each jar with the jam almost to the top, making sure there’s no air between the jam and the lid.
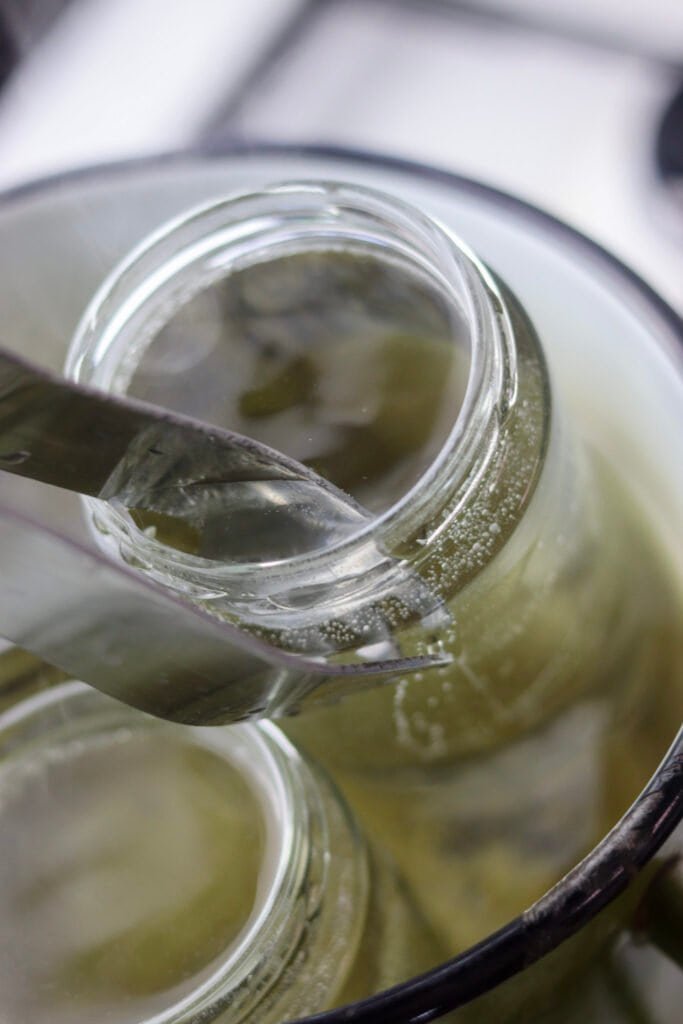
STEP 10: When filling the jars, make sure both the jam and the jars are hot. At this point, the jam will probably contain air bubbles. Remove them by pressing the jam down using a long, clean teaspoon.
When the air bubbles are gone, seal the jar with the still-hot lid you’ve kept in the boiling water. The jar should be closed as tightly as possible.
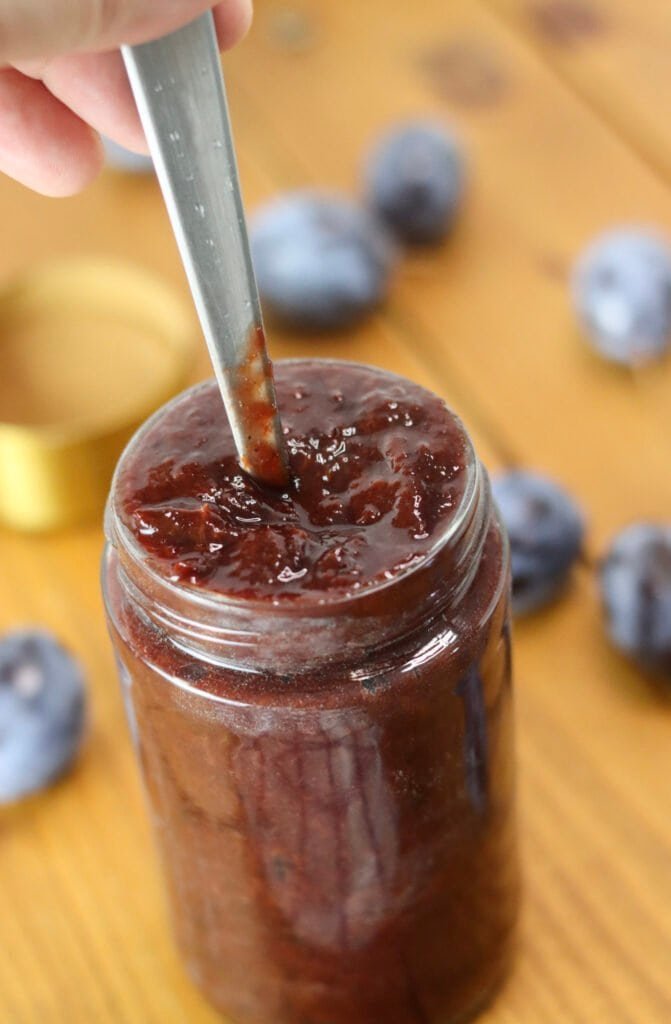
STEP 11: The jars with the plum jam must cool as slowly as possible. When they are all sealed, place them upside down, cover them with a blanket, and let them rest for 24 hours.
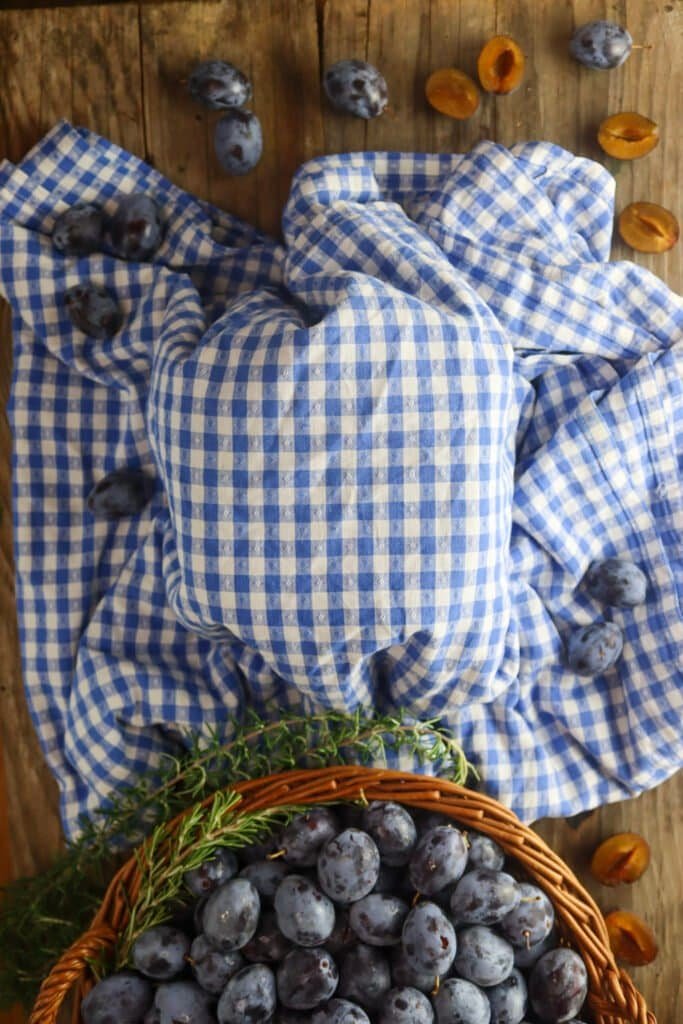
When cool and ready, check the lids. If the canning is done properly, you won’t be able to push the center of the lid down.
Tips and notes for the best sugar-free plum jam
Always pick healthy, fairly ripe plums (or overripe) for making jam. The riper they are, the sweeter the jam will be. Just make sure they are free of mold.
The riper the plums, the less pectin they contain. That doesn’t affect the jam’s consistency; it just means all that plum sweetness needs to cook longer.
When preparing the plums, do not remove the skins. The pieces of the skin will be visible when the jam is cooked. If you don’t like these, blend the plums before cooking the jam.
For a truly traditional taste, add a tablespoon of rum and a teaspoon of grated lemon zest.
Be scrupulously thorough when canning the jam. The most important thing about canning is that the jars and lids are sterilized, and that both the jam and the jars with lids are as hot as possible when pouring the jam into the jars. Also, all the tools you are using should be washed clean and, preferably, sterilized the same way as the jars.
If you make it completely sugar-free, it won’t thicken as much as the one with added sugar. However, if you stick to the procedure and ensure that the jam and the jars are really hot when canning, that they are sealed well, and that you use only clean tools, success is guaranteed.
Storage
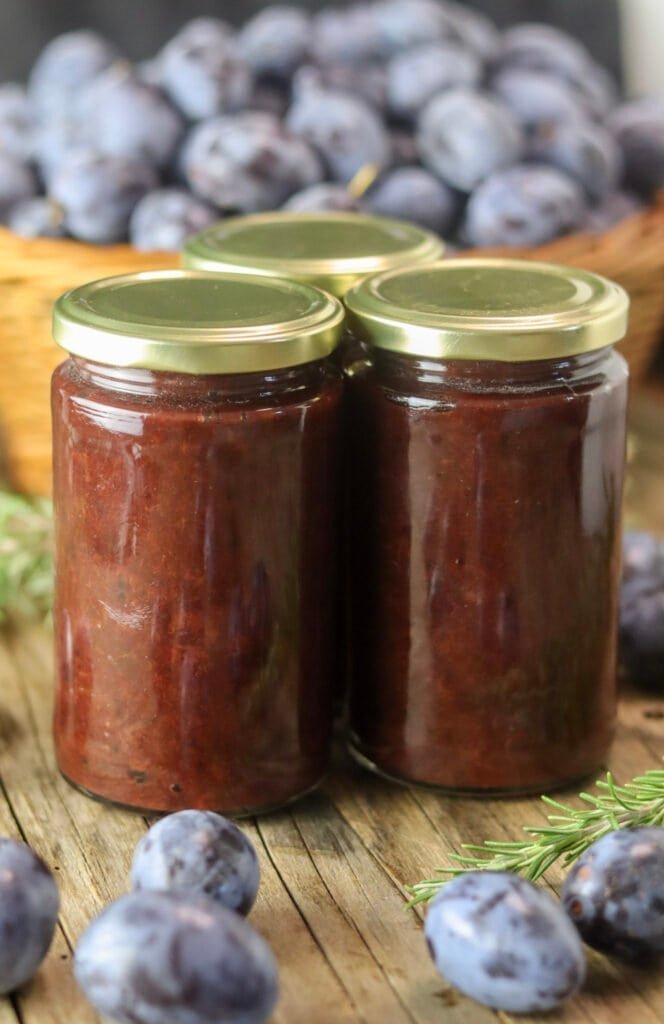
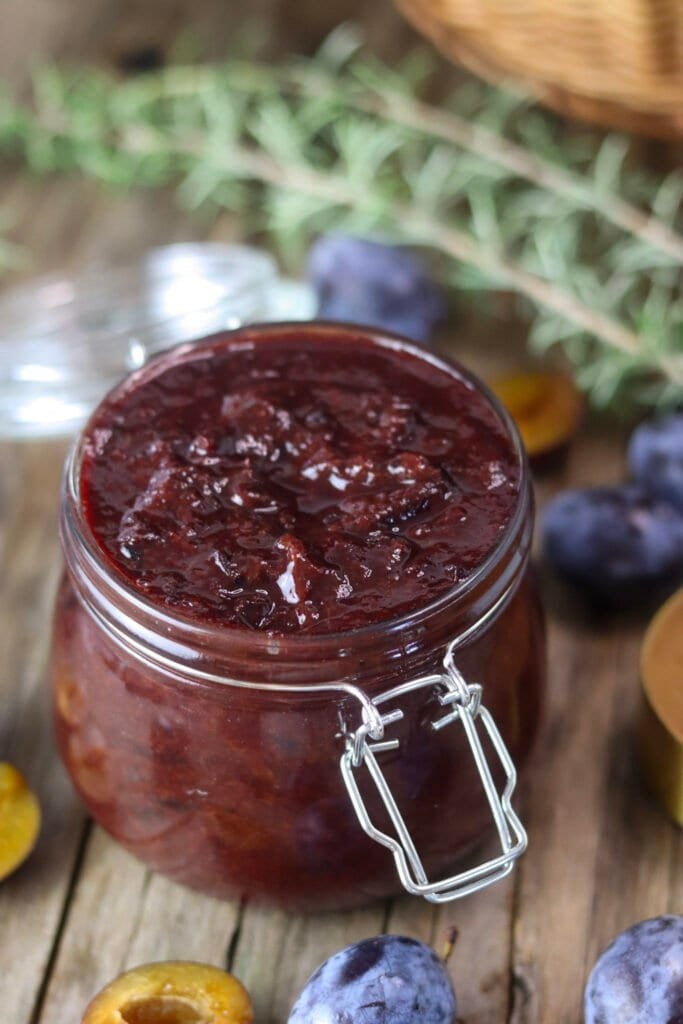
Store your delicious sugar-free plum jam in a cool, dry place. If the canning process is done correctly, it will last at least a year.
Keep an open jar of plum jam in the fridge. Because this recipe doesn’t contain any sugar, the jam in the refrigerator will not last as long as a traditional jam, but it should last up to 14 days.
However, we recommend canning the jam in smaller jars for the same reason.
faq
Yes, you don’t need to thaw the plums before cooking, but make sure that the stones have been removed.
Yes, plums do not contain gluten. If you haven’t added any other ingredient containing gluten to your jam, then your plum jam is gluten-free and safe to eat for people with gluten-related diseases. We suggest pairing it with gluten-free buckwheat soda bread.
Lemon juice is a natural preservative that might help keep your canned goods stored longer. But if you don’t like the acidic taste of lemon juice in the jam, you can skip it entirely. The jam can easily be made without it; just make sure the canning procedure is followed precisely.
More recipes
Sugar Free Plum Jam With Cinnamon
EQUIPMENT
- 4 glass jar
- 1 large pot
INSTRUCTIONS
- Pick healthy, ripe plums and wash them.
- Halve the plums and remove the pits.
- Place the halved plums into a wide cooking pot along with the erythritol, if using. Do not add any water.
- Bring the plums to simmer and cover the pot. Cook them slowly on low or medium heat and stir with a wooden spoon often, so that the jam doesn't get burned on the bottom.
- Keep cooking until the jam reduces by about half and starts thickening up, stirring more often as it goes.
- While that bubbles away, get your jars sterilized: boil them with the lids for at least 5 minutes, or run them in a 100°C/212°F oven for 15 minutes (lids still need the boiling water treatment).
- Stir in the cinnamon and let it simmer another 15 minutes.
- The jam is ready, when a small amount of the jam on a tablespoon or small plate solidifies when cooled. Keep in mind that sugarless jam won't be as thick as the jam with added sugar.
- Ladle the hot jam into the hot, sterilized jars right away, filling almost to the top. Run a clean spoon around the inside to knock out air bubbles, then seal with the hot lids.
- Place the jars upside down on a blanket folded in half and cover them. Let the jars cool undisturbed for 24 hours, then check the seals before storing.
NOTES
NUTRITION
Featured at Miz Helen’s Country Cottage and Suzanne’s Pieced Pastimes.
This plum jam with cinnamon is just my dream breakfast! Never thought to make a plum jam before but now I have seen your incredible recipe it is something that I will be recreating.. pinned!
Thanks Jessie,
I’m really happy you liked it. I use this jam for cookie filling and it always tastes great.
This recipe for plum jam sounds amazing. I enjoy adding jam to my morning toast. I’m going to give this recipe a try. Thank you for sharing.
Thanks Stephanie, I hope you’ll enjoy it!
That sounds incredible.
Happy to hear that and glad that you’re here!