

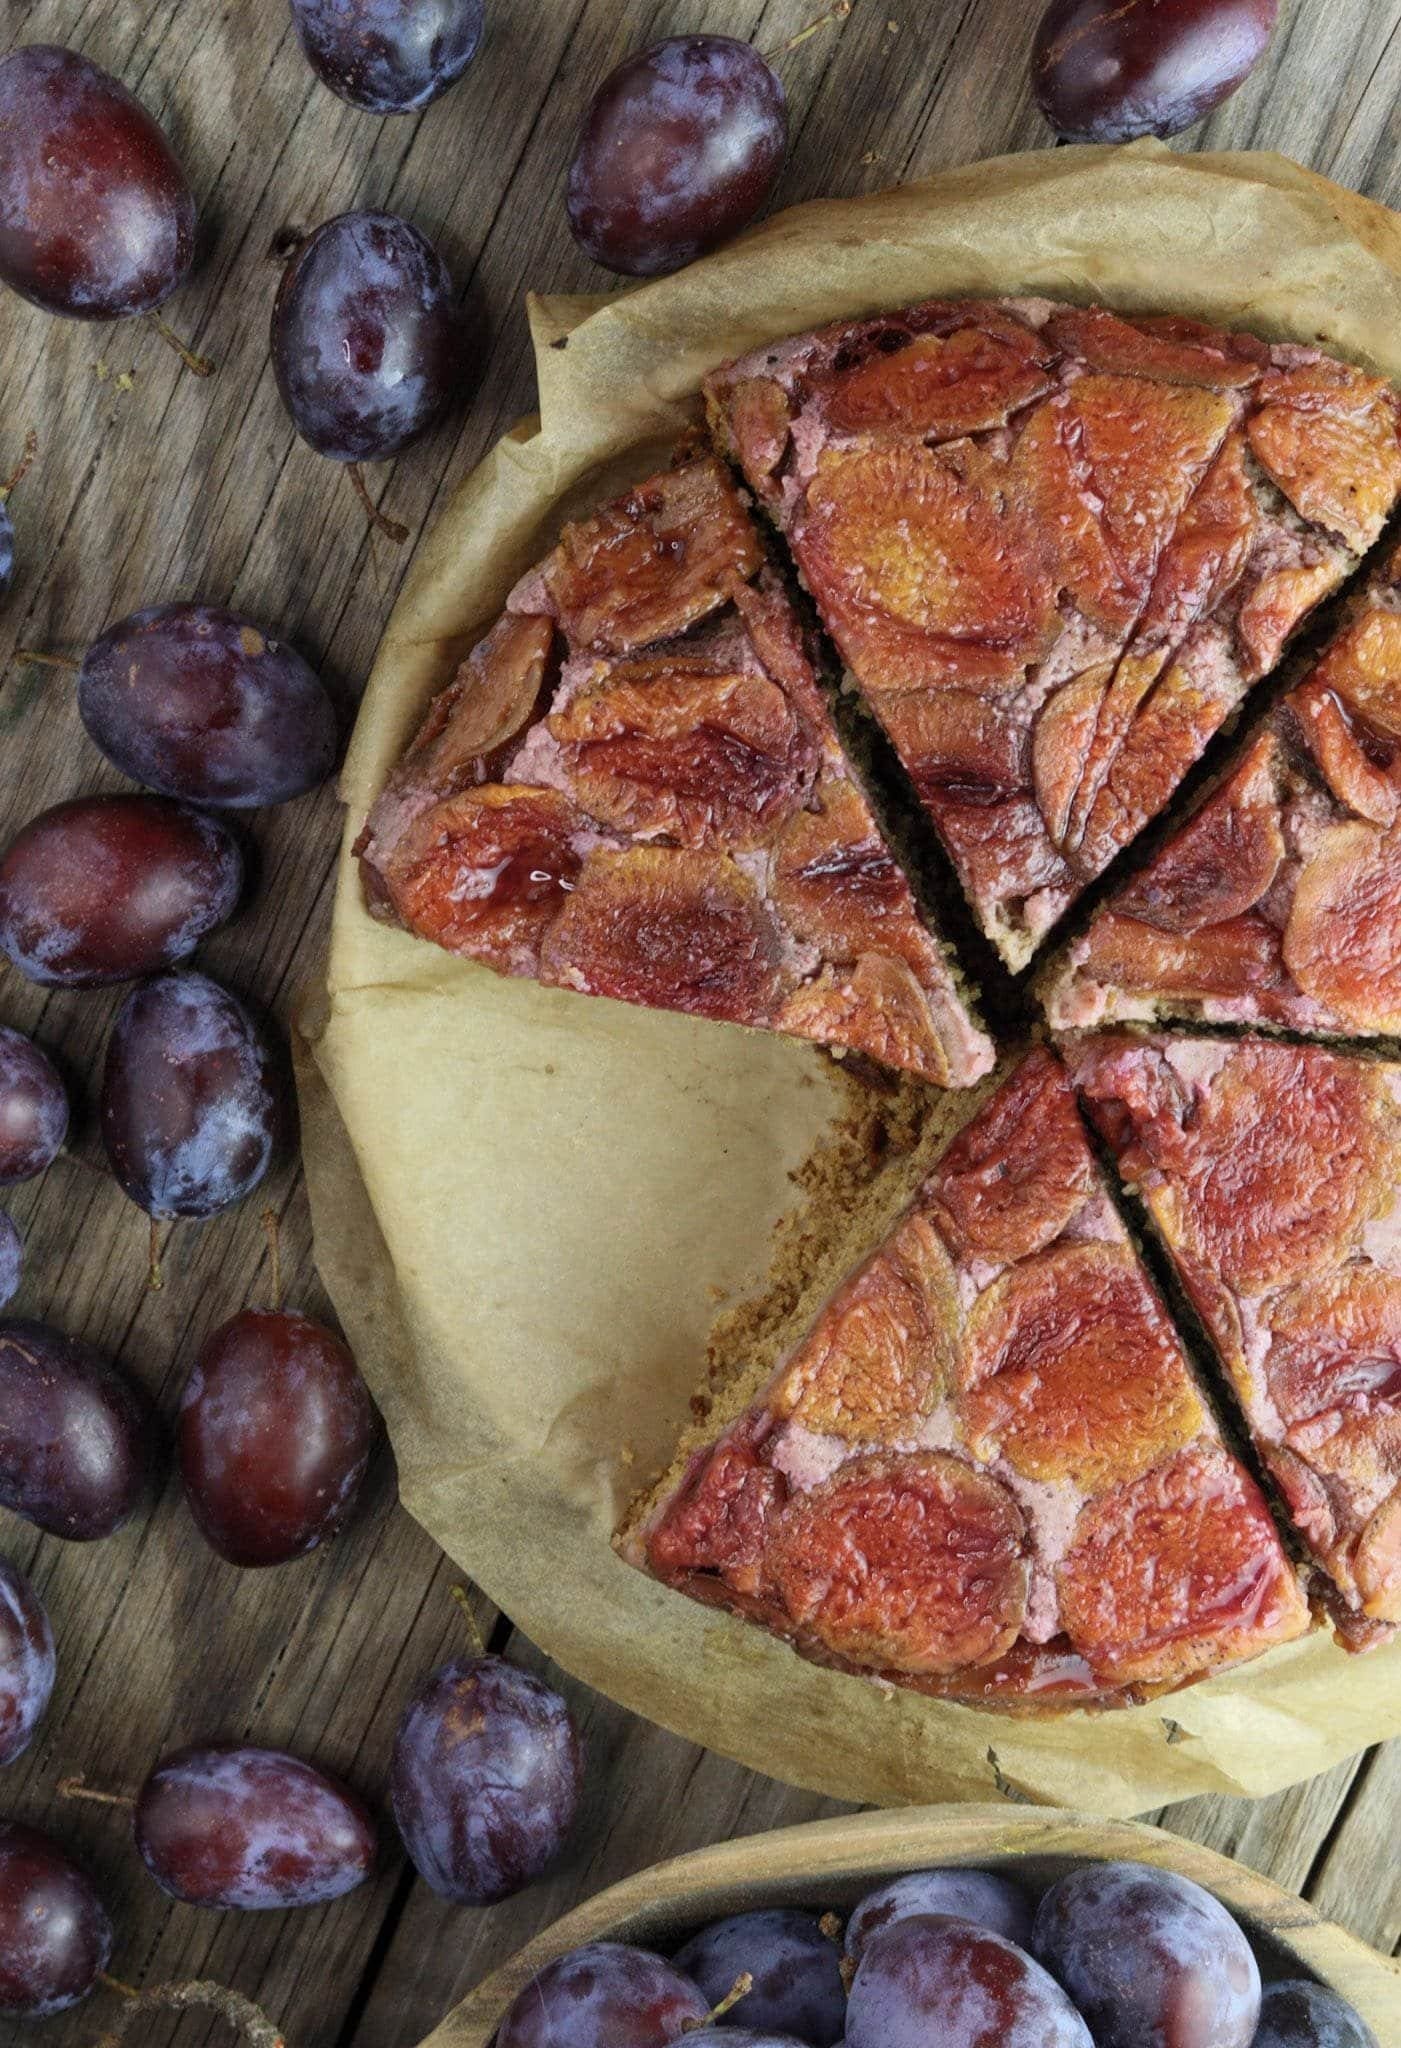
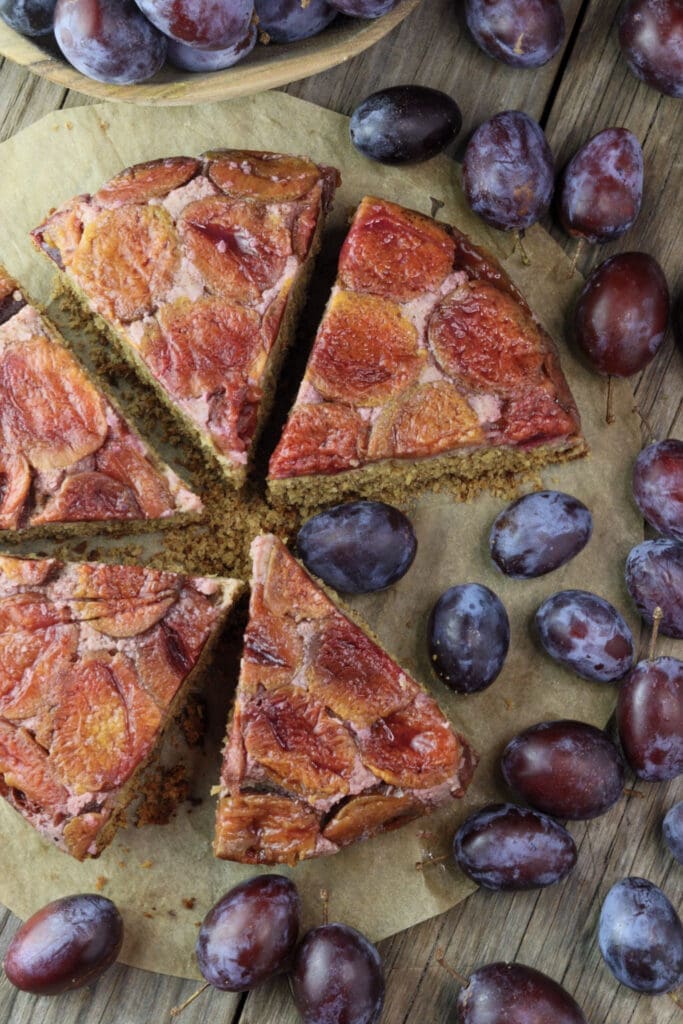
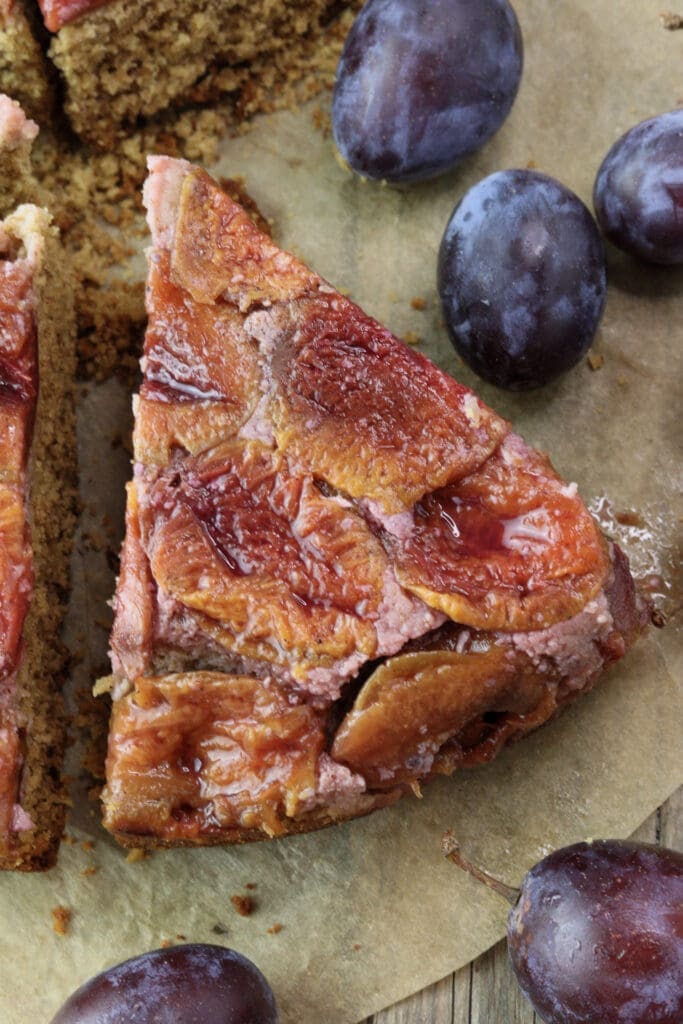
This buckwheat upside-down plum cake is a simple dessert that comes together quickly and bakes in about 40 minutes. It’s naturally gluten-free and light, with buckwheat flour balanced by almond and coconut flour. Sweetened with honey instead of sugar, it’s an easy, no-fuss cake with minimal mess and zero stress.
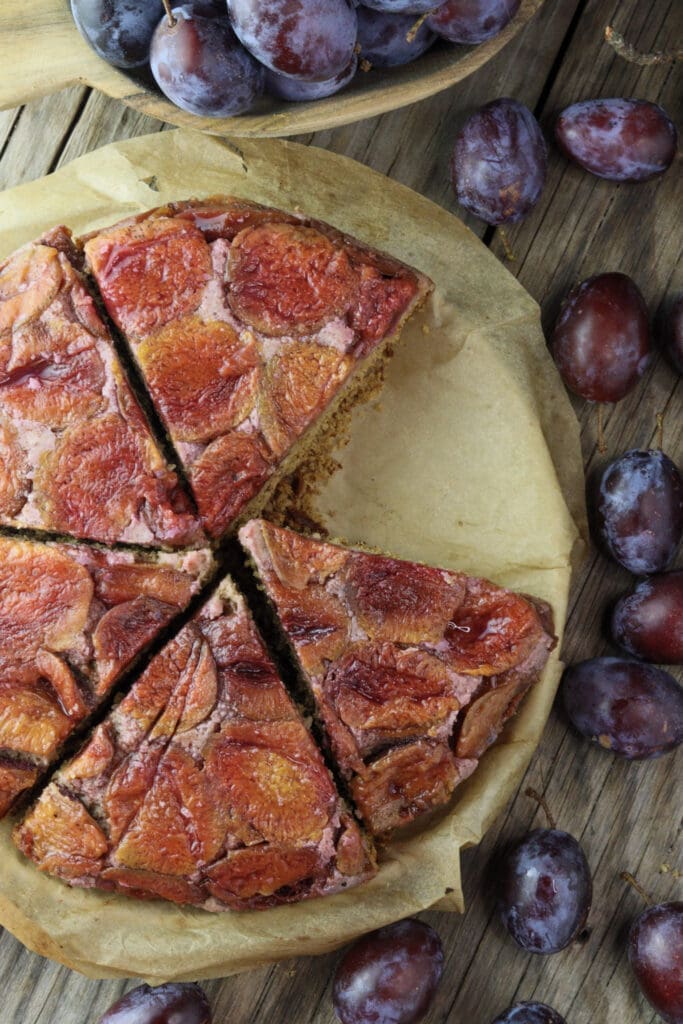
A healthy plum upside-down cake
If you’ve been picking plums all summer and wondering what to make next, this cake is a great idea. I’ve cooked plums into a sugar-free plum jam for jam-filled empanada cookies, baked them into an easy plum strudel, taken my time with a plum cheesecake, and made a simple buckwheat clafoutis more than once. All of those have their place. But this upside-down plum cake is the most straightforward of them all.
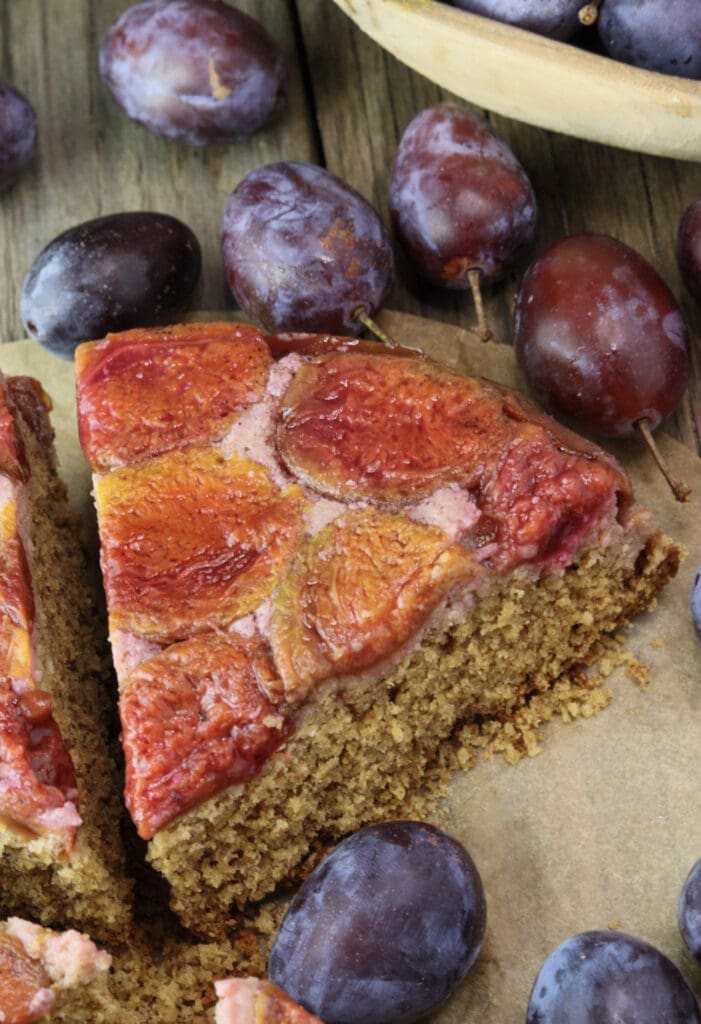
Plums and buckwheat really go nicely hand in hand, especially when you want something seasonal, familiar, and not too heavy. This cake is easier to digest than a classic one and feels lighter all around. A few ingredients, a quick mix, and a short bake give you a delicious, everyday cake that’s ridiculously easy to make.
Recipe highlights
Super simple to whip up. All you really need to do is arrange fresh plums in a baking pan and pour the batter over the top. No mess, no fuss. From start to finish, the whole thing takes about 55 minutes.
It’s 100% gluten-free. Buckwheat flour is balanced with almond and coconut flour, keeping the cake light, juicy, with fewer calories and easier to digest than a classic version.
Easy to keep sugar-free. The cake is sweetened with honey, which pairs beautifully with plums and buckwheat. The soaking syrup can also be made with honey only.
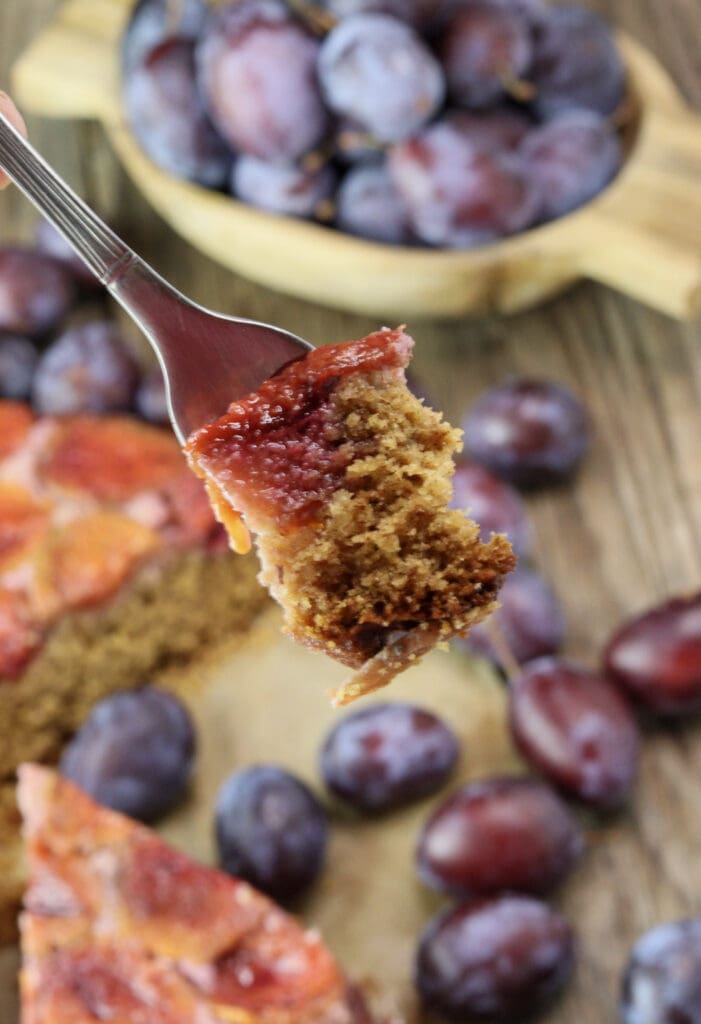
As juicy as you like it. The final texture depends on how much syrup you pour over after baking. The light crumb soaks it up quickly and stays wonderfully moist.
You can use frozen plums. If they were pitted before freezing, place them straight into the pan. They bake up soft and jammy under the batter.
What goes into the cake
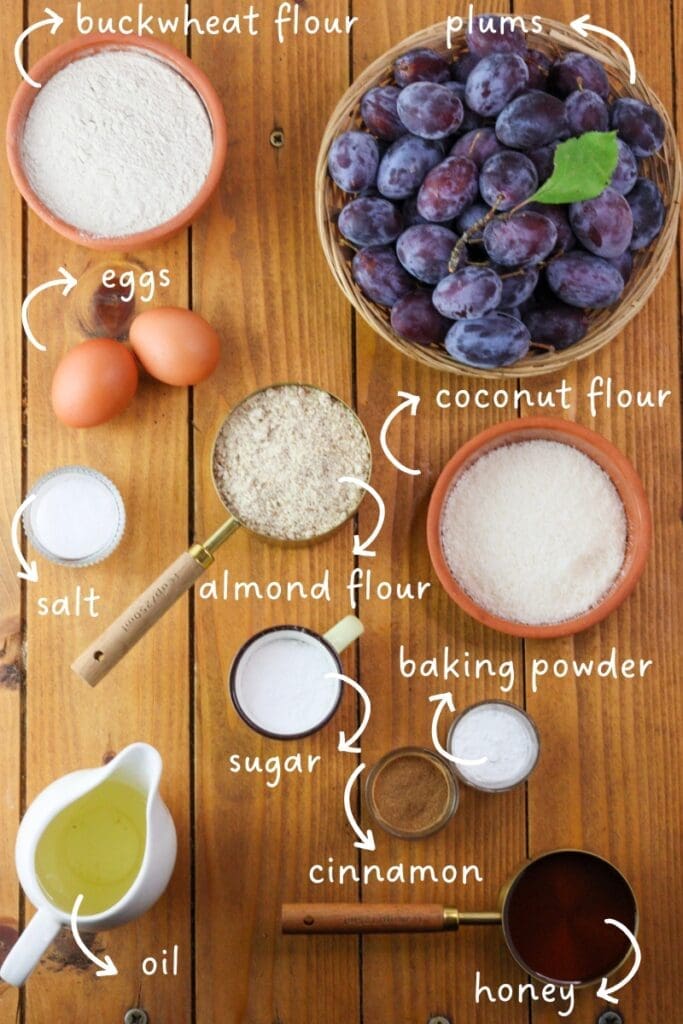
PLUMS – I used fresh plums, but frozen work just as well. If plums aren’t in season, this cake is easy to adapt – apples, pears, or even oranges can be used instead.
BUCKWHEAT FLOUR – This one really matters and can’t be replaced. If you’re using tartary buckwheat flour, you may need a bit more liquid, as it tends to absorb more liquid.
ALMOND FLOUR – You can swap it for finely ground hazelnuts or walnuts for a nuttier flavor.
DESSICATED COCONUT – Coconut flour works too if that’s what you have on hand. It keeps the cake light and helps to retain the moisture.
EGGS– Two eggs are all you need to hold the batter together. Organic, if possible.
OIL– I used sunflower oil, but the same amount of melted butter works just as well.
HONEY – Part of the honey bakes together with the plums, creating a sweet, slightly sticky layer at the bottom. The rest goes into the syrup.
BAKING POWDER – If you don’t have it, you can replace 12 grams with one tablespoon of baking soda.
CINNAMON – Completely optional, but it pairs very nicely with plums.
POWDERED SUGAR – Also optional. A light dusting looks pretty, but you can skip it if you want to keep the cake fully sugar-free.
How to make buckwheat upside-down plum cake
STEP 1: Turn the oven on (fan setting) and preheat it to 356°F/180°C.
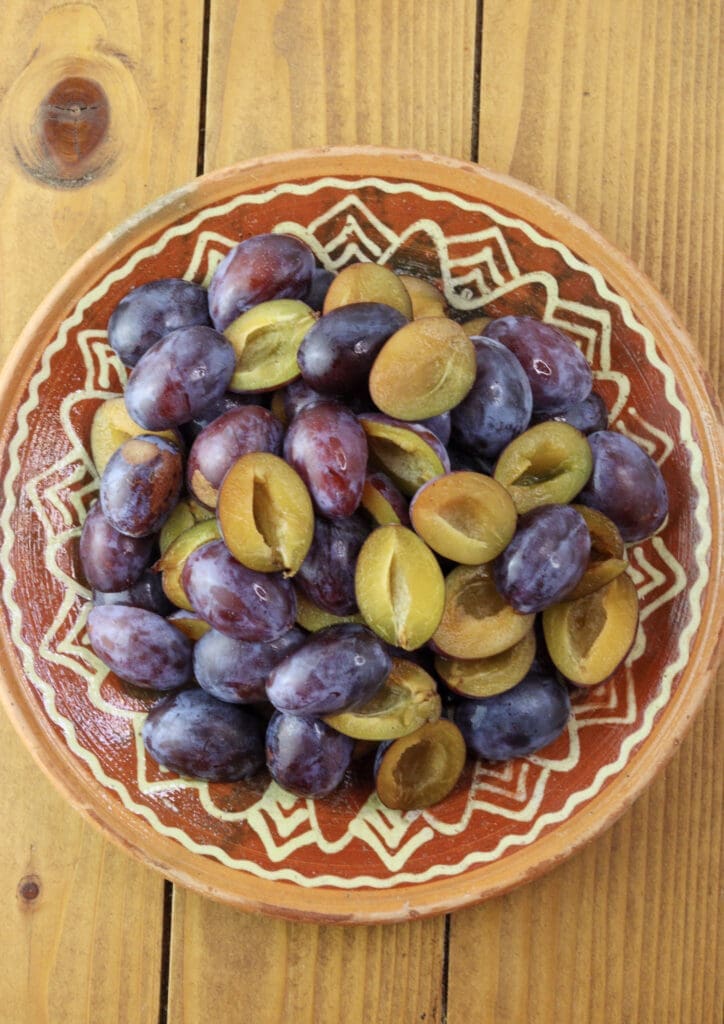
Wash the plums and remove the pits. I find they fit the springform baking pan best when cut in half, but you can also arrange thinner slices at the bottom of the pan. If you’re using frozen plums, there’s nothing to do at this step – once they soften enough, just arrange them like the fresh ones.
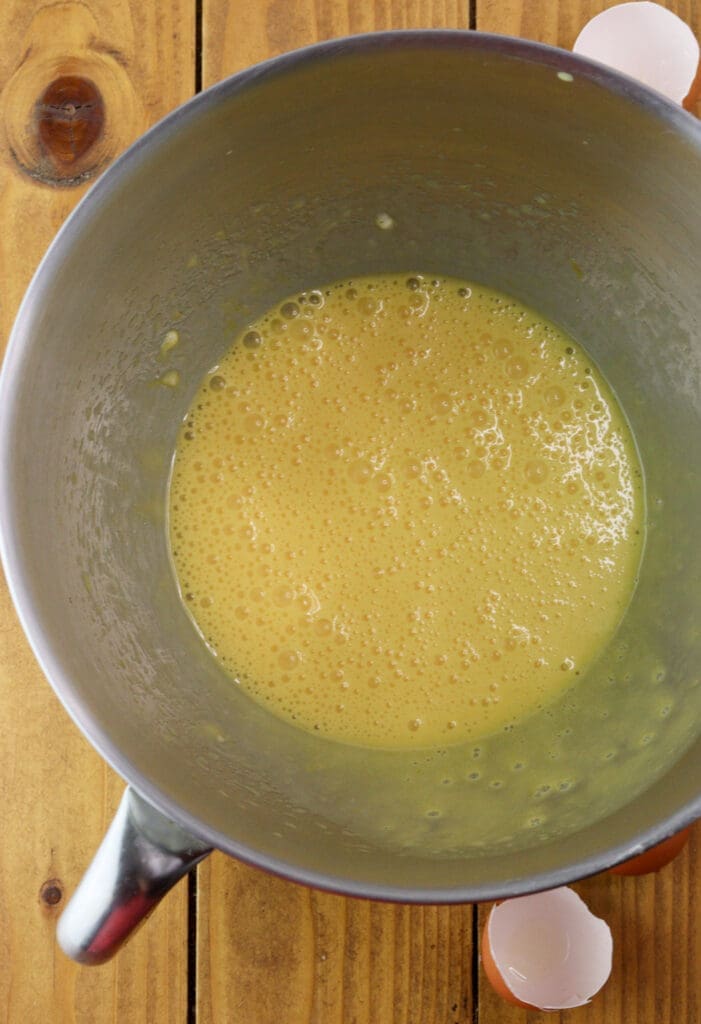
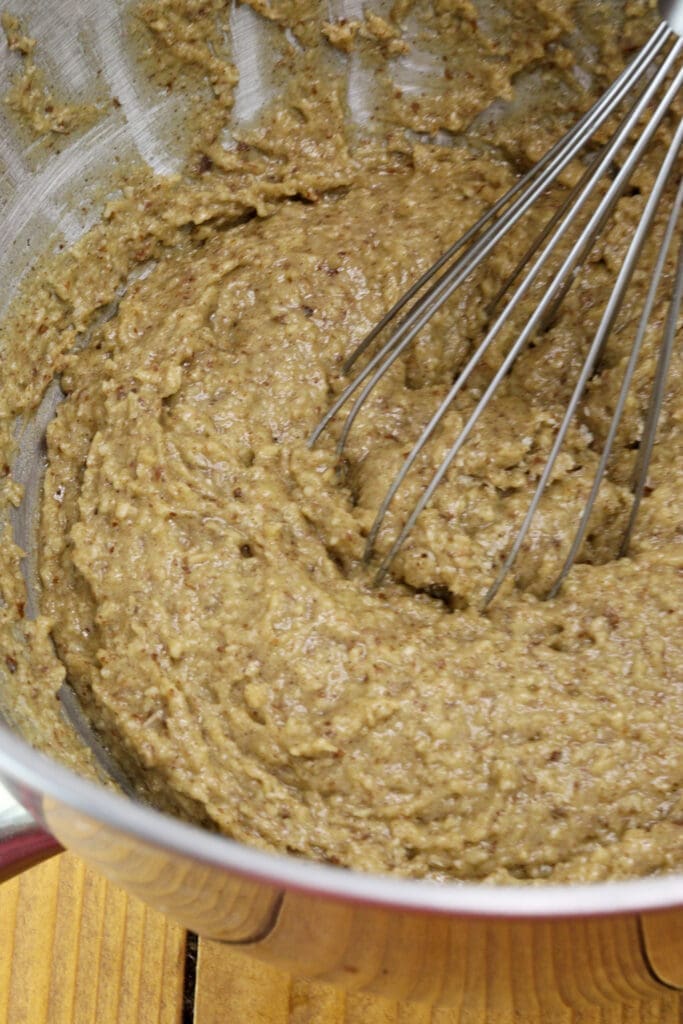
STEP 2: Crack the eggs into a large bowl and whisk them lightly. Add the oil and mix it in well.
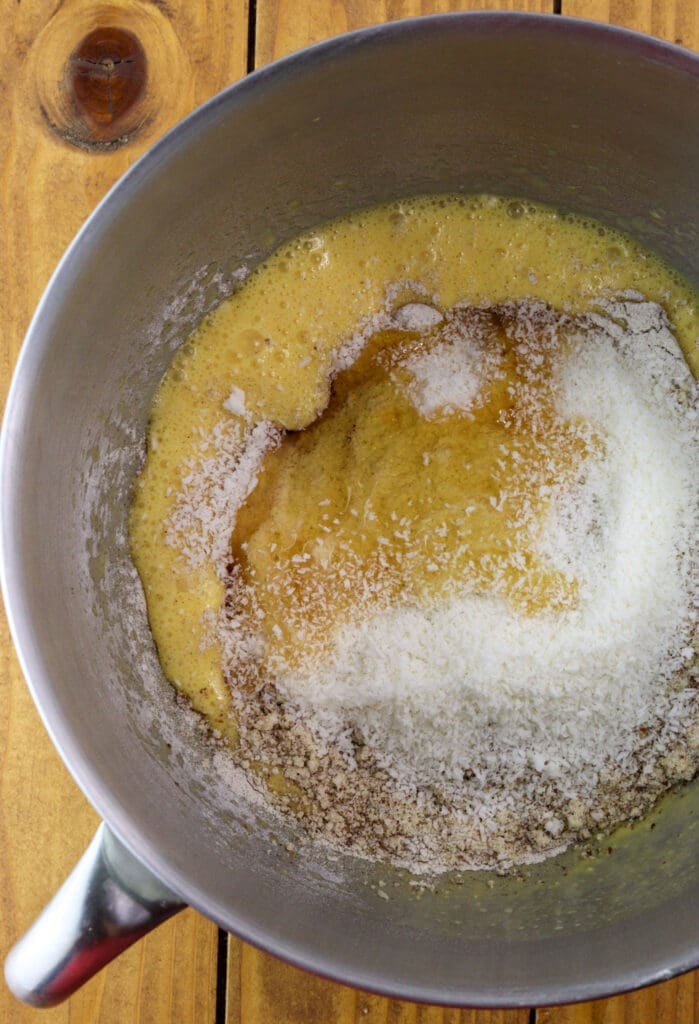
STEP 3: Add the dry ingredients: sifted buckwheat flour, almond flour, coconut flour, cinnamon, baking powder or baking soda, one third of the honey, and a pinch of salt.
STEP 4: Mix everything thoroughly until you get a thick, sticky raw batter. Take a moment to check that there are no larger pockets of flour left.
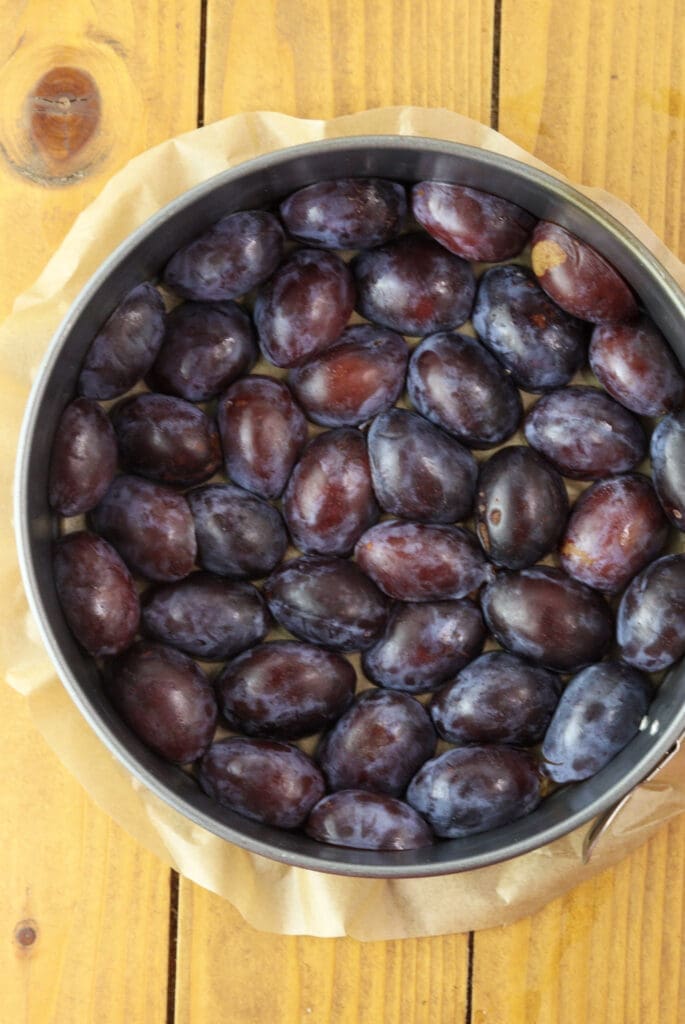
STEP 5: Line the bottom of your springform pan with parchment paper and grease it lightly with oil or butter. Arrange the plum halves on the bottom, cut sides down, so the insides of the plums face the pan. Try to place them fairly close together – this helps keep them from moving once the batter goes in.
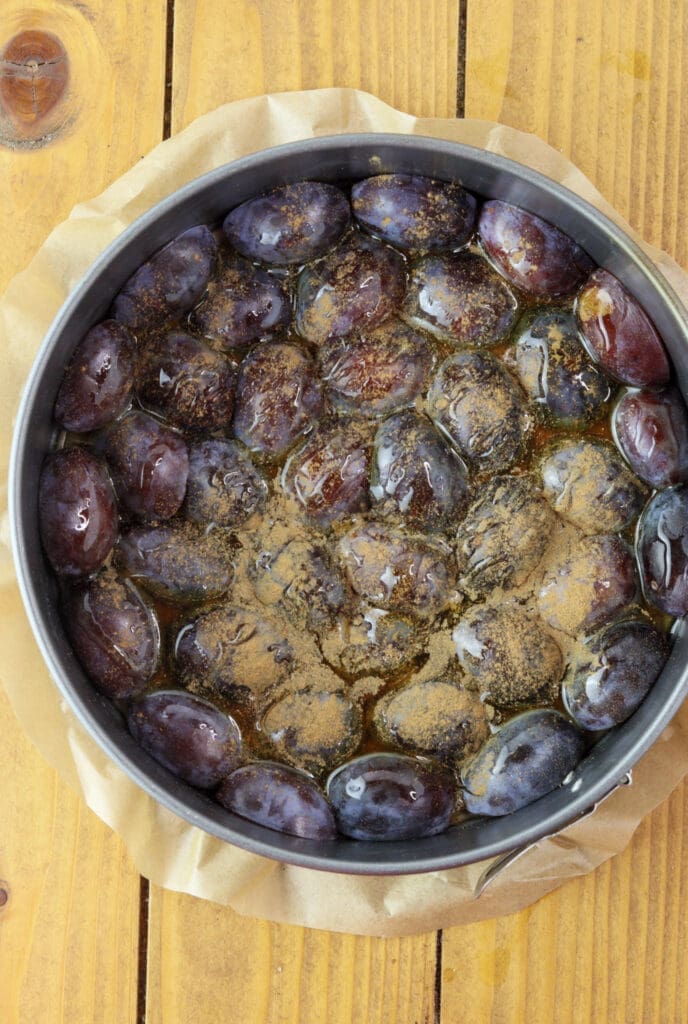
STEP 6: Pour over the second third of the honey, making sure it’s spread evenly across the plums. Sprinkle them lightly with cinnamon as well.
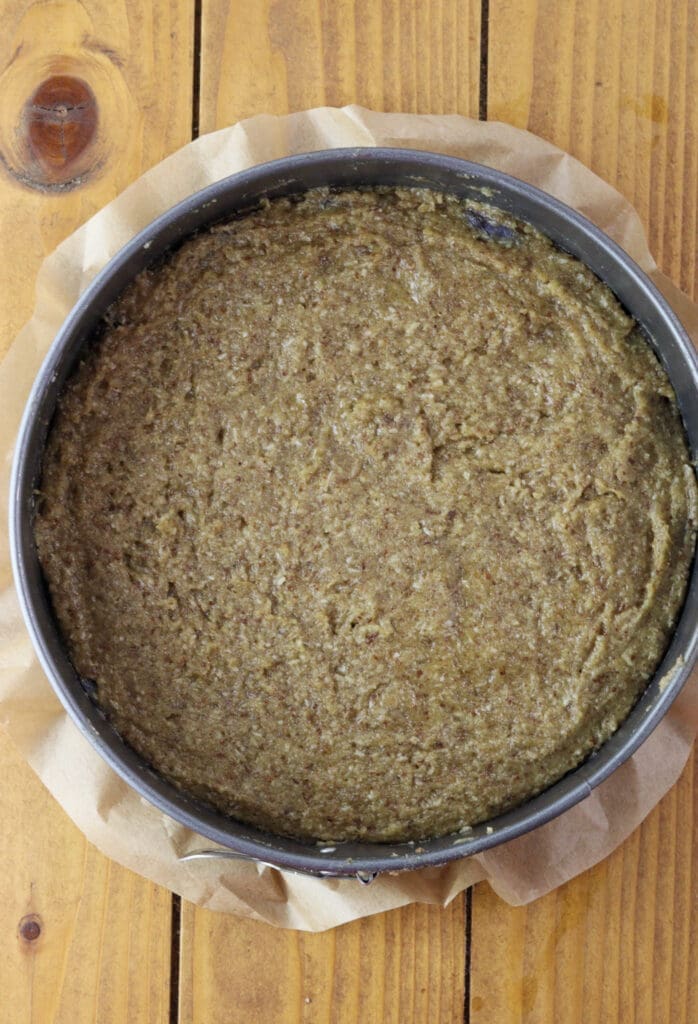
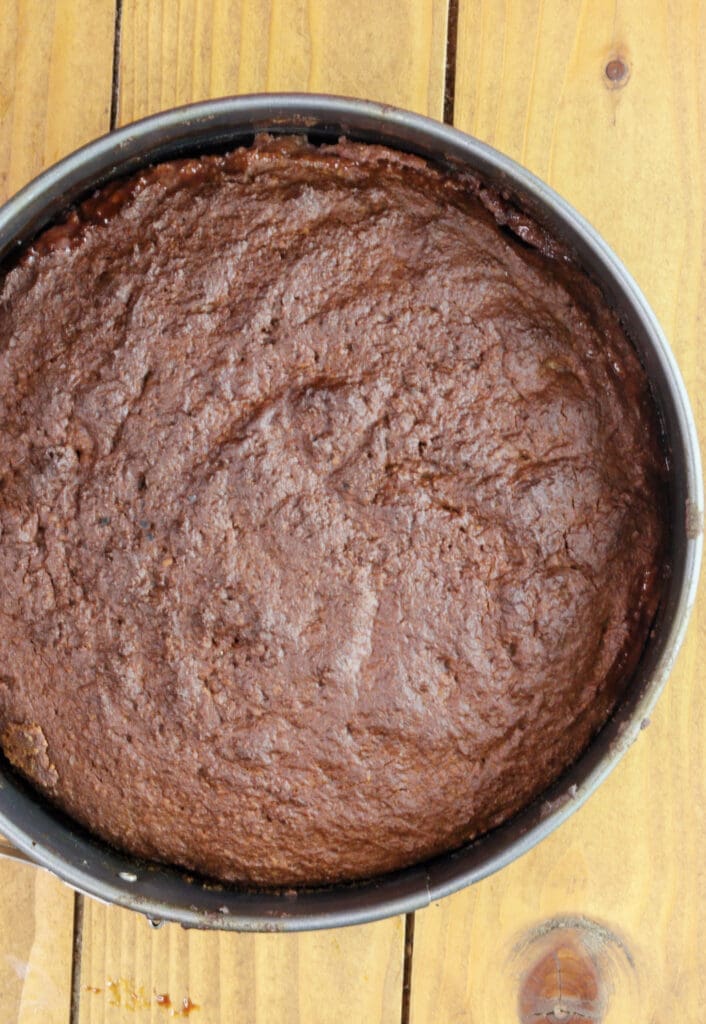
STEP 7: Next, pour the cake batter over the plums. You’ll likely need a spatula to help spread it evenly so all the fruit is covered.
STEP 8: Bake at 356°F/180°C for about 40–45 minutes. If the top starts to brown too much, loosely cover the cake with parchment paper toward the end. A quick toothpick test will tell you when it’s ready.
STEP 9: Lastly, gently warm the remaining third of the honey with the same amount of water (or plum juice, if you have it). Pour it evenly over the cake while it’s still in the pan. Let it cool for about 30 minutes, then carefully turn it out onto a plate upside down.

And that’s really all there is to it. It’s always nice when a cake tastes great, but comes together this easily. You can dust it with powdered sugar once it’s cooled, or leave it just as it is; gluten-free, lightly sweet, and perfectly simple.
Good to know before you bake
Don’t use overripe plums. They release too much juice as they bake, which can turn the cake a bit messy when you flip it. If your plums are very ripe and you still want that extra moisture, you can add an extra layer of thinly sliced plums at the bottom.
Make it into mini cakes instead. Follow the same method, just divide everything between the cups of a muffin tin rather than using one large springform cake pan.
A cast-iron skillet works, too. I still recommend lining it with parchment paper – it makes turning the cake out much easier and keeps the plums in place.
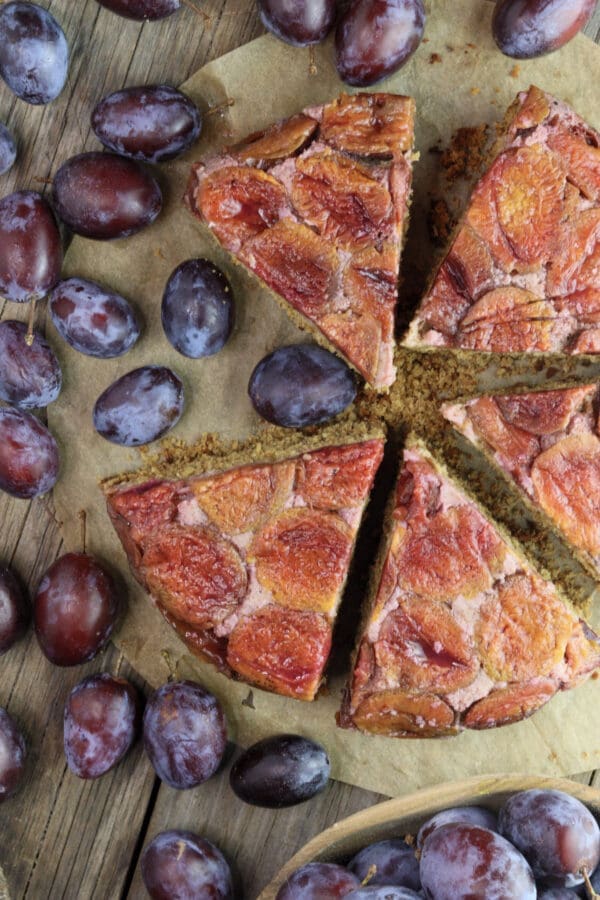
Arrange the plums tightly. I like to pack them snugly at the bottom of the pan so they don’t shift when the batter goes in. The closer they sit, the less batter shows through after baking, and the prettier the cake looks.
Check for doneness near the end. A toothpick is the easiest way to tell. If the top starts to brown too much, loosely cover it with parchment paper or foil for the last few minutes.
Let the cake cool properly. Giving it enough time to rest makes flipping it onto a plate much easier and helps it hold its shape.
What to serve this plum cake with
You can have this cake for breakfast, but I like it most as a dessert after a hearty rustic soup like ricet and jota soup or slow-cooked dishes like the traditional goulash. It’s wonderful with a scoop of ice cream!
For a delightful, old-fashioned gluten-free meal, I suggest combining it with stuffed cabbage rolls with buckwheat, japrak, or a creamy soup with porcini mushrooms (these might show up around the same time as plums).

Storage instructions
Store the cake covered or in a container at room temperature for a day. If you want to keep it longer, transfer it to the fridge, where it will stay good for 3–4 days.
To keep it longer, slice the cake and freeze it. Wrap the pieces with foil or place them in a freezer-safe container. They keep nicely for up to 2 months. Thaw at room temperature or in the fridge before serving.
Upside-down plum cake FAQs
Yes, you can swap the flour. To keep it gluten-free, use a good gluten-free flour mixture. It also works very well with spelt flour if you don’t mind using gluten.
Apples, pears, nectarines, peaches, berries, and figs all work. Just slice or halve them and arrange them at the bottom of the pan, the same way you would with plums.
It’s easiest to make this cake in a springform pan; we used a 10-inch one (25 cm). The recipe also works well in a cast iron skillet, or you can divide it into several small upside-down cakes baked in a muffin tin lined with paper liners.
More easy buckwheat recipes you’ll love
We shared quite a few buckwheat recipes for inspiration, and these are our favourite bakes:
- Buckwheat jam cookies
- Buckwheat plum cheesecake
- Buckwheat plum clafoutis
- Buckwheat soda bread with yogurt
- Buckwheat bread with walnuts
Buckwheat Upside Down Plum Cake (Gluten-Free)
EQUIPMENT
- 1 10 inch springform pan
INGREDIENTS
- 500 g plums
- 140 g buckwheat flour
- 100 g almond flour
- 50 g desiccated coconut
- 150 ml honey
- 2 eggs
- 120 ml sunflower oil
- 12 g baking powder
- ½ tsp salt
INSTRUCTIONS
- Set the oven to 356°F / 180°C (fan on) and let it heat up. Rinse the plums and remove the pits. Cut them in halves for a springform pan, but thinner slices work too. Frozen plums can go straight in, once they thaw a bit, arrange them just like fresh ones.
- Break the eggs into a large mixing bowl and whisk until lightly combined. Pour in the oil and stir until smooth.
- Add the dry ingredients to the bowl: buckwheat flour, almond flour, coconut flour, cinnamon, baking powder or baking soda, one-third of the honey, and a pinch of salt.
- Stir until you have a thick, sticky batter. Scrape down the sides and bottom of the bowl to make sure everything is evenly mixed.
- Line the base of a springform pan with parchment paper and lightly grease it. Place the plums snugly on the bottom, cut side down, keeping them close so they stay in place.
- Drizzle another third of the honey evenly over the plums and sprinkle with a little cinnamon.
- Spoon the batter over the fruit and gently spread it out with a spatula until the plums are fully covered.
- Bake for 40–45 minutes. If the top darkens too quickly, loosely cover it with parchment paper near the end. The cake is ready when a toothpick inserted into the center comes out clean.
- Warm the remaining honey with an equal amount of water or plum juice. Pour it over the cake while it’s still in the pan. Let it rest for about 30 minutes, then carefully invert it onto a serving plate.
- Once cooled, serve as is or finish with a light dusting of powdered sugar.
Beautiful!
Thank you Melynda!